The Battle of Brawner's Farm took place in the late afternoon early evening of August 28th 1862 as a prelude to the Second Battle of Bull Run/Manasas as the Union Army searched for the Confederates. It is commonly referred to in Iron Brigade history as the Baptism of fire as it was the first action the entire Brigade fought in under BG Gibbon. In the following weeks they would fight on and earn the famous moniker the "Iron Brigade". On the afternoon of August 28th 1862 they were simply Gibbon's Black Hat Brigade and although they drilled superbly they had not been tested in battle. That evening the four regiments of the Gibbon's brigade along with two regiments of Doubleday's Brigade along with Battery B 4th U.S. Artillery would face off against a majority of Stonewall Jackson's Corps in the fields of the Brawner farm and prove their merit fighting the confederates to a standstill until darkness prevented further fighting.
To learn more on the battle there is a great article here:
http://www.civilwar.org/battlefields/secondmanassas/second-manassas-history-articles/battle-of-brawners-farm.html
Justin saw the set up and decided he would play the Confederates. I think he thought that with that many troops he should be able to come up with an easy win over dad. We even recruited grandpa to come over and help the Rebels manage their large force. Justin soon learned that history and good die rolling would prove difficult to overcome.
Below is a pictorial record of our results:
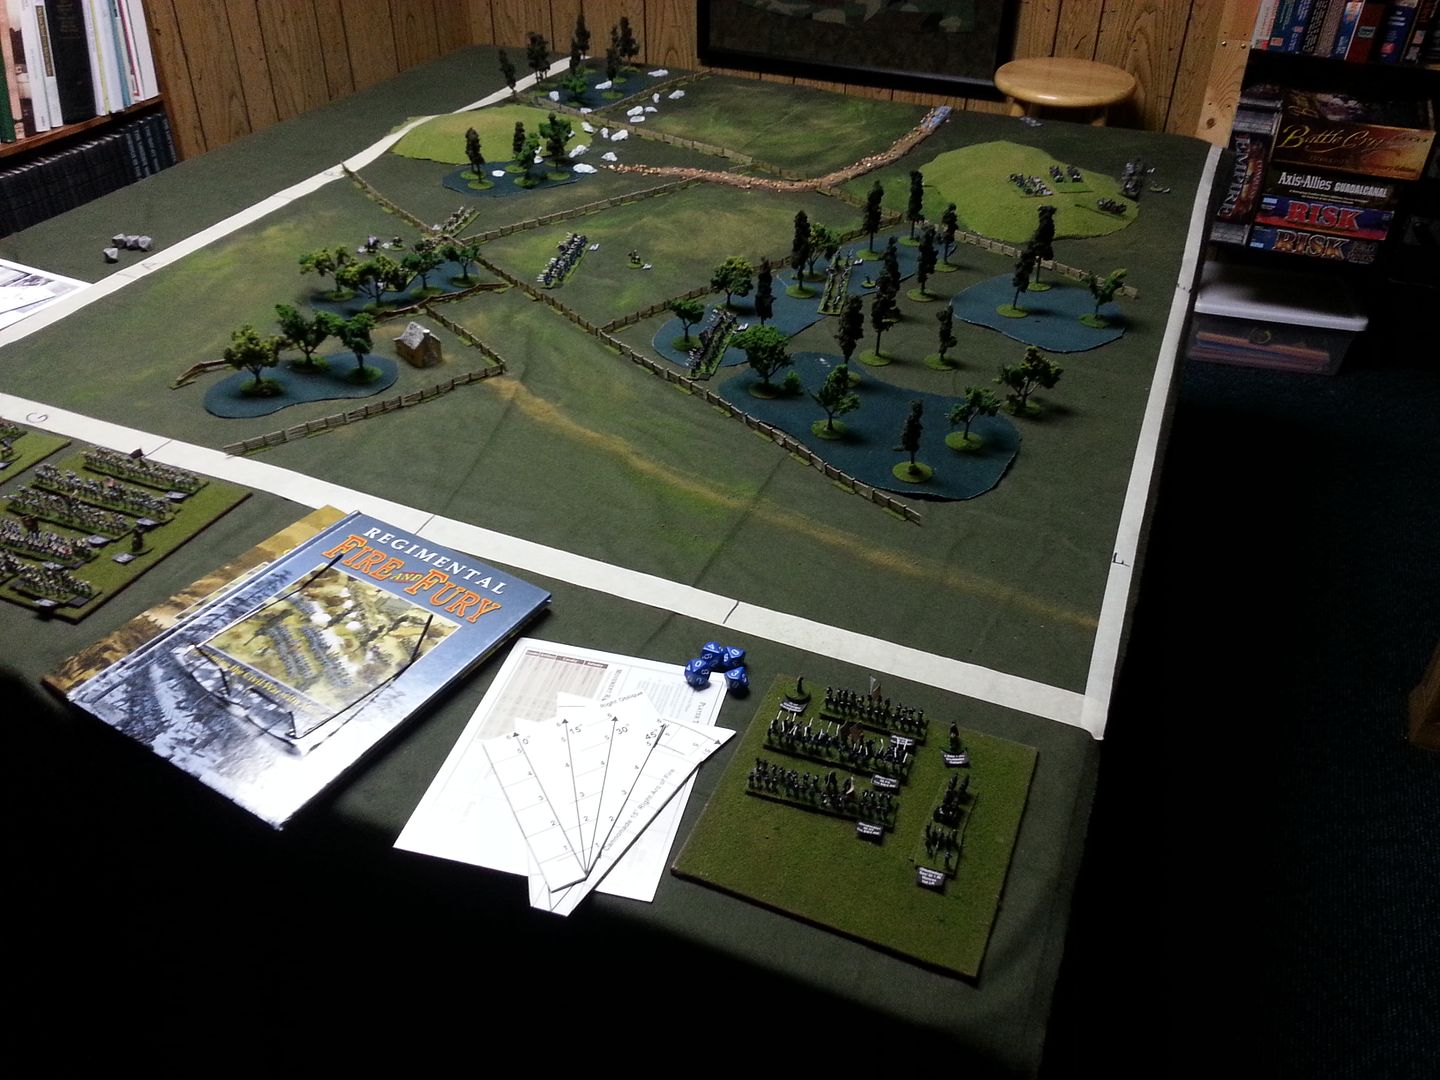 |
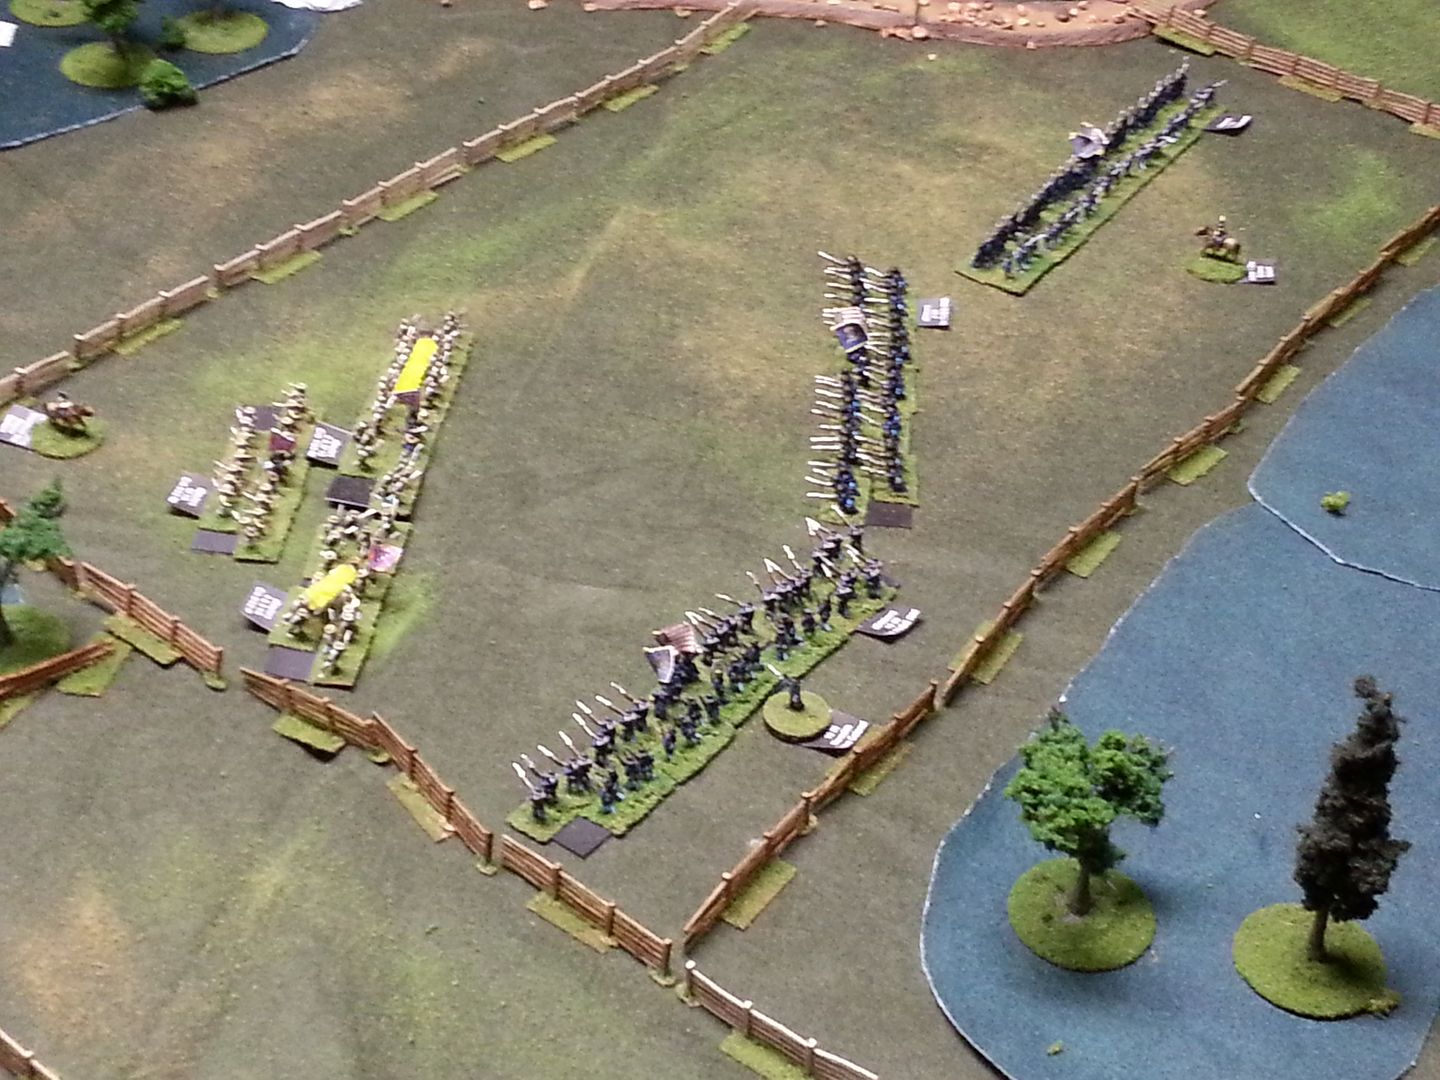
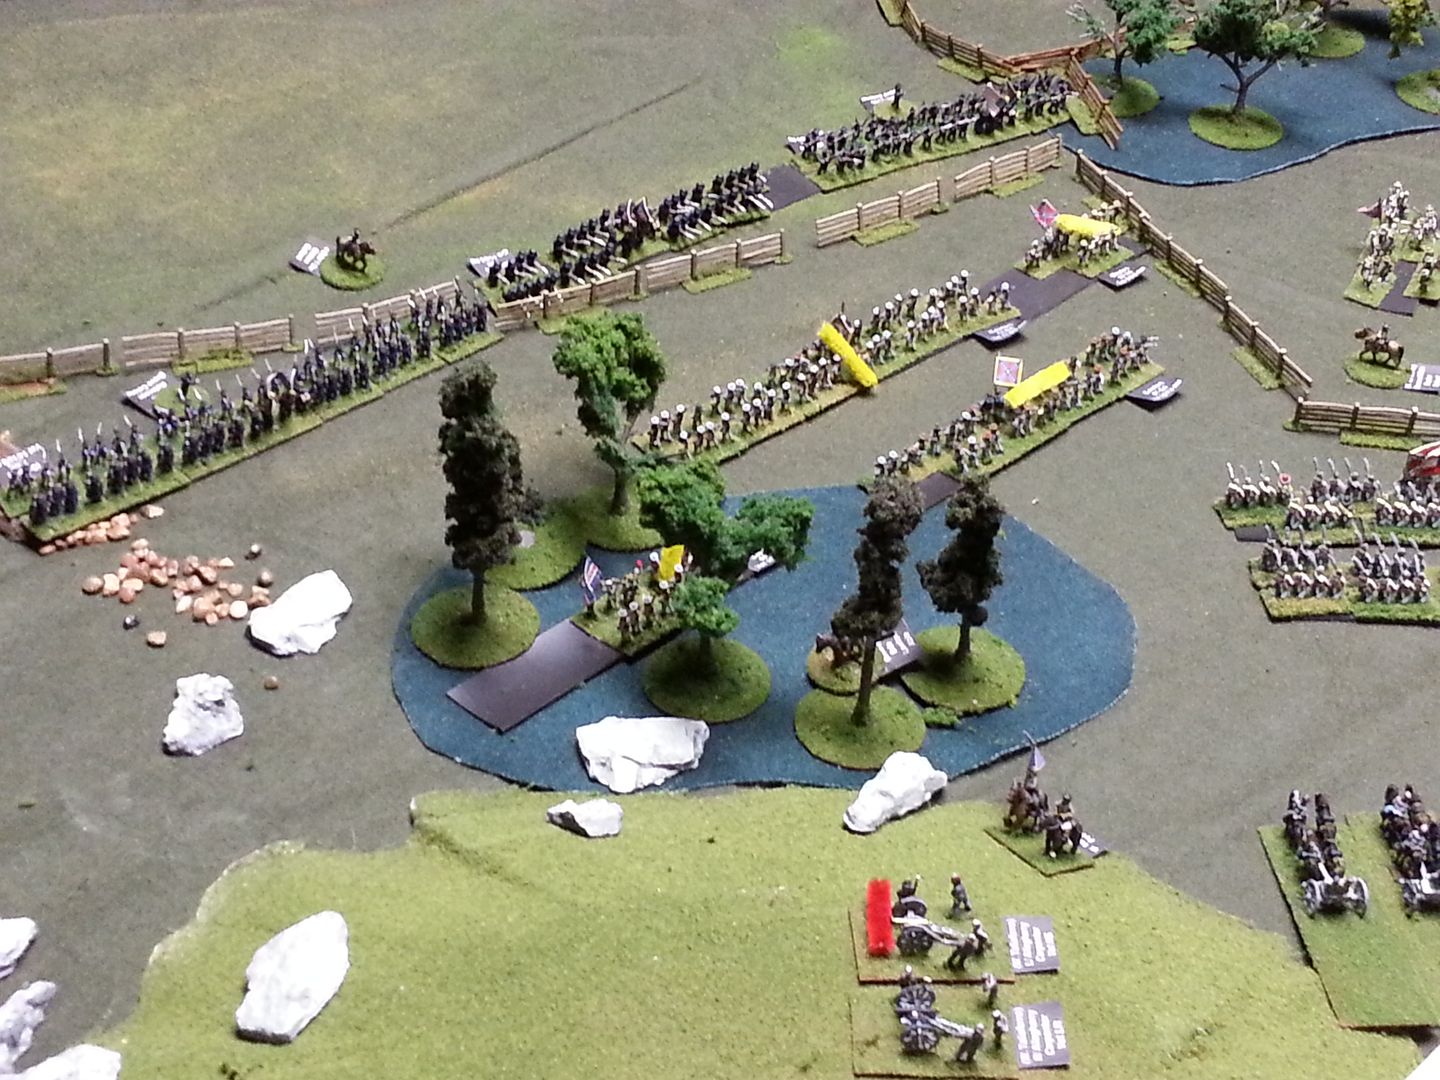
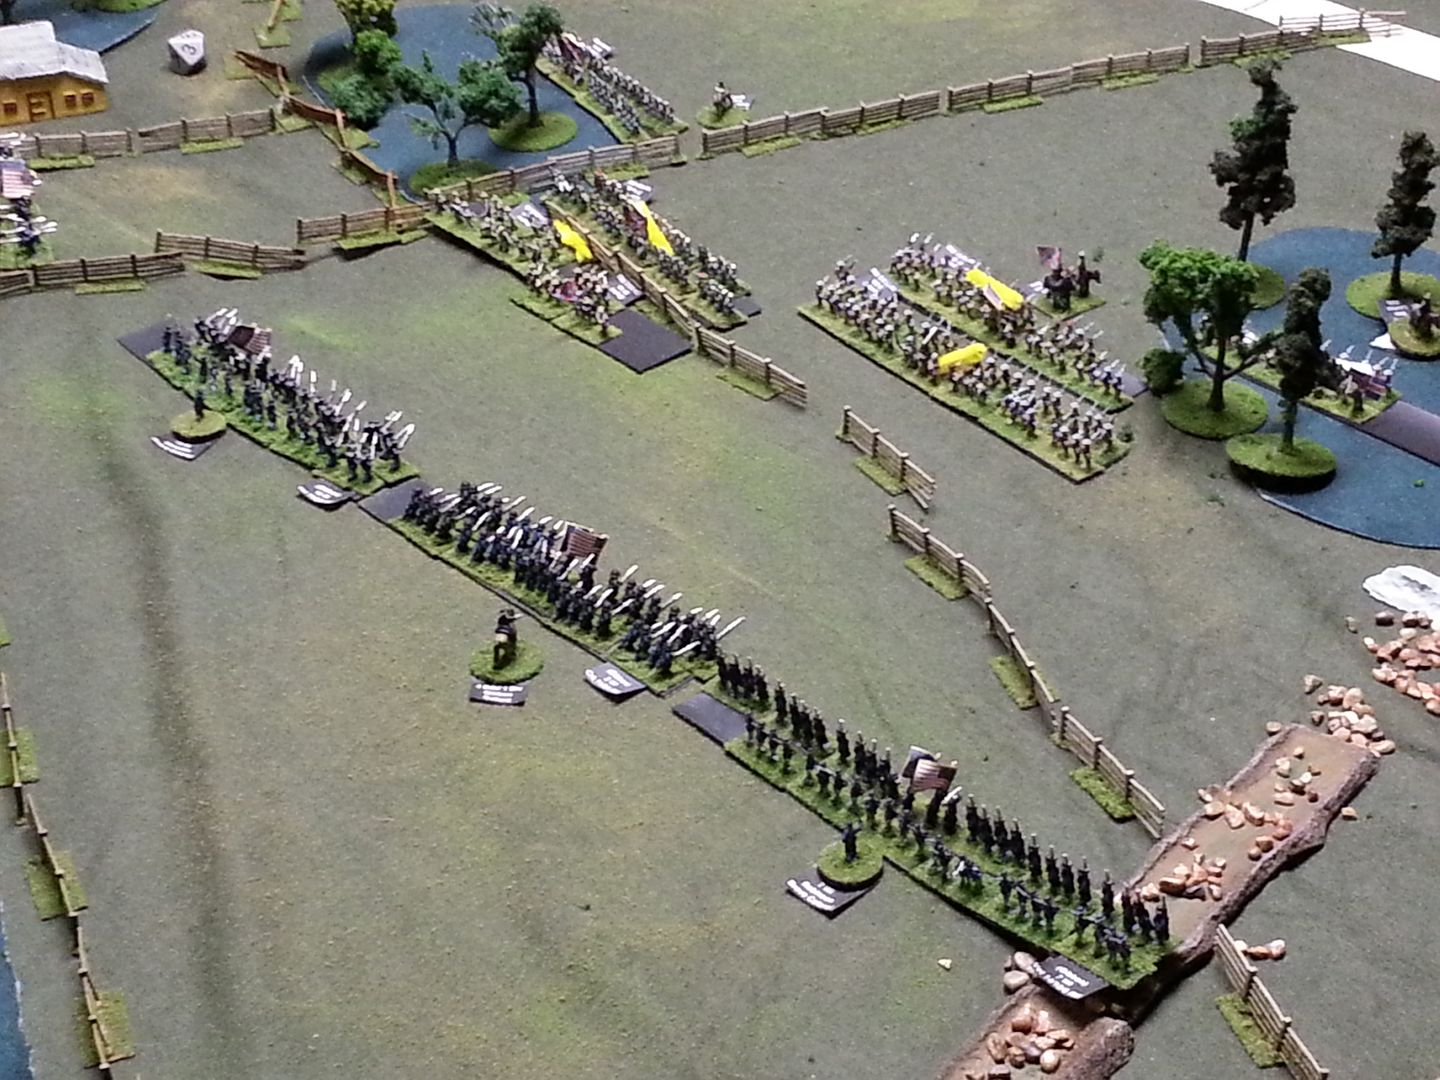
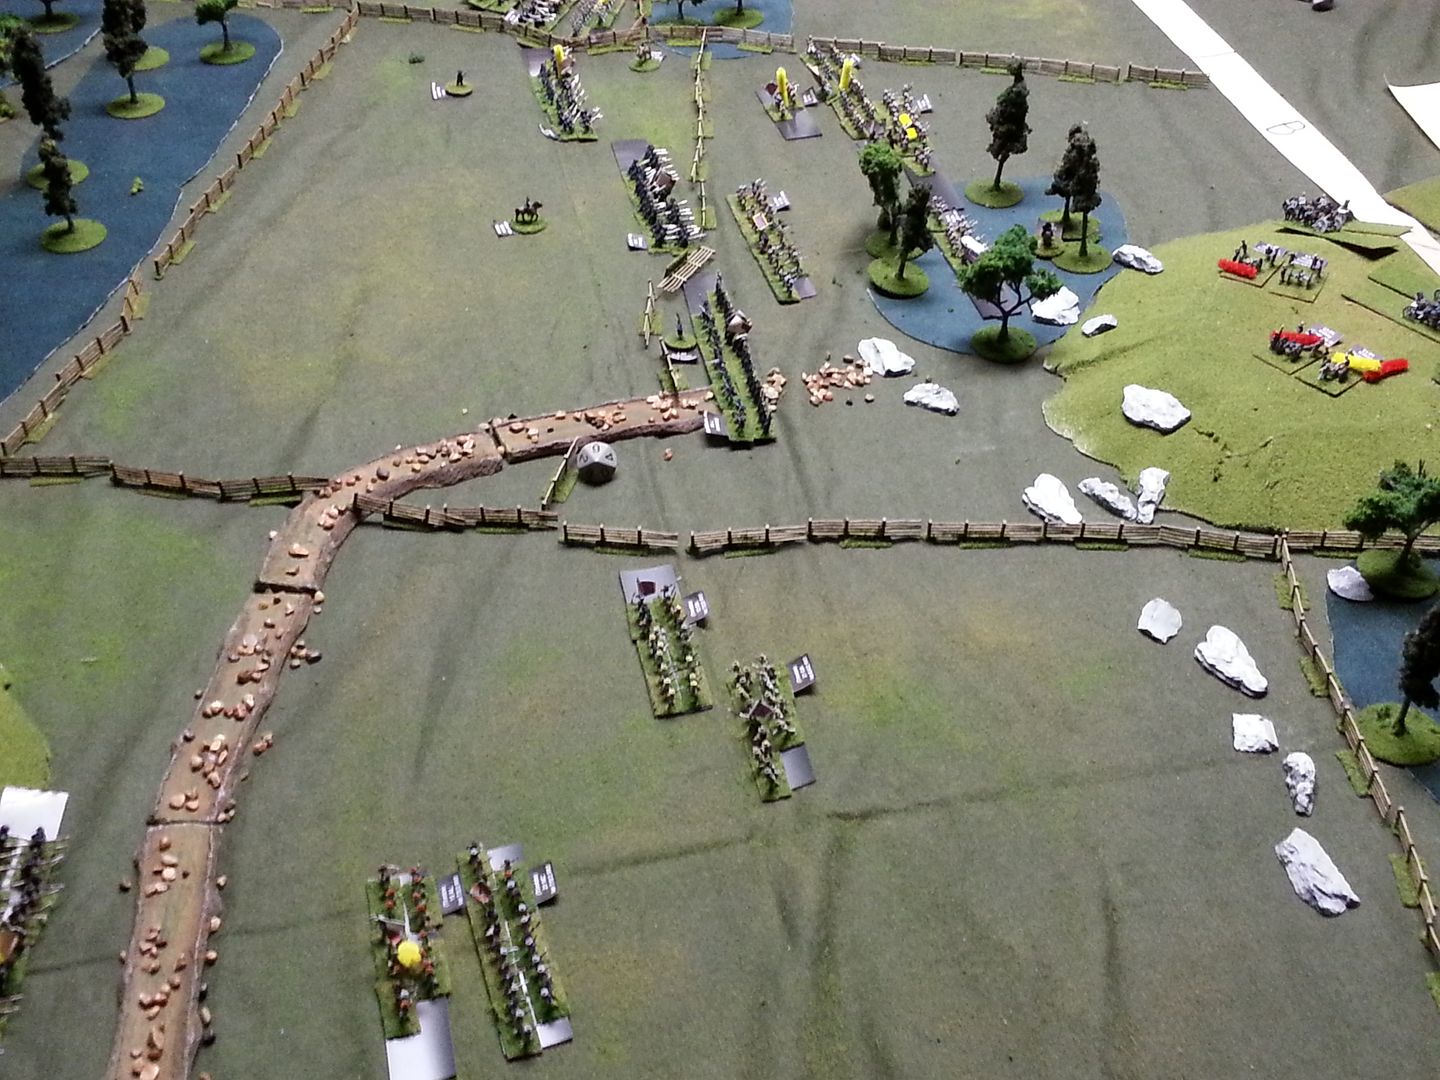
| Scenario set up with initial deployments |
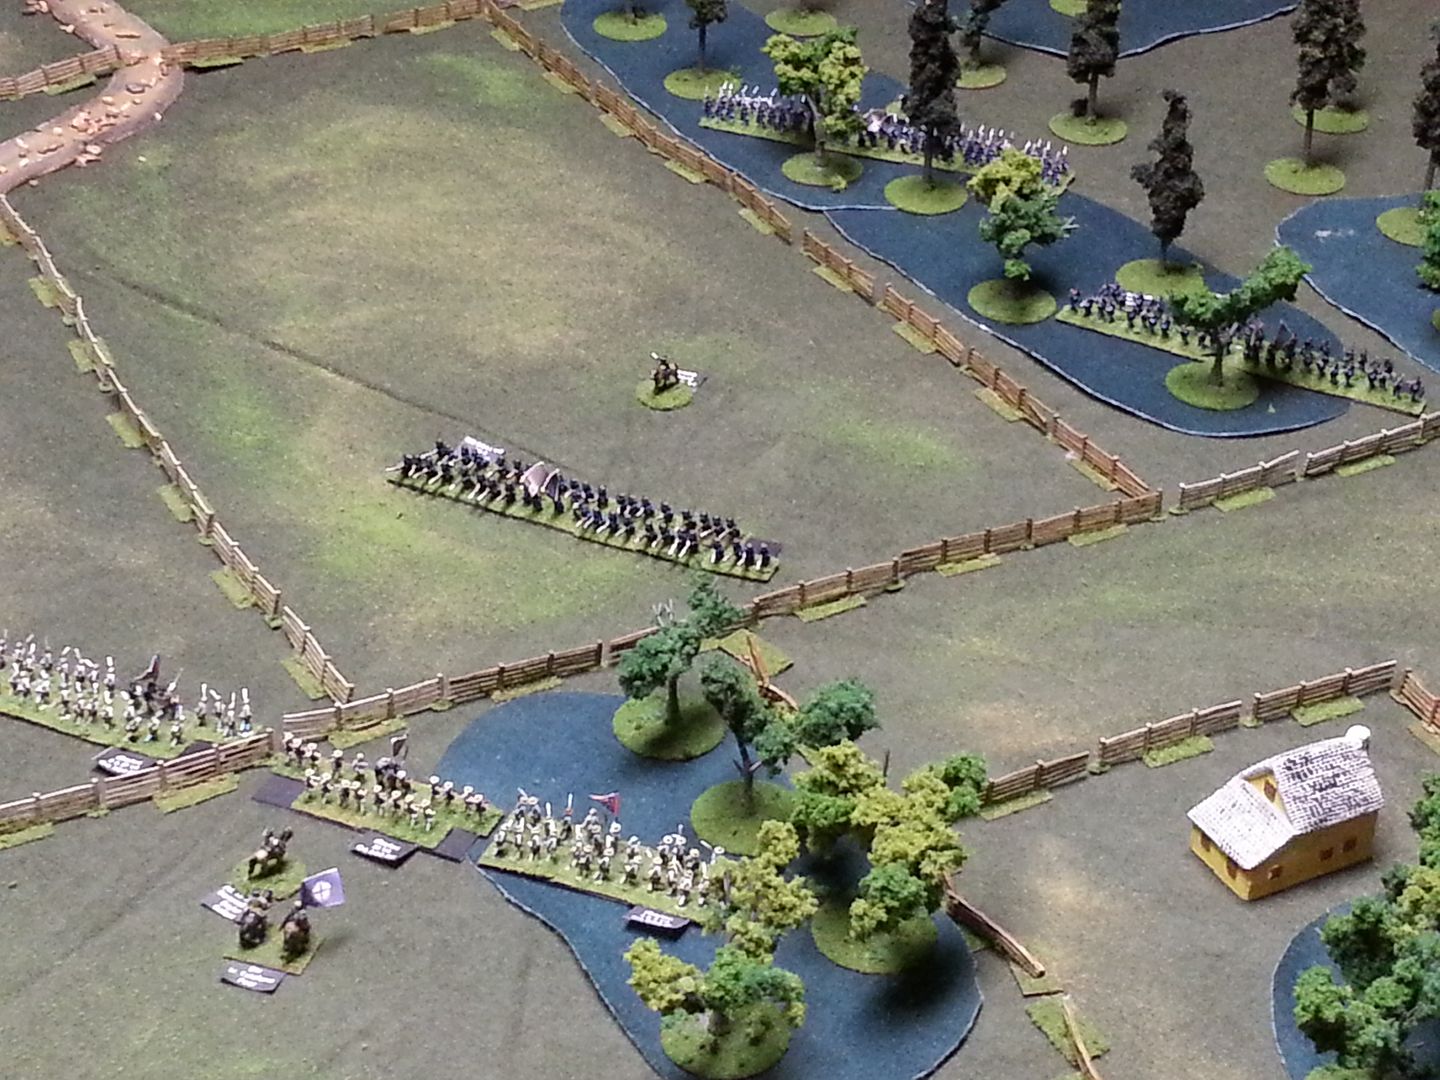 |
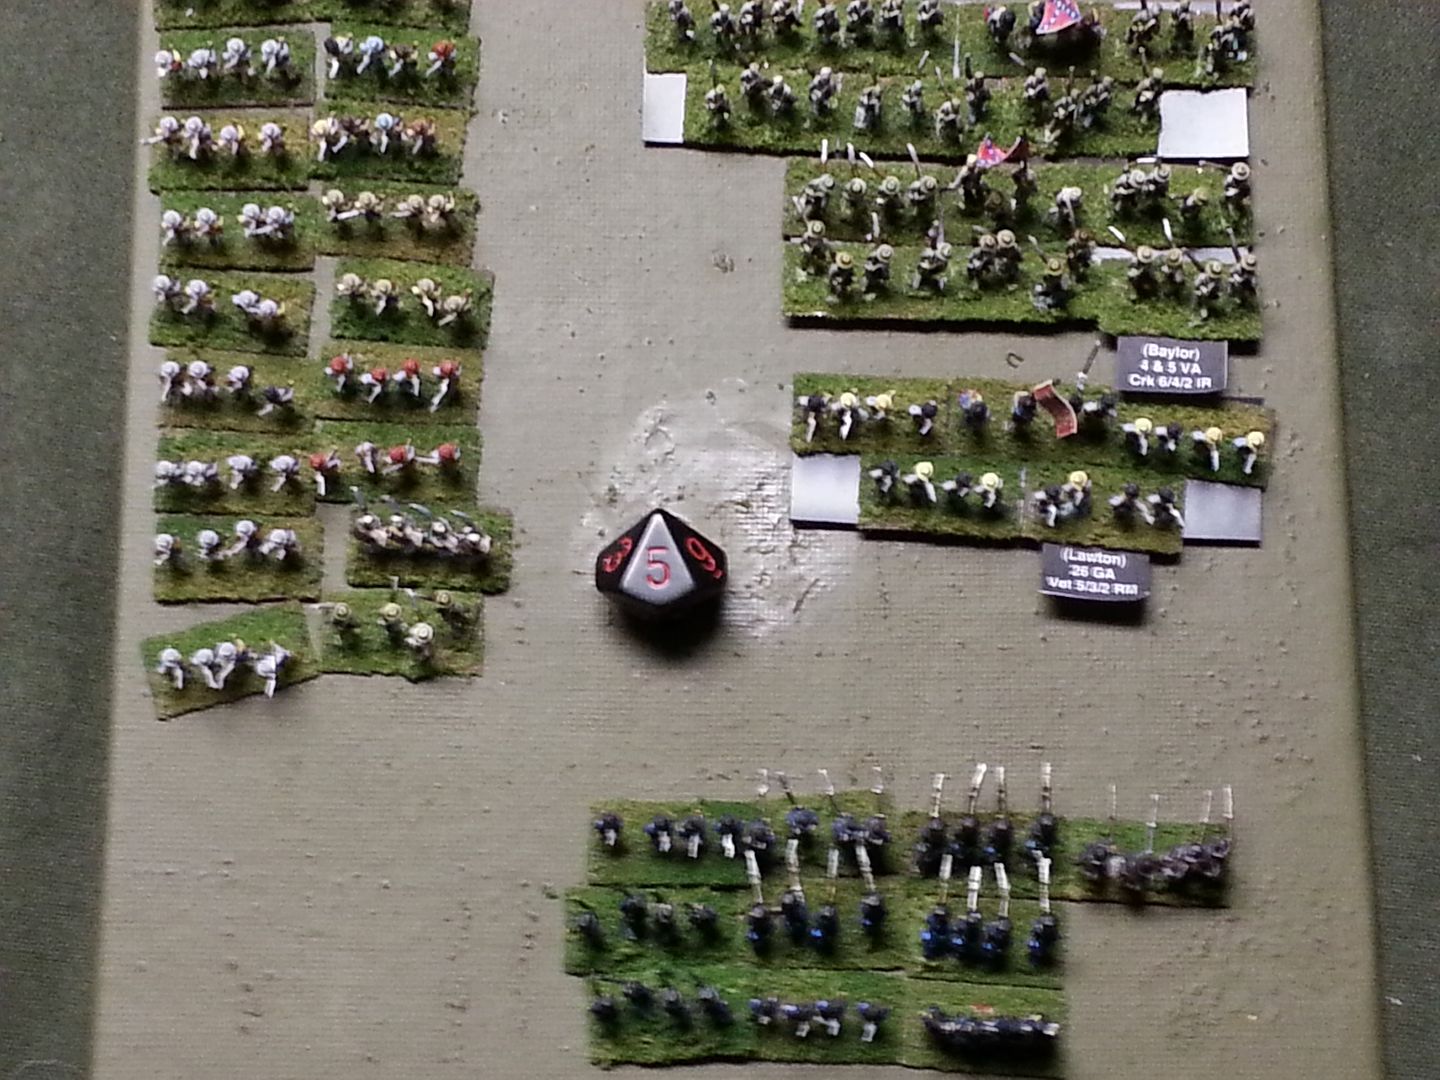
| Stonewall Brigade faces off against 2nd WI while the 19th IN and 7th WI move up |
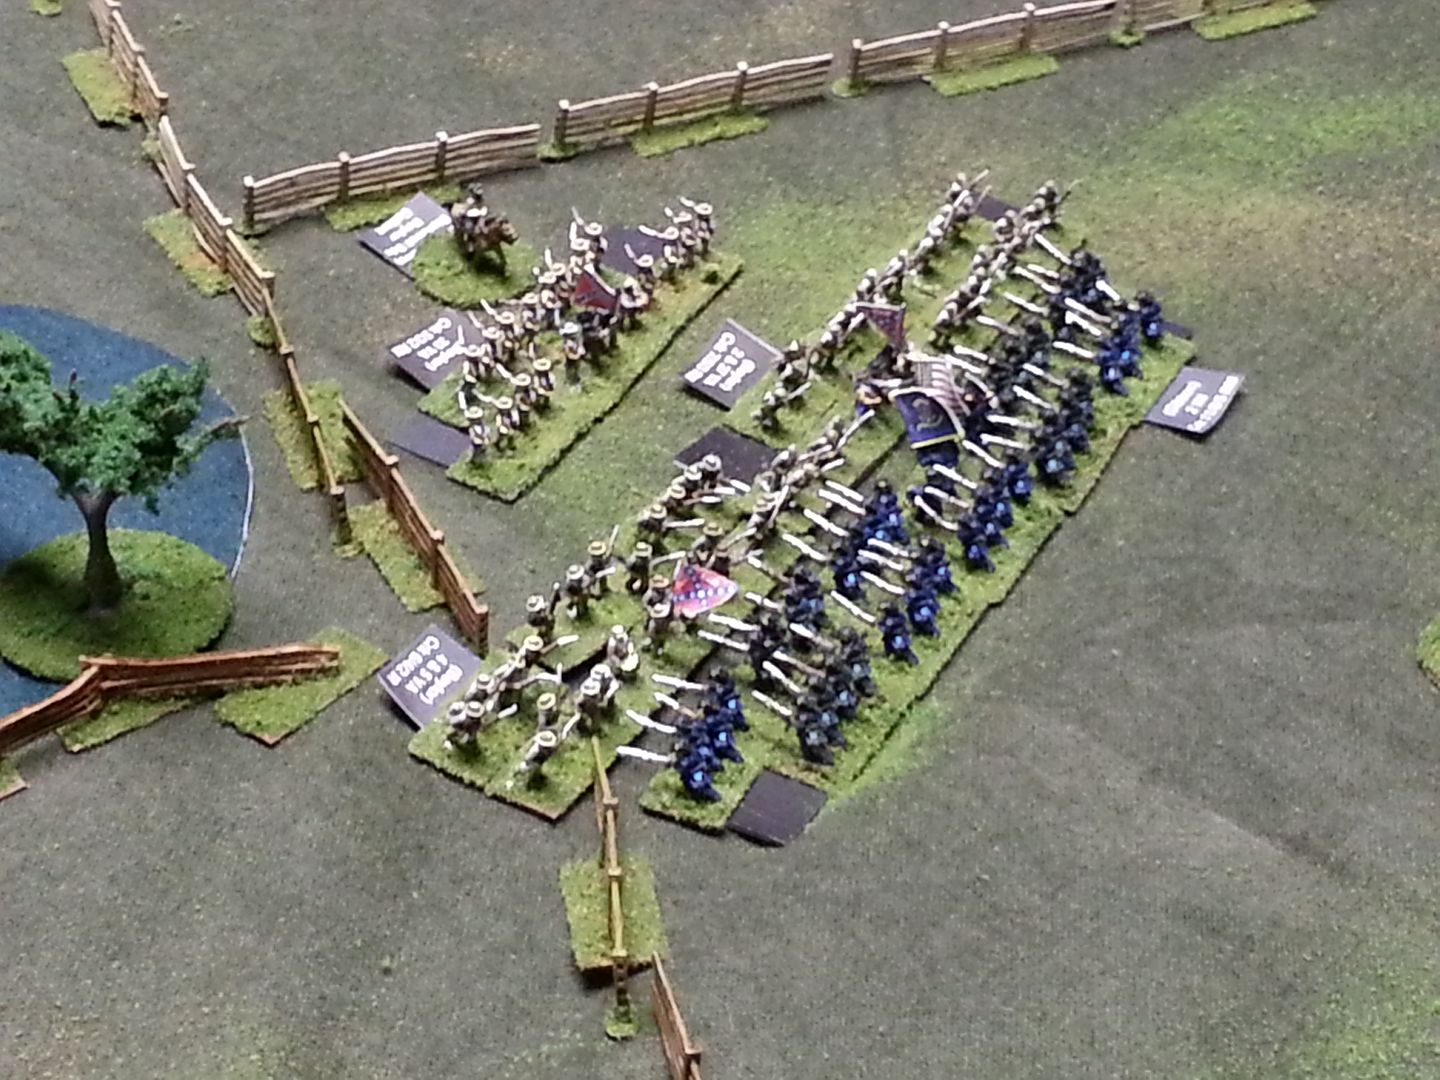 |
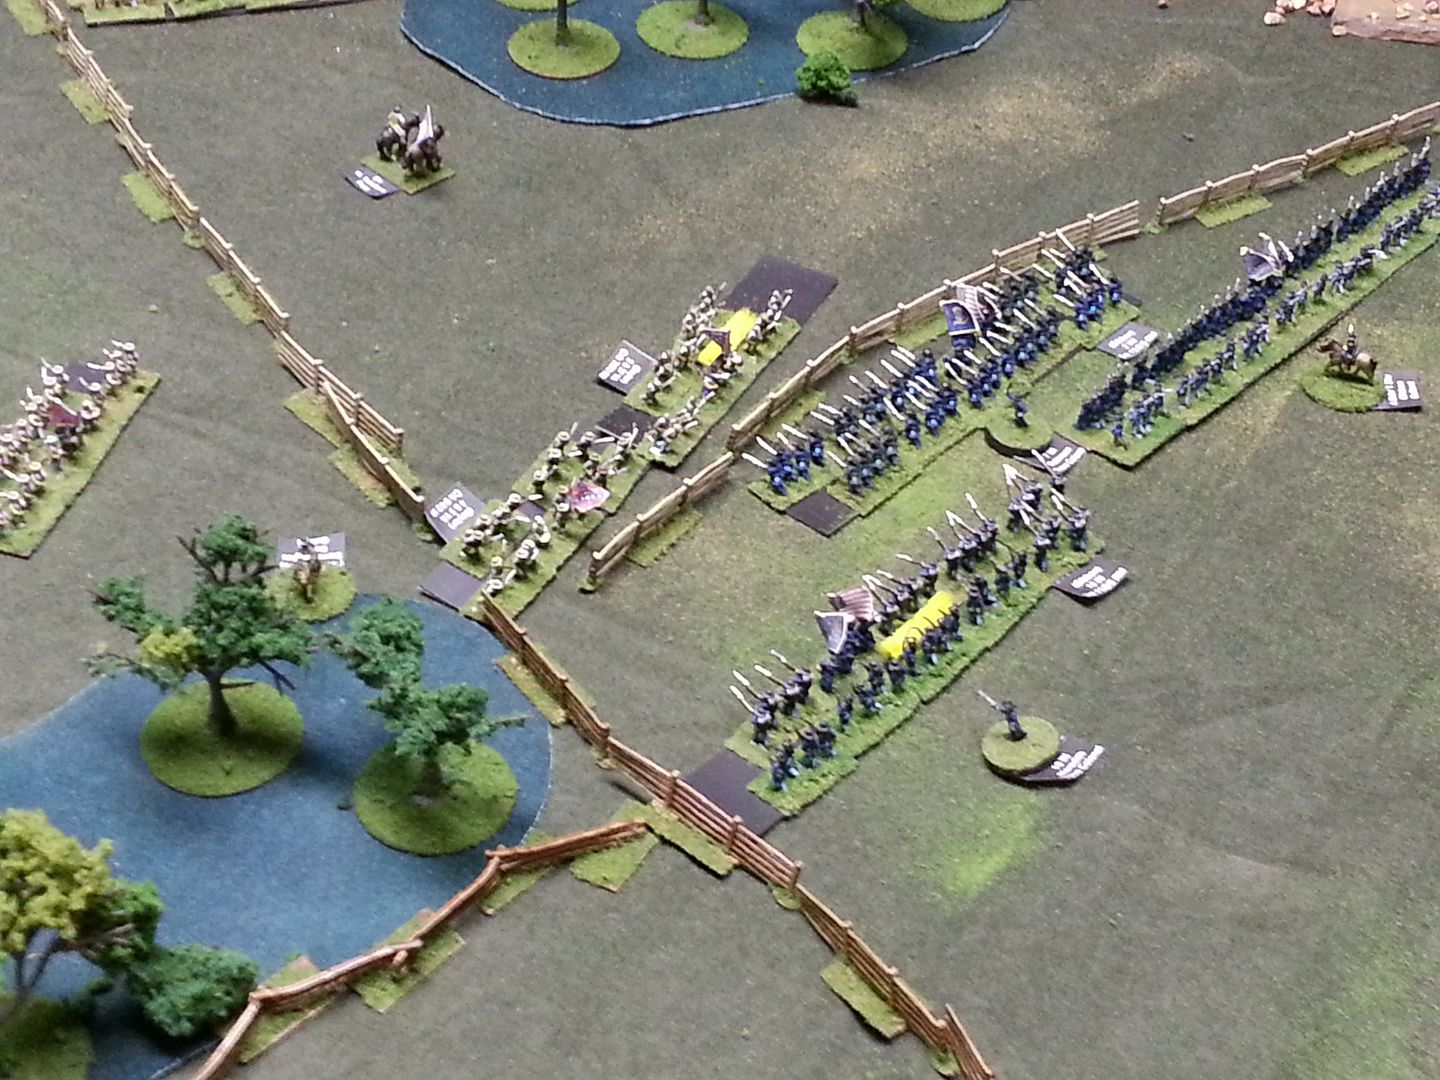
| Wasting no time the Rebels aggressively Charge into the 2nd WI |
 |
| At the same time Confederate Reinforcements move to threaten the Union right |
 |
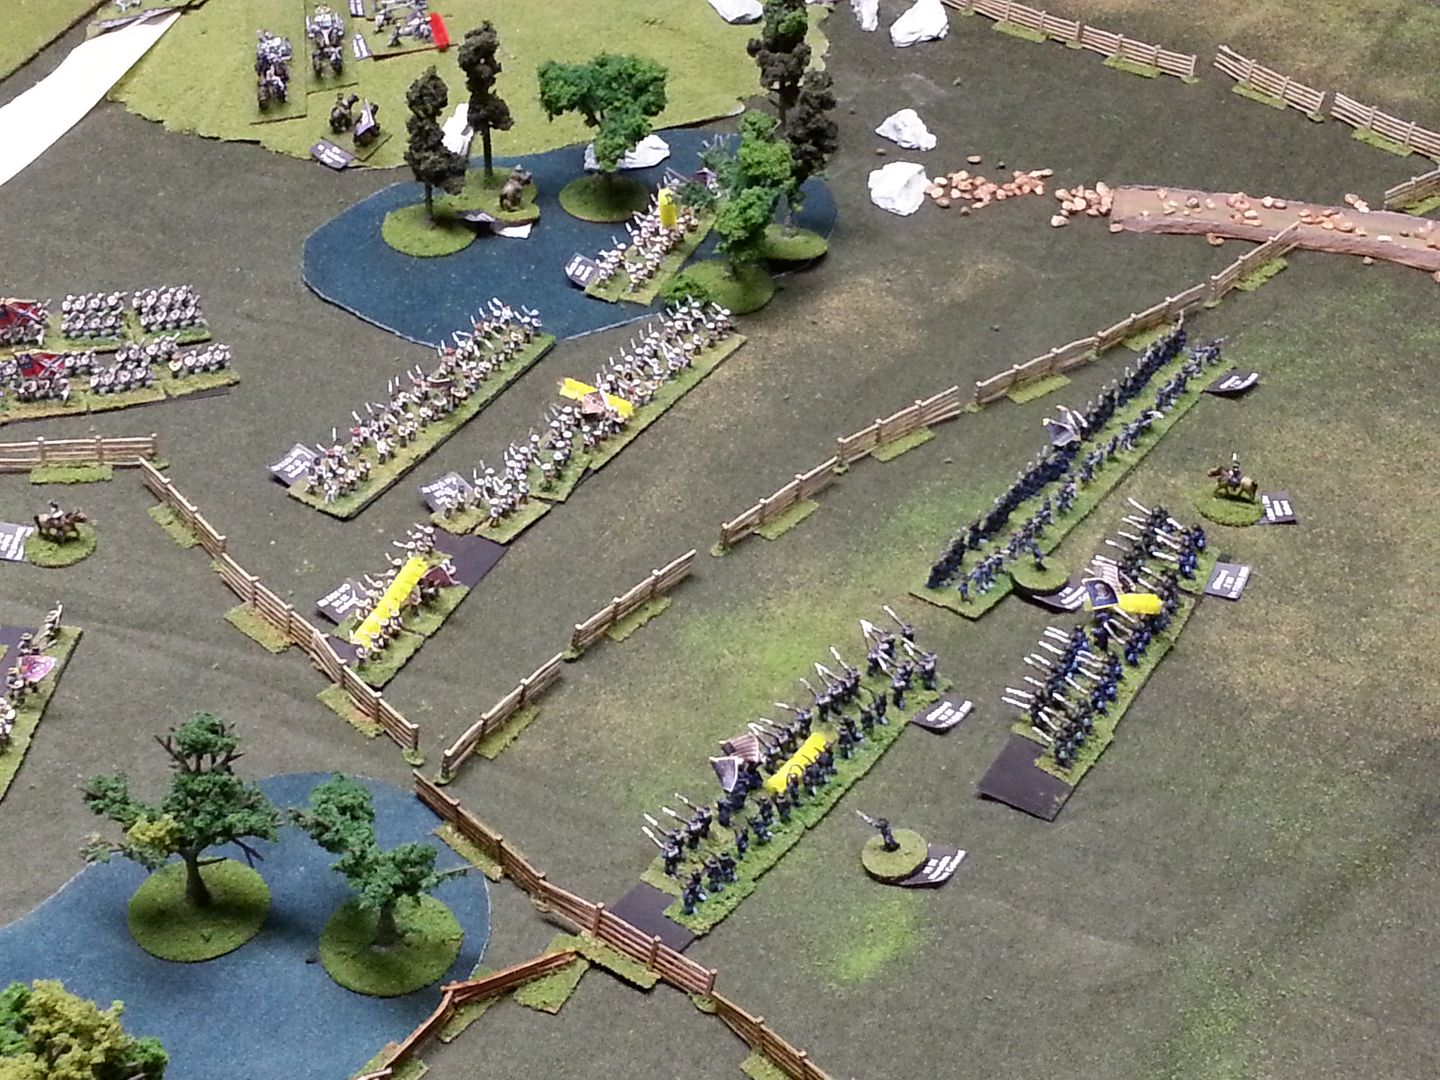
| The crack 2nd WI held firm against the charge and then fell back to align with the other regiments to poor in a tremendous fire that quickly thinned the Rebel ranks |
 |
| After reducing the Rebel ranks Gibbon counter charged and drove the Stonewall Brigade back |
 |
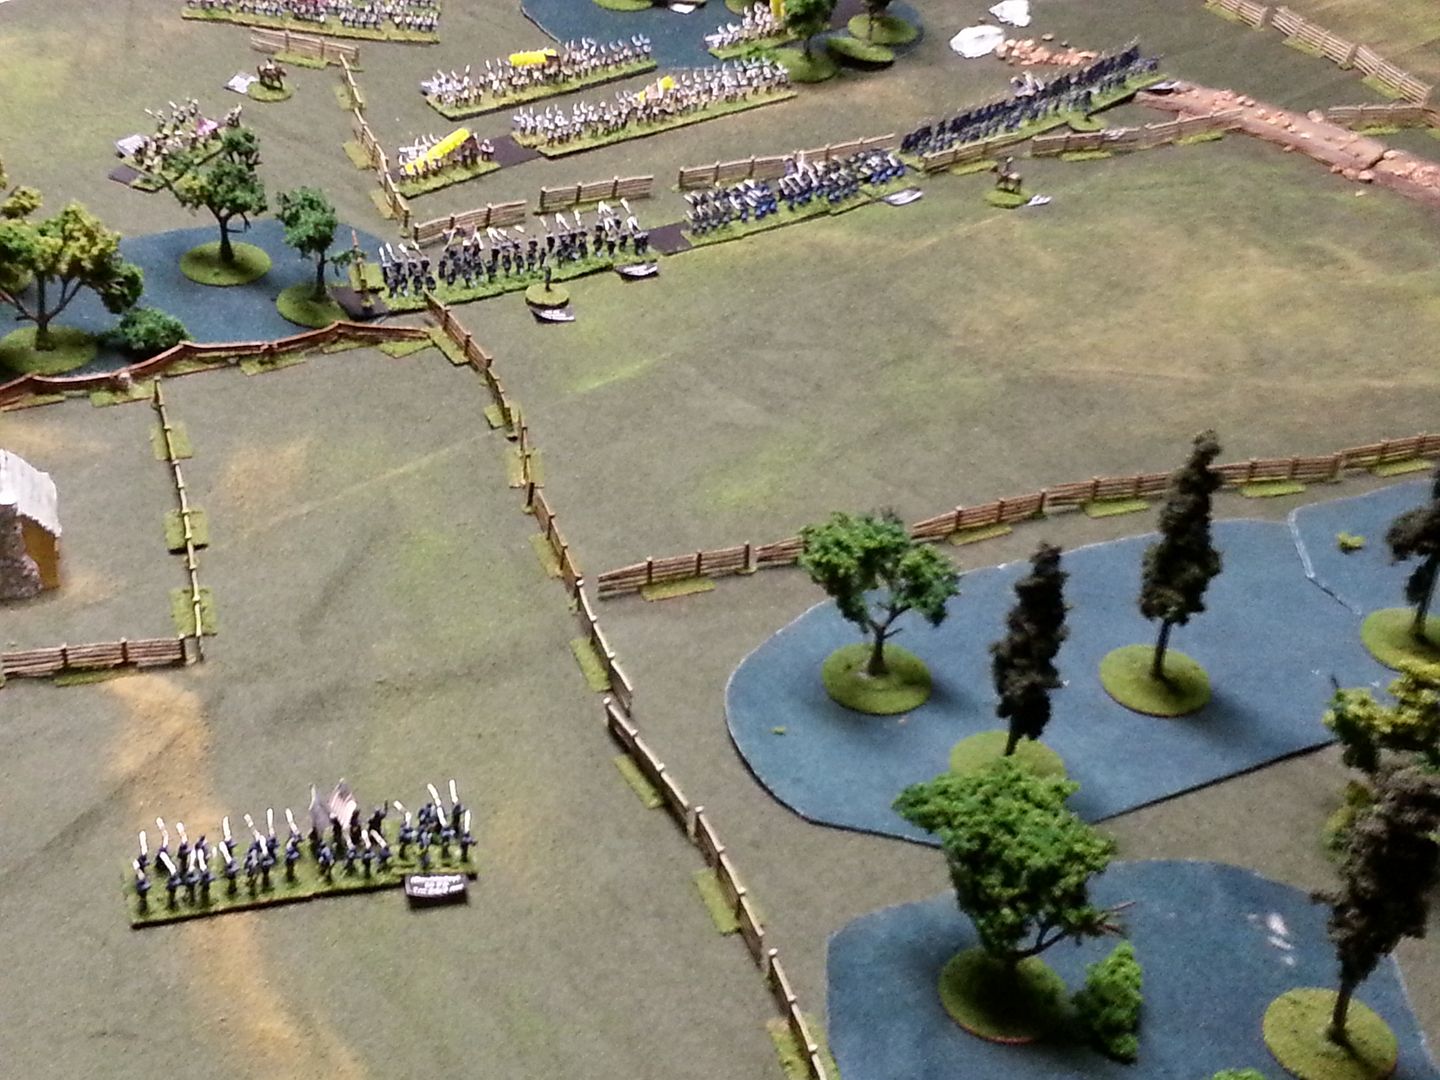
| This time the 2nd WI achieved a breakthrough while sweeping the rebels from the field |
 |
| There were plenty of rebels on hand to meet the threat and push the 2nd WI back again |
 |
| While the 2nd WI regroups the 7th WI and 19th IN dress their lines to meet the mounting threat |
 |
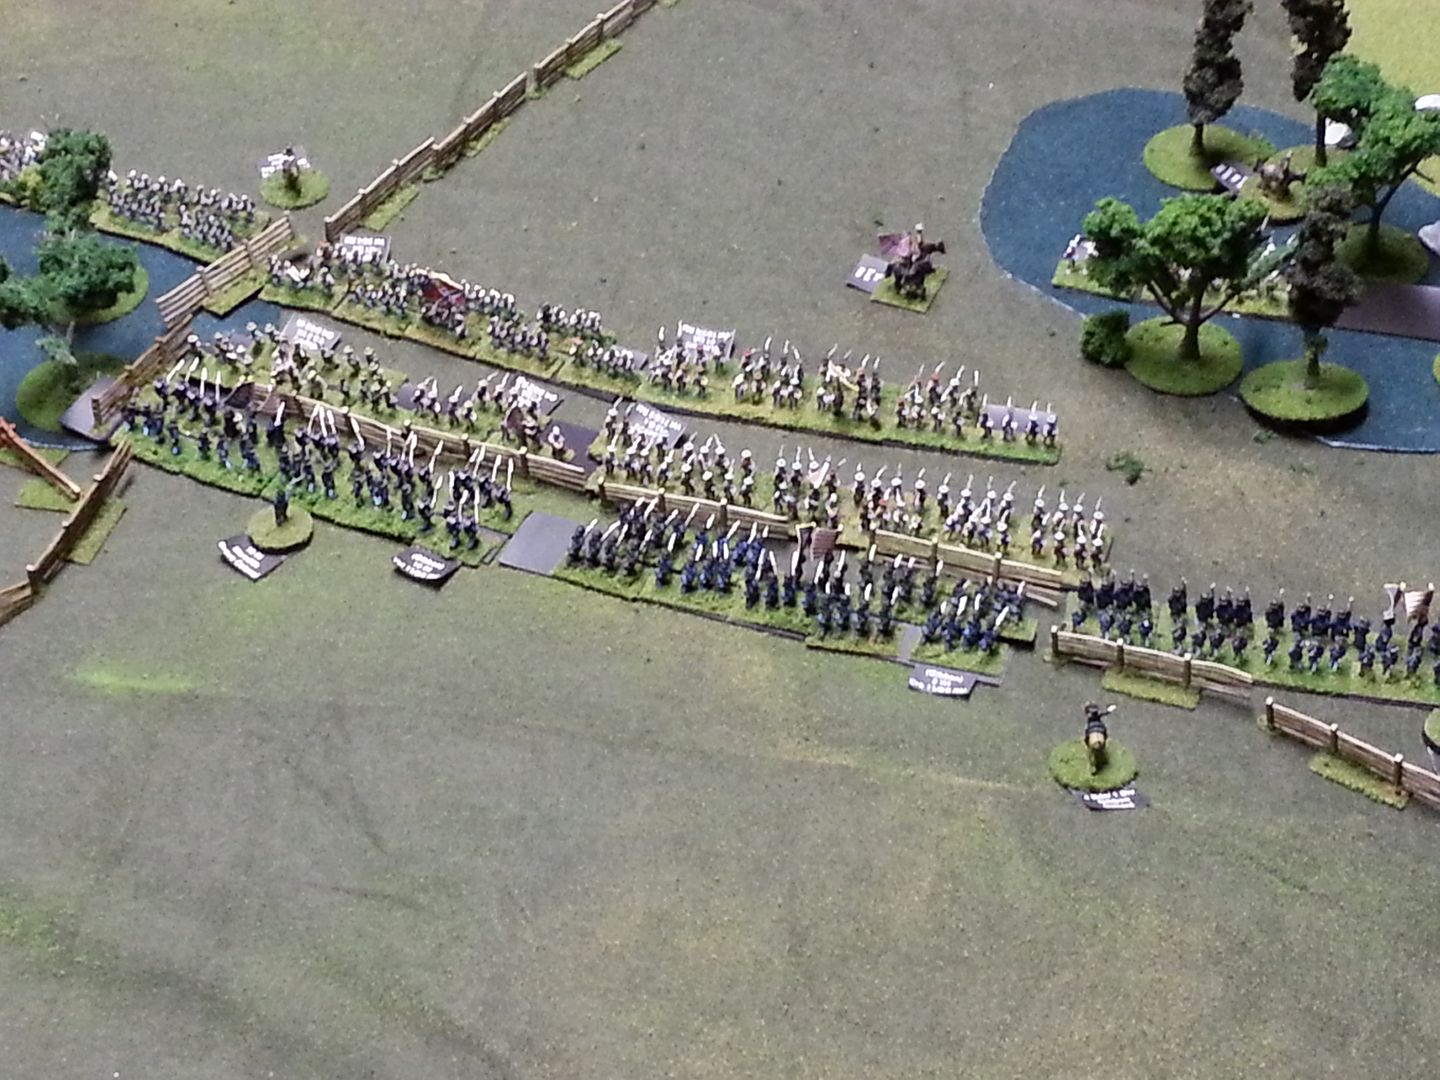
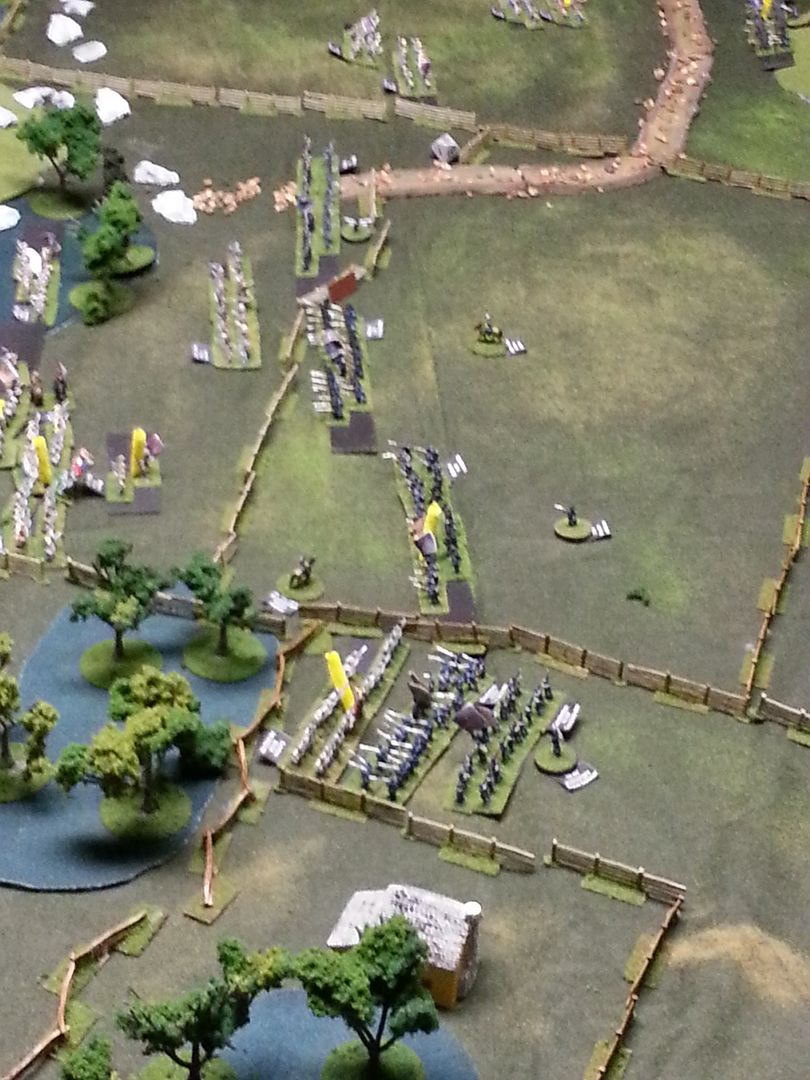
| Gibbon pushes his line forward to the fence line to exchange volleys while the first of Doubleday's units moves up to support |
 |
| On the Right Union Artillery proved overwhelming and broke up the initial advance while the 6th WI moves up to meet the next threat |
 |
| Rebel troops move into the woods to escape the Union Artillery while the Rebel batteries deploy |
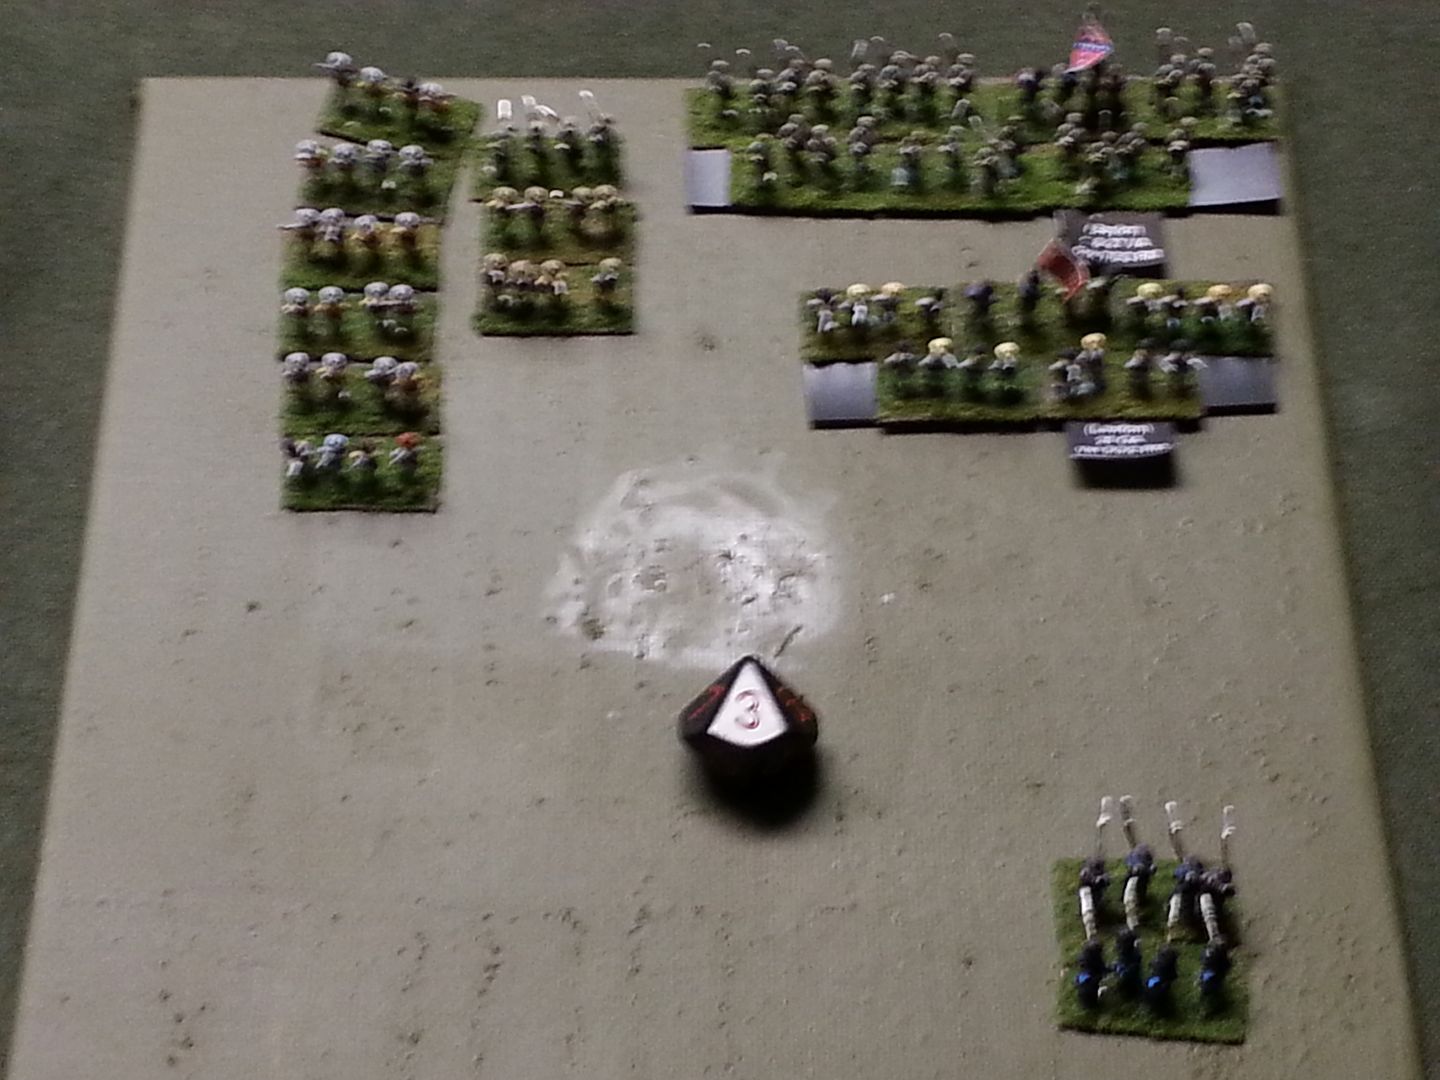 |
| By the end of turn 3 the casualty count was 21-2 Union Artillery and devastating volley had proved overwhelming. |
 |
| Knowing the casualties were mounting and he had to take the field the Confederates launched another massive charge |
 |
| On the right without support the 6th WI would soon be over powered |
 |
| The Union ranks were thinned, but the held strong and repulsed the Rebel push on the left |
 |
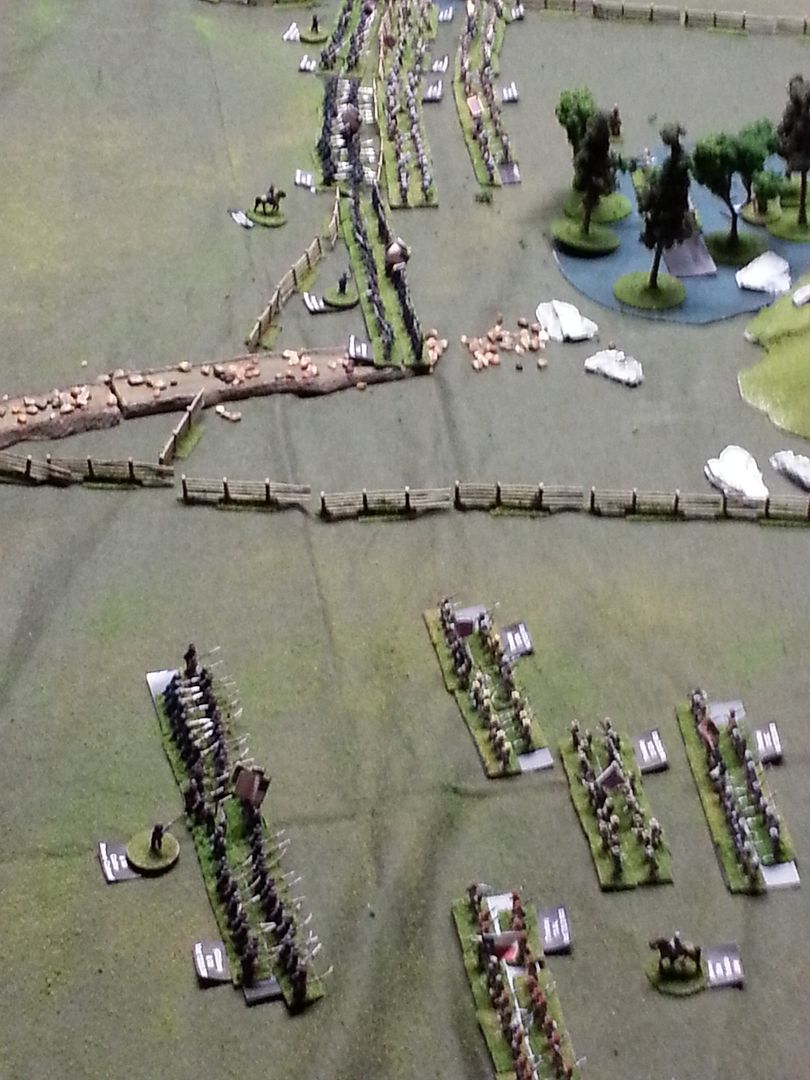
| The 56th PA and 76th NY moved into position on the far left |
 |
| By the end of turn 5 the casualties had risen to 36-10 reaching the 30% heavy causality mark for the Confederates |
 |
| The Confederates tried one more time to charge the far left |
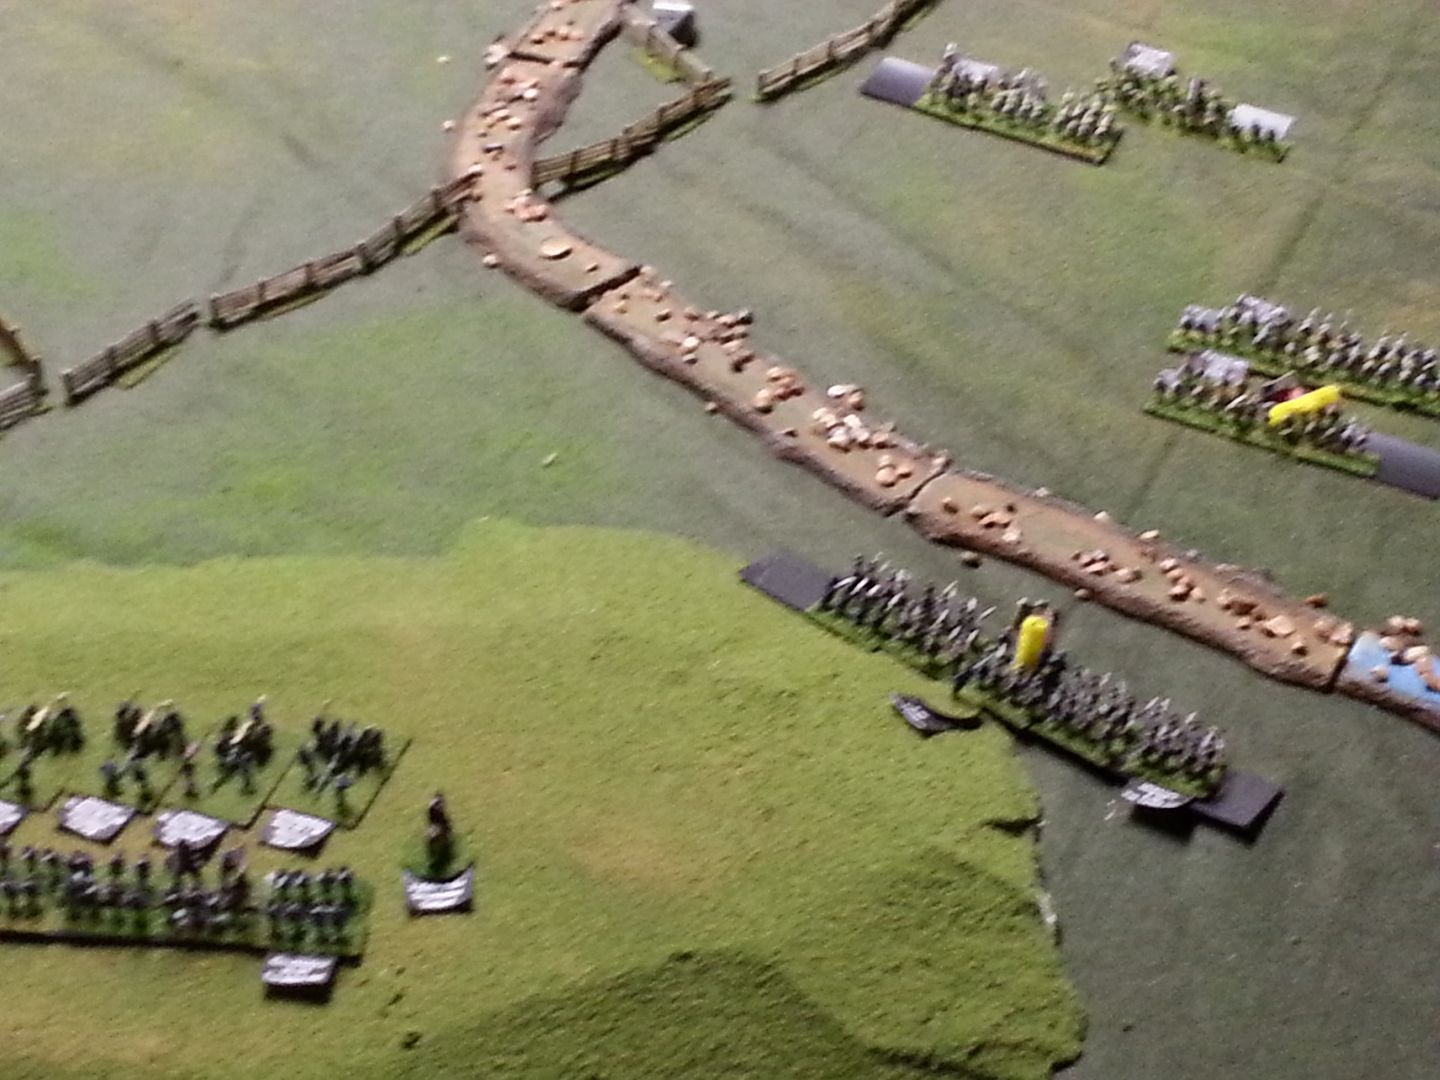 |
| On the right the 6th WI conducted a fighting withdrawal while union Artillery reduced the advancing rebels |
 |
| The Union lines still held strong and the Confederate leadership realized their situation was desperate |
In this game history sort of repeated itself with even better results for the Union. Much of this is due to lack of experience on the part of my opposing commander. In his defense we had played AWI the two weeks previous where Artillery was not that effective. ACW Artillery was much more effective at a greater range. He learned the hard way that moving troops in the open in front of Union guns was not a wise move. I will also fully admit that the first two turns my die rolling was exceptional with a lot of 7,8,and 9s never once rolling low ammo once.
Overall a great evening bonding with family over toy soldiers
We played this scenario from the book twice through, and both times the Union got absolutely clobbered. I think the scenario book has it all wrong.
ReplyDelete