After hosting this scenario at ROCKCON it was time for a re-fight with our local group. As I already own all the terrain and troops it is great when I have the opportunity to play with friends. This time it was even better as both my sons (Justin and Jared) were able to join us for the weekly gathering at Mark's.
 |
| Rorke's Drift with all defenses in place |
For those that missed my previous post we are using a scenario I found on another blog as the one in the Zulu supplement is totally inadequate and would produce ridiculous results. My guess is the author never even play tested it. Each time we have played this revised scenario it has produced a great historical feel and enjoyable exciting battle.
 |
| Initial attack forming in the garden |
You can find the scenario here:
Rorke's Drift Scenario
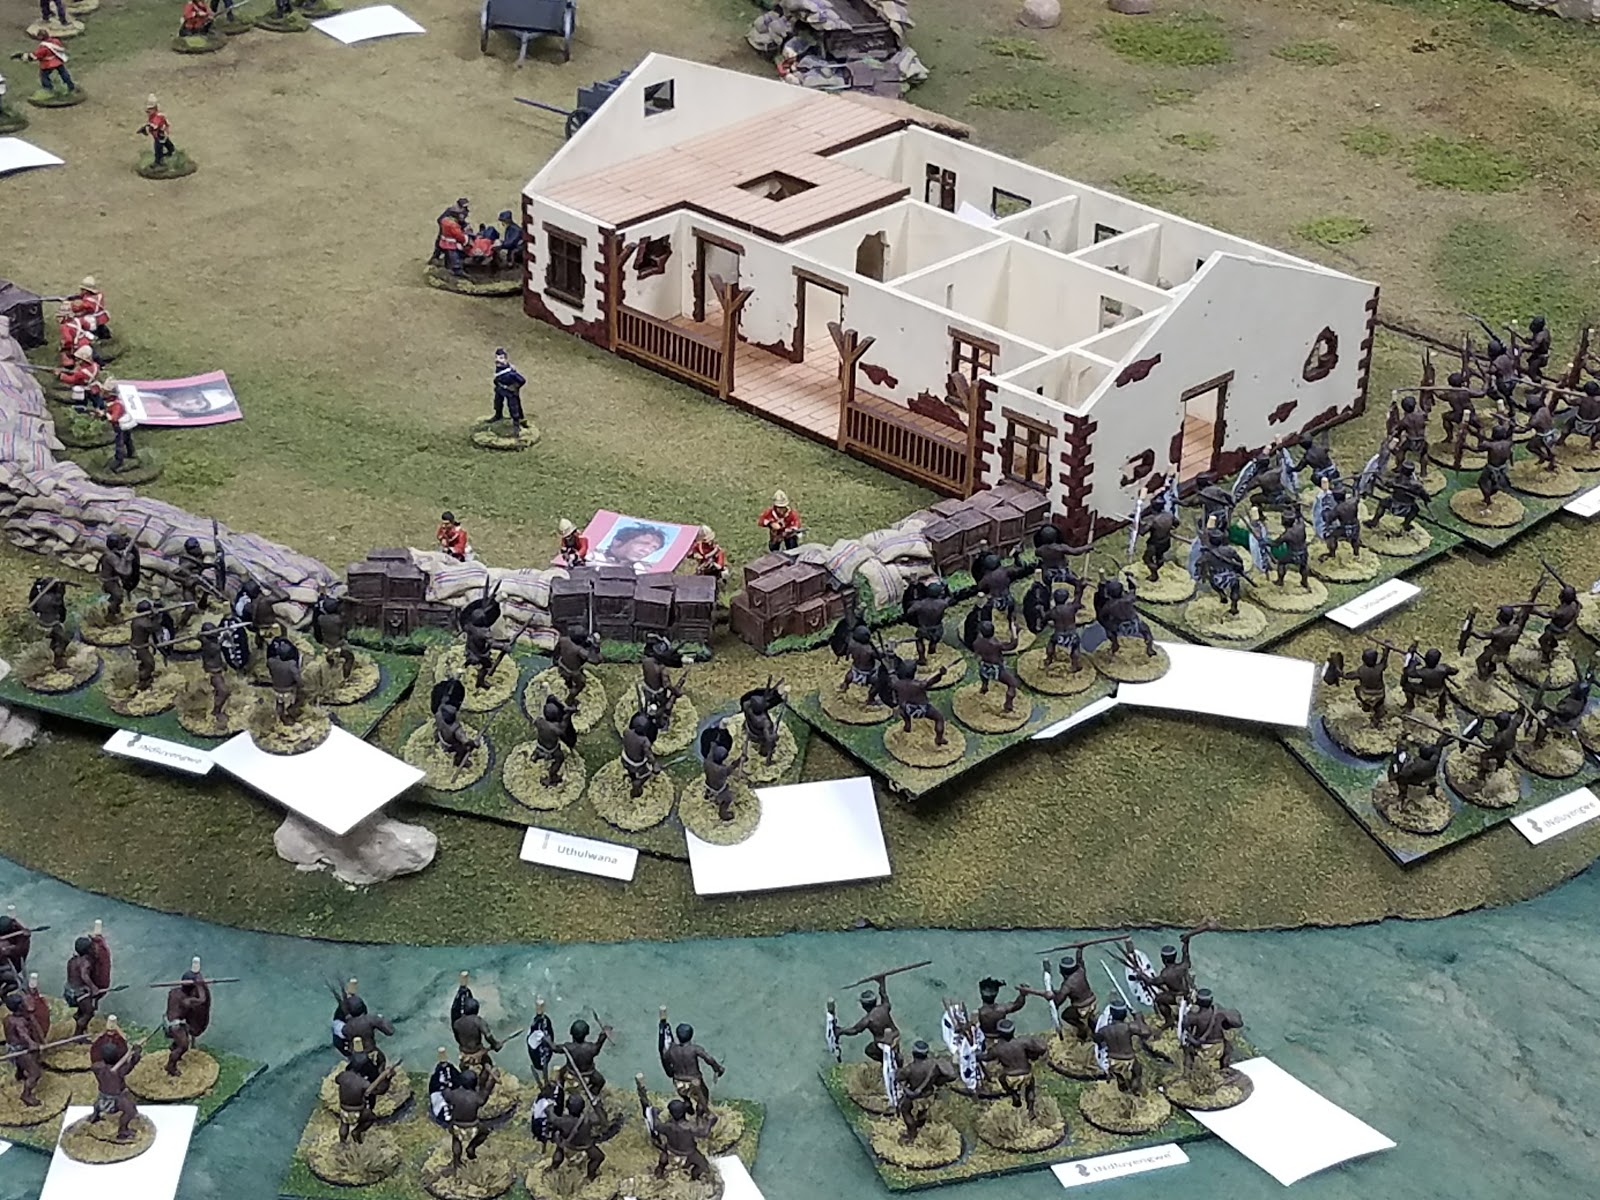
The Zulu began first assault phase with eight war bands attacking the drift. The scenario allows for eight feints (turn 1 only), so the British defenders see sixteen total units coming at them and the fake units are not revealed until they are fired on by the British or the Zulu close to within 6" of the defenders.
 |
| Zulu close on the defenses by the hospital |
During set up the British commander decided to assign 4 units to start building more defenses and spread the remainder of his units out along the perimeter.
 |
| A hard fight ensues |
The Zulu attack came from the garden and moved to the right in order to attack the hospital area. The Zulu quickly closed to hand to hand and drew the other British defenders to that end of the perimeter when they realized more Zulu were not coming immediately. While there were some intense moments including a British unit breaking the Zulu withdrew when they realized they were losing steam.
 |
| Stalemate before Zulu withdraw |
Wisely the Zulu commander came right back with a 2nd Active phase (scenario only allows 2 back to back active phases). This did not allow the British to re-position defenders and allowed the Zulu to attack with fresh IMPI not involved in the first attack. This time the Zulu came from the Karal area and launched a feint from the garden area.
 |
| Second Zulu attack enters the Karal |
Unfortunately for the Zulu once the they reached the upper Karal they suffered some poor command rolls as well as the affects from disorder and were stalled. The second prong were able to attack through the storage building and north wall and penetrate the Outer defenses. The Brits then realized that the attack from the garden was a ruse this time.
 |
| Queen's defender redeploy to face the new threat |
The British were able to hold off the onslaught, but paid a dear price losing two more units as well as Color Sergeant Borne who fell in combat.
 |
| A close run affair as Zulu gain the perimeter |
The Zulu commander realizing his attack had again stalled wisely decided to withdraw.
 |
| Defenders are able to form a firing line |
This is where the night ended with the first 2 active phases complete (Multiple BP turns in each phase) and we will pick up with at least one passive phase when we start next week.
 |
| A powerful threat still looms |
The British have lost three units plus Sergeant Borne and the Zulu have only lost 3 war bands, but do have several at stamina. The Zulu do have two fresh IMPI that have not been engaged in the fight yet if they choose the initiate another active phase right away after the required passive phase.
The British are certainly hard pressed with the loss of three units and the Zulu players are in high spirits. Next week will be interesting.
More to come........
Part 2:
https://rallyroundtheflag.blogspot.com/2017/12/rorkes-drift-refight-part-2.html


As the Zulu commander it was a great game with lots of Zulu chants we had the movie playing in the back round. When we were to resolve a combat we would find the parts of the movie that had the Zulu's attacking and yelling and turn up the sound. Fun but friendly trash talking, cool stuff.
ReplyDelete