One of my favorite gaming past times is naval wargaming. Specifically I like to use the Naval Thunder rules from steel Dreadnought Games:
http://www.navalthunder.com/
I had been eagerly awaiting the release of the newest expansion Rise of the Battleship 2 which deals with Pre-dreadnought naval warfare. In anticipation of this expansion I had completed my Spanish American war fleet which had been lying patiently at Anchor for some time waiting for the expansion.
As I evaluated the two historical scenarios for the Spanish American War I realized they were extremely lopsided. Instead of playing a historical scenario for the first game I decided to scale it back and bit and play a more balanced what if alternate history scenario.
I present "Remember the Maine"
Order of Battle:
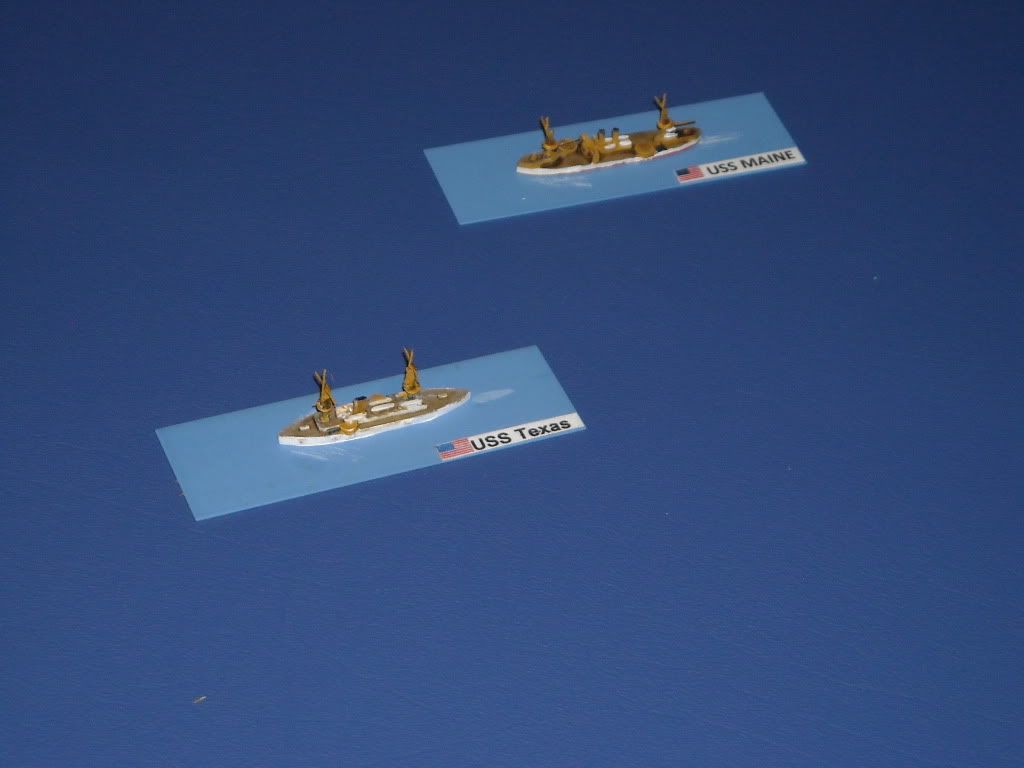
USN Squadron:USS Maine: 101 pts
USS Texas:109pts
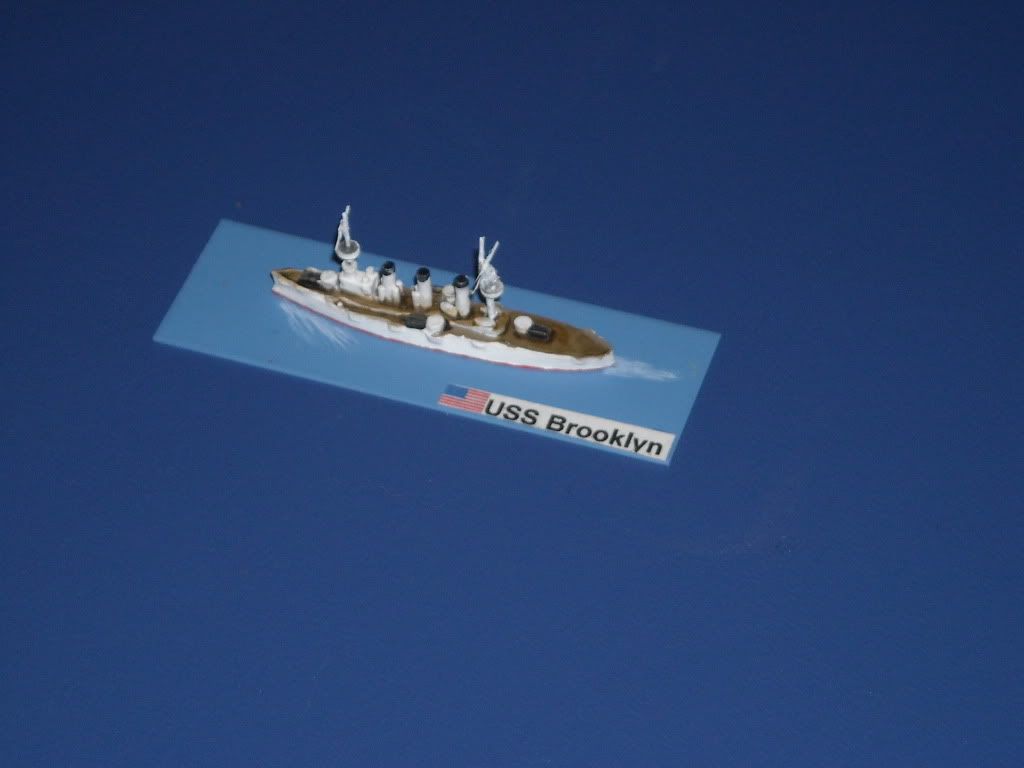
USS Brooklyn: 82pts
Spanish Squadron:
Vizcaya: 82 Pts
Infanta Maria Teresa (flagship): 82 pts
Almirante Oquendo:82pts
Cristobal Colon: 55pts (Estimate no Main guns)
Destroyer Pluton: 4 pts
Destroyer Furor: 4pts
Background:
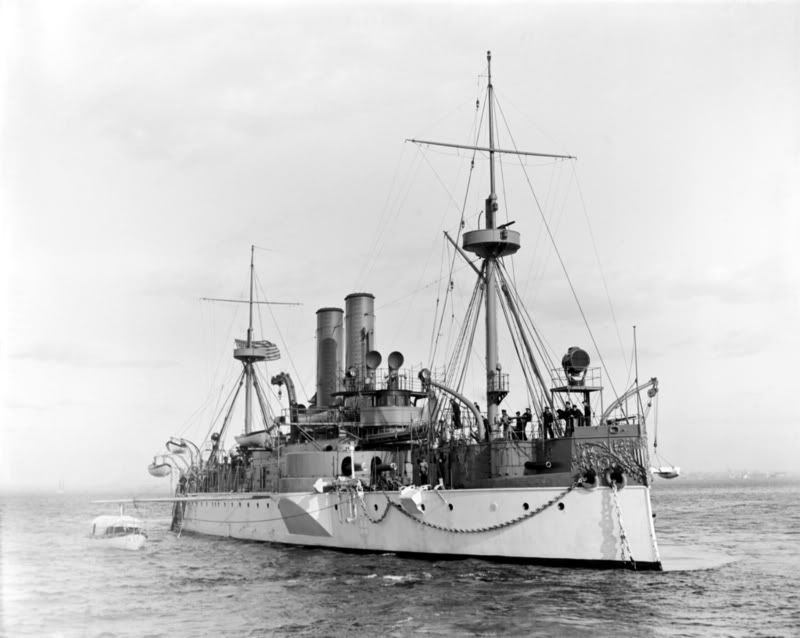
On the evening of 15 February 1898 the battleship Maine drifted lazily at its mooring. Although the Havana night was moonless, the Maine's gleaming white hull -- longer than a football field -- contrasted against the blackness of the sea and sky. Smoke wisped from its two mustard-colored funnels. Random lights sparkled from its portholes and its bridge.
In the captain's cabin, Charles Sigsbee sat at a table writing a letter to his wife. The trouble in Cuba, he wrote, would soon be over. The new Spanish governor of the island seemed to have the situation under control. During the three weeks that the Maine had been in Havana, Captain Sigsbee had seen no sign of Cuban rebels. He'd entertained the Spanish officers in his mess, and he and his staff had been entertained lavishly by the local officials. Although Sigsbee found the bullfights to which he'd been invited somewhat barbaric, the Spanish officers behaved as perfect gentlemen.
Even Fitzhugh Lee, the American consul, seemed optimistic. A month earlier the old general (Lee had commanded a cavalry division under his uncle Robert E. in the Civil War) had summoned a battleship to "protect American interests." Although the Maine was only a second-class battleship, it was the largest ship ever to enter Havana harbor. To the Cubans, it was a floating American fortress right in their capital city.
Aboard the Maine, "taps" sounded at ten minutes past nine.
Just then shouts erupted from the main deck and then the rattle of gunfire. Captain Sigsbee ran from his cabin to the main deck. He found a detail of Marines boarding a launch. The Officer of the deck quickly saw him and reported in. Soon he spotted another small boat that was pointed out to him as the Marine’s objective. The Marines investigated and found 6 men on the boat all but one dead or dying from guns shot wounds. The sixth was slightly wounded. The Marines also found the boat was laden with explosives.
The wounded man was interrogated and discovered to be a Rebel bent on sinking the Maine.
U.S. Marines were ordered ashore to protect American Interests.
Upon learning of this conspiracy additional U.S. warships were dispatched to Havana including the Battleship USS Texas and the Armored Cruiser USS Brooklyn along with several transports carrying an invasion force.
Spain would not set idly by as the U.S. implemented colonial expansion in their back yard at the expense of the Spanish empire. Spain quickly dispatched Admiral Cervera with his force of four armored cruisers and two torpedo boats to challenge the Americans landing in Havana.
On the afternoon of 28 February 1898 the USS Texas and USS Brooklyn arrived with the invasion force and joined the USS Maine.
On the morning of March 1st the US forces began the landing in earnest meeting minimal Spanish opposition. The Maine and Texas entered the Harbor and provided fire support at the land forces drove the Spanish from the city to the surrounding hills while the USS Brooklyn maintained patrol outside the harbor.
In the Early Dawn of March 2nd 1898 the two American Battleships lay at anchor waiting for the sun to rise to continue shelling the Spanish strong points that still remained from the day before.
Unknown to the American the Spanish threat did not only lie ashore as a naval force was quickly approaching.
Special rules:
First three turns are treated as night. The two Spanish DDs are aware of the location of the Maine and the Texas.
All other ships must roll 1d10 to spot each enemy ship until turn 4. Once a ship is spotted it remains spotted.
Turn 1: 9-10
Turn 2: 8-10
Turn 3: 6-10.
All ships are spotted once they fire the first time.
USS Maine and USS Texas are at full stop just inside the harbor. Upon sighting an enemy ship the can move speed 1 the next turn and increase speed by 1 each turn after that.
AAR:
USN Forces:
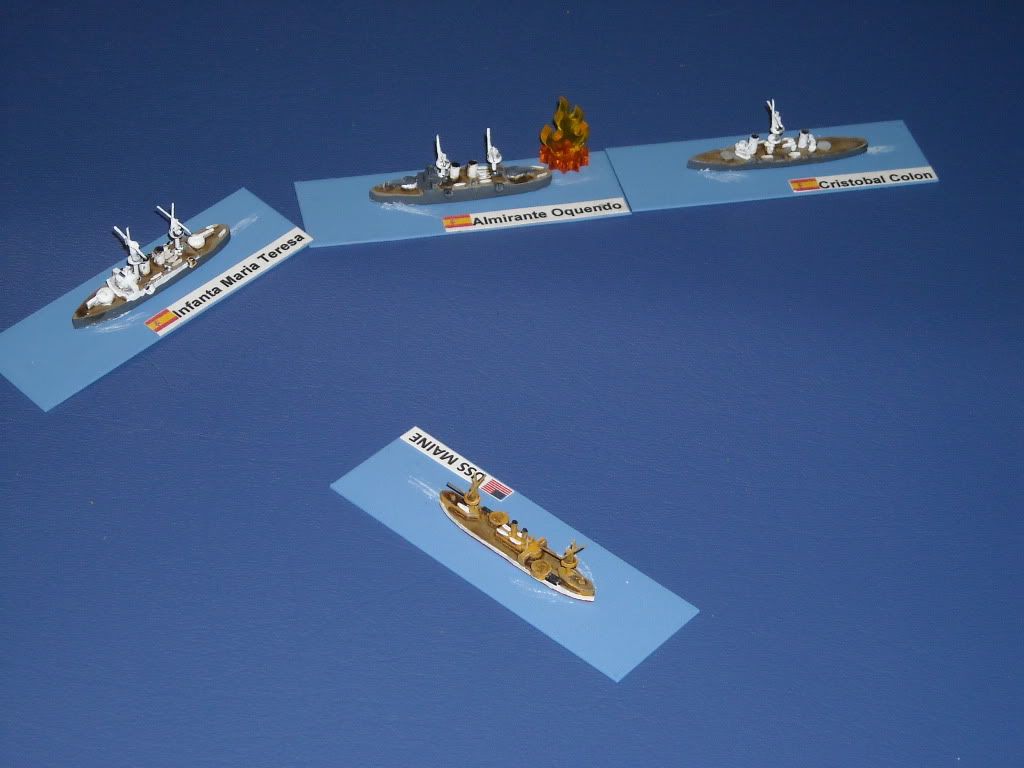
Texas and Maine:
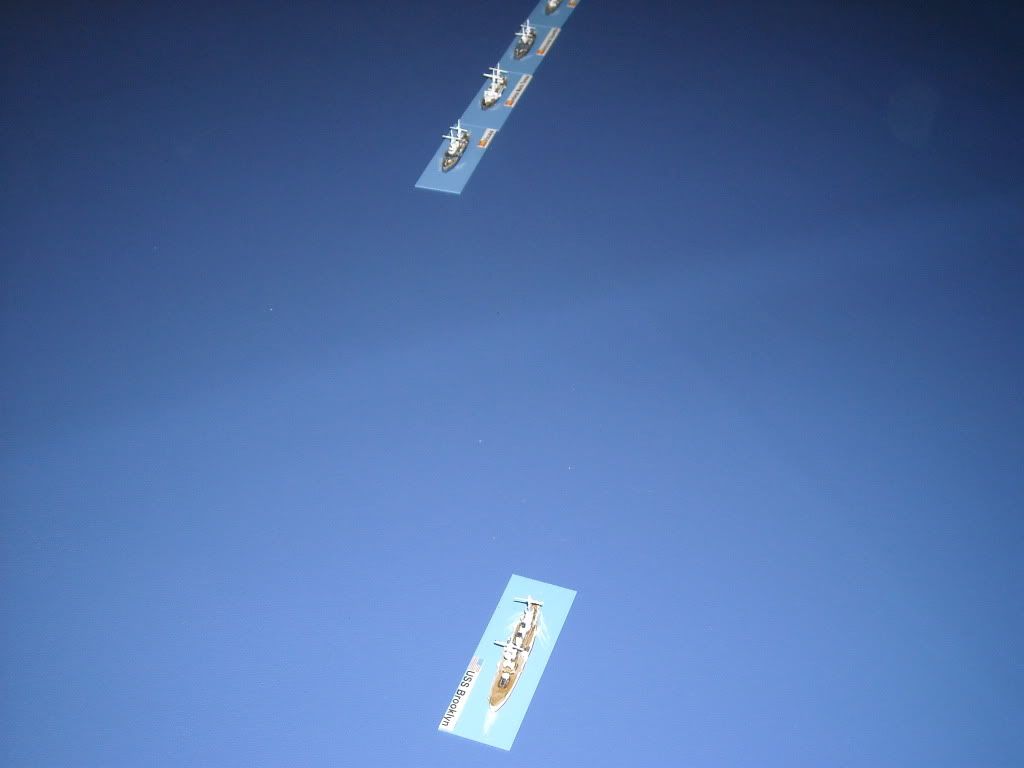
USS Brooklyn on Patrol:
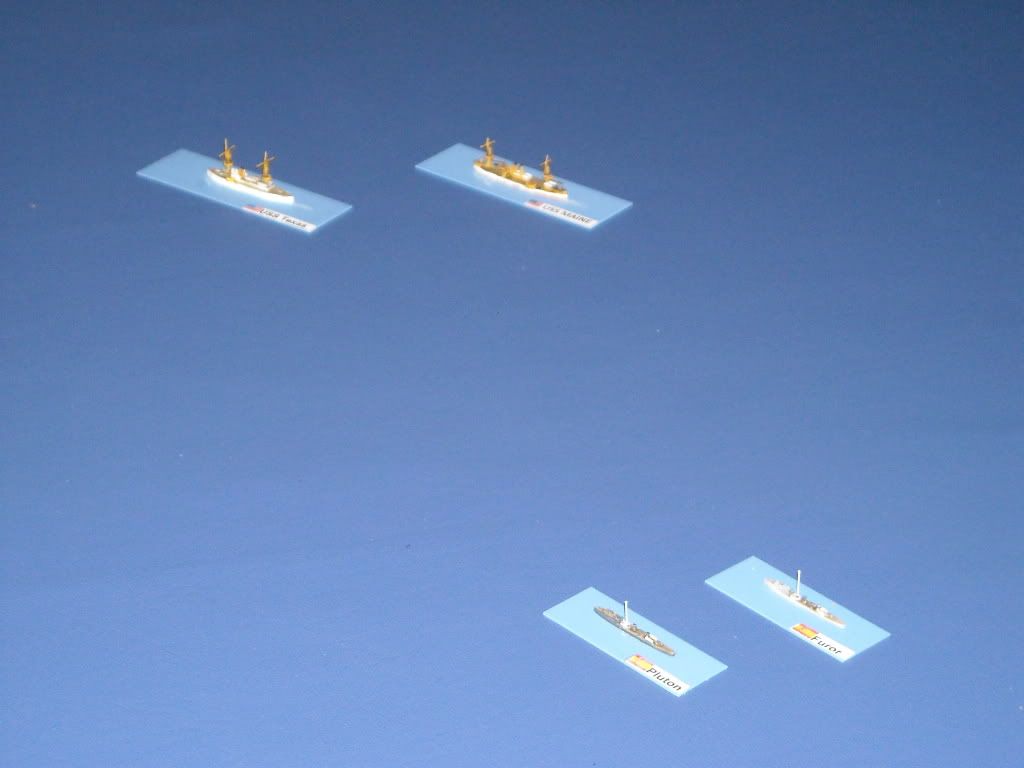
Furor and Pluton preparing to make their run on the unknowing US battleships:
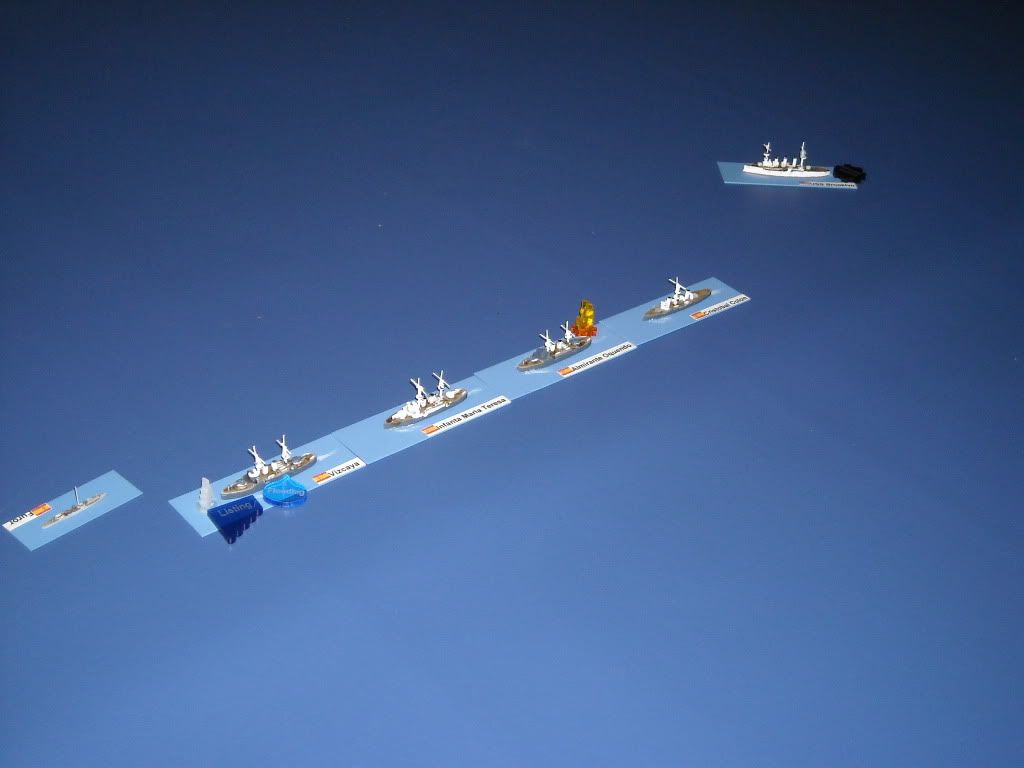
Spanish main Battle Line:
Turn 1:
Spanish Destroyers closing on Maine and Texas unspotted While the Brooklyn and Spanish Battle line close on each other:
Turn 2:
The keen lookouts on USS Maine spot one of the DDs, but the gunners are unable to score a hit while the Brooklyn and Spanish cruisers continue to close the range unaware of each other’s presence:
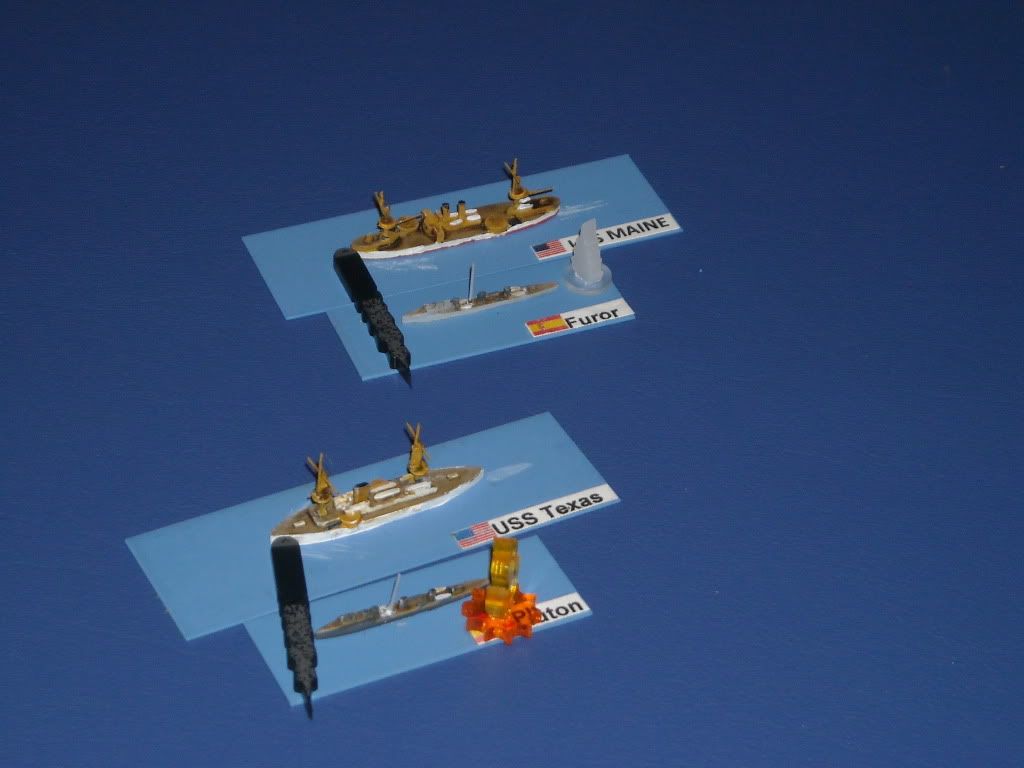
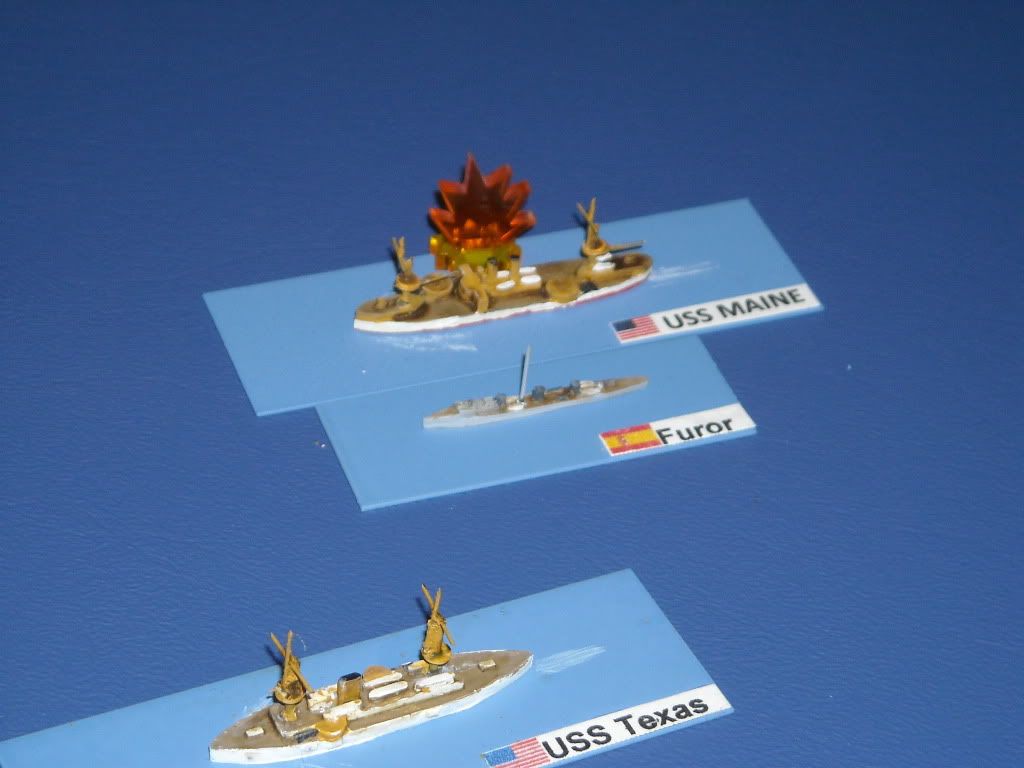
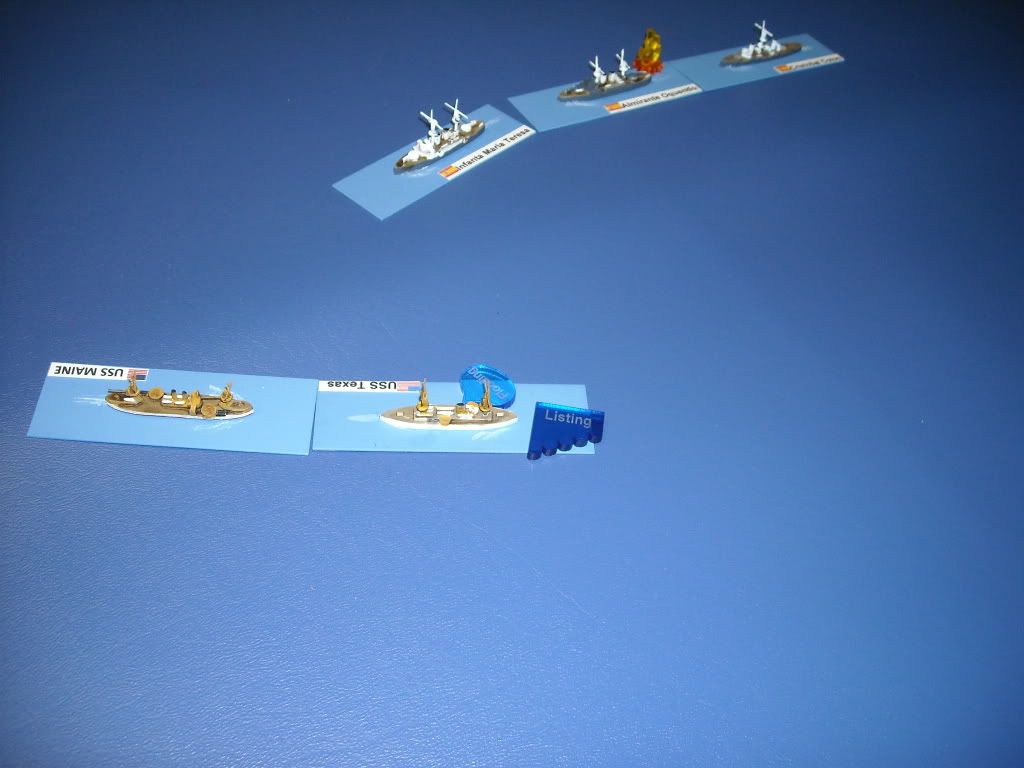
Turn 3:
The Texas joins the fight as it spots the attacking DDs and blasts the Pluton out of the water, but it is too late as fish are now in the water. The Spanish gunners also spot the Brooklyn and open fire drawing first blood.
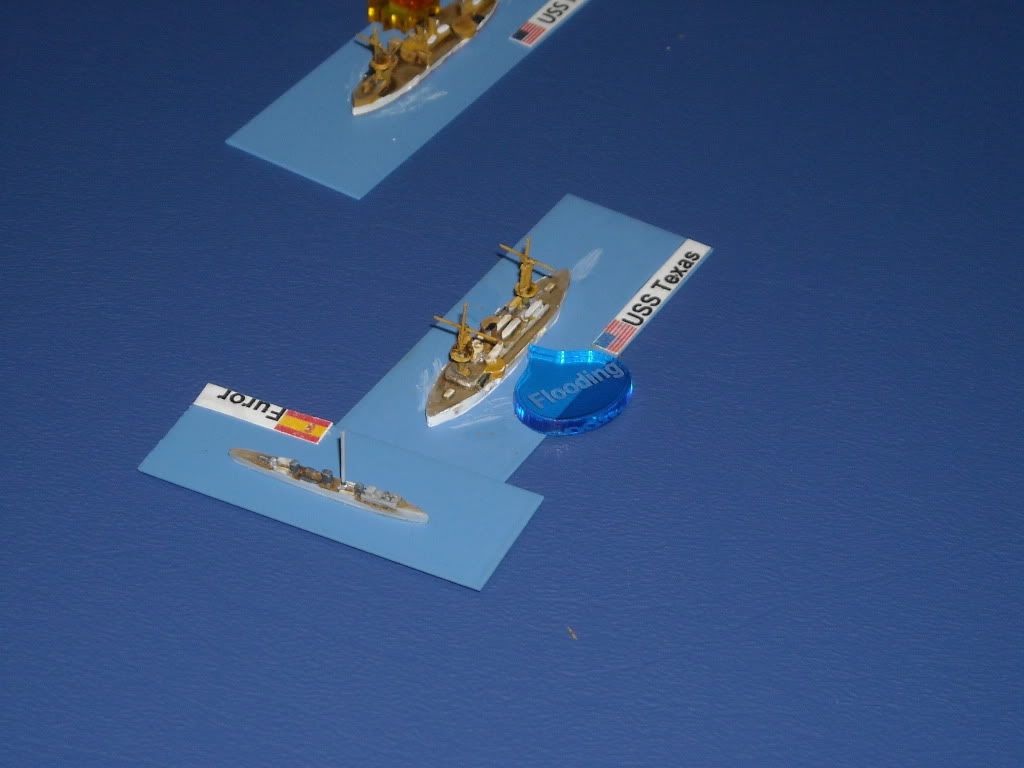
The torpedoes prove deadly at close range as Furor scores a hit setting USS Maine afire:
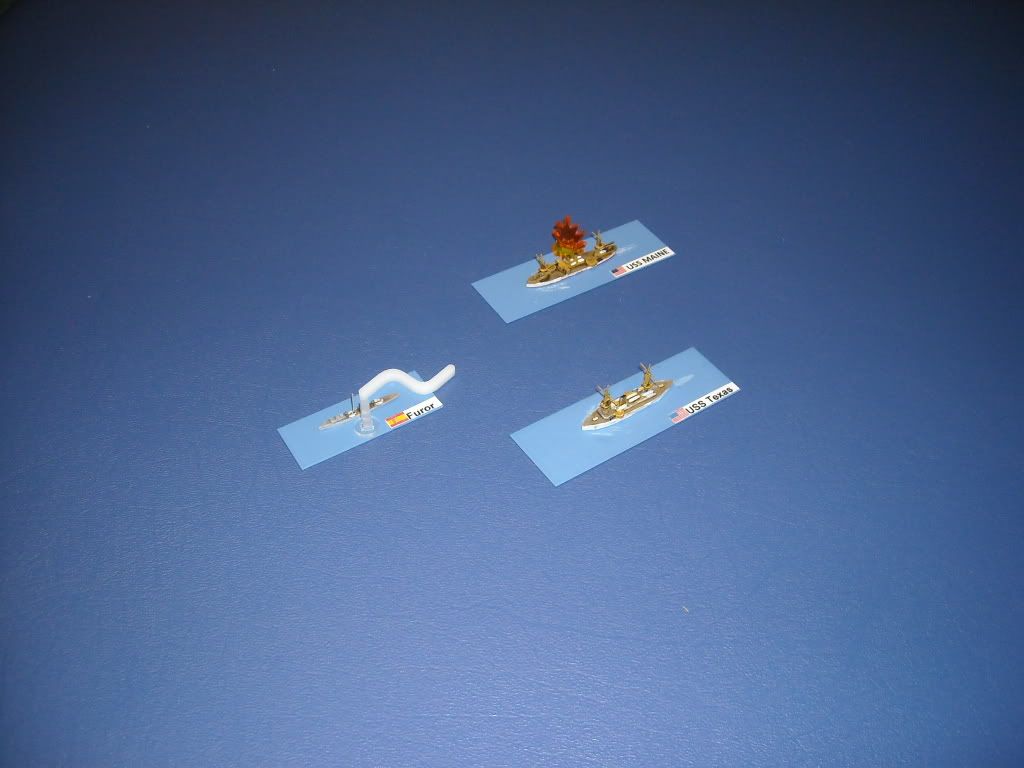
Turn 4:
The Furor takes evasive action to avoid the lumbering battleships heavy shells looking to seek revenge while the USS Brooklyn scores a hit on the lead Spanish cruiser causing flooding.
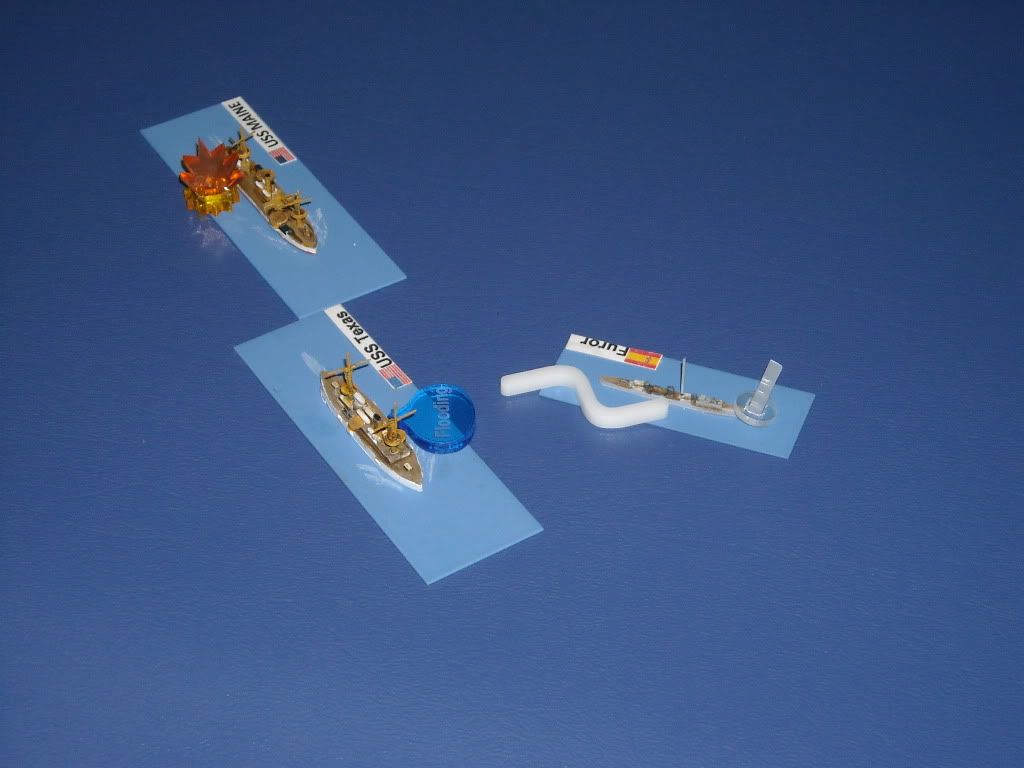
Turn 5:
The Furor is able to quickly close back into torpedo range and cross the beam of the Texas avoiding her big guns. The Spanish cruisers begin their turn into the Harbor while exchanging close range fire with Brooklyn starting fires and causing the Brooklyn to take a critical engine hit.
The Spanish fish prove extra potent scoring a 2nd hit this time on the Texas casing flooding.
Turn 6:
Having spent all her torps and having no guns Furor races off taking evasive action while Texas and Main turn toward the oncoming Spanish line while licking their wounds. Brooklyn attempts to continue to stay engaged, but her reduced speed is beginning to show.
Turn 7:
Ranging shots are exchanged with no effect. The only eventful occurrence is the Spanish Damage control proves inept and Vizcaya takes on a list while Maine is able to extinguish her fires.
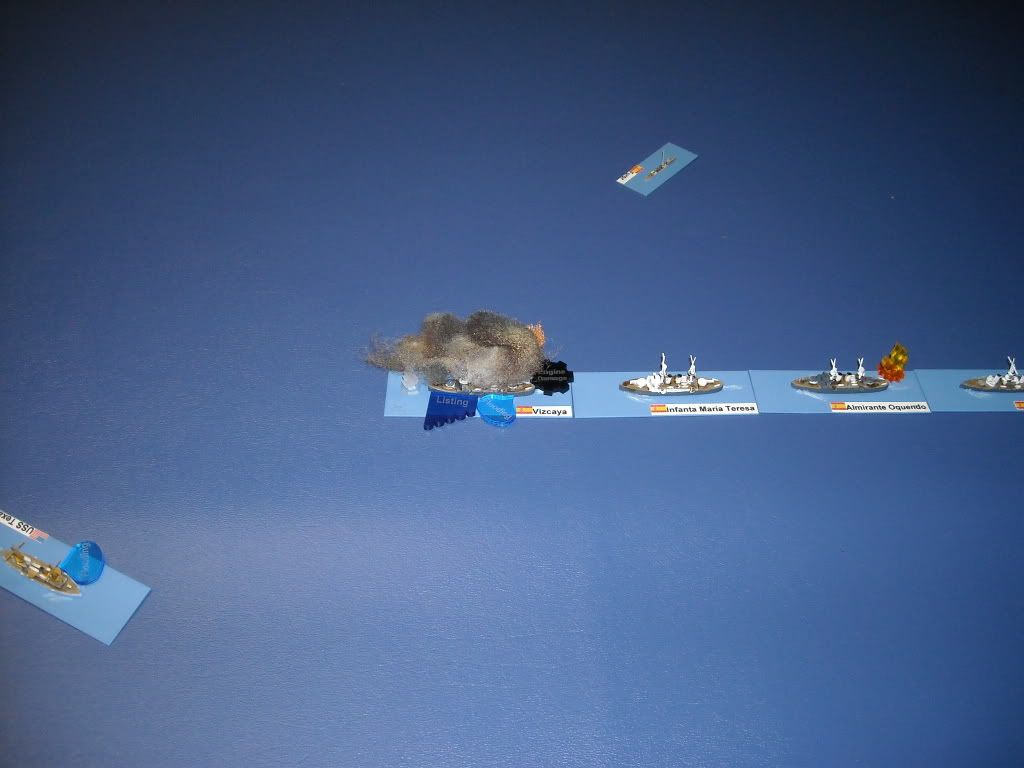
Turn 8:
Texas scores another crit on Vizcaya causing flooding. This proves too much for the overwhelmed damage control parties and the Vizcaya rolls over as she take a second severe list.
Turn 9:
The Spanish no longer hindered by the Vizcaya's slow speed quickly close the range on Texas and Maine. Both forces score hits. Texas takes a 2nd flooding hit and a severe list.
Turn 10:
Another slug fest turn as the Spanish 11" guns prove deadly at close range as the focus on Texas score two damaging critical hits. Texas can take no more and succumbs to the damage that has been inflicted.
Turn 11:
The now outgunned Maine tires to even the score and hits the Maria Teresa. The Spanish gunnery is not to be outdone this day and they score two deadly criticals on the Maine taking out both Main batteries leaving USS Maine almost defenseless.
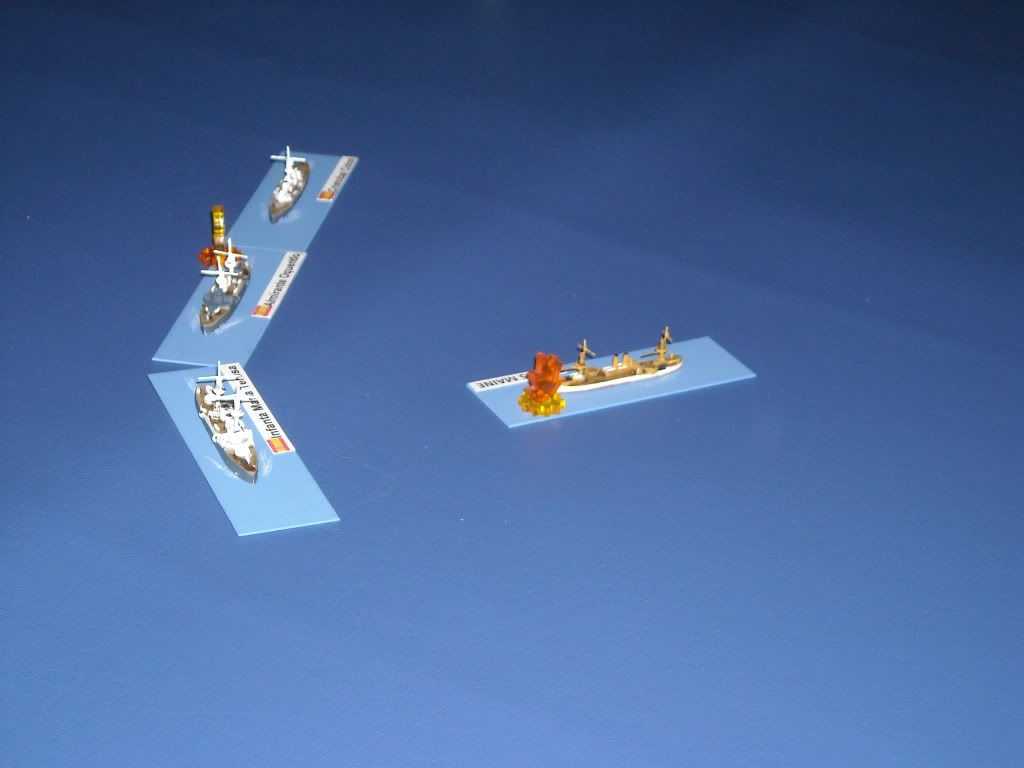
Turn 12:
In a desperate attempt to salvage the day the hapless USS Maine makes a run to rejoin the USS Brooklyn which still has plenty of fight left in her. The Spanish sailors will have none of it though. Like sharks smelling blood in the water they continue to pound the Maine starting another fire.
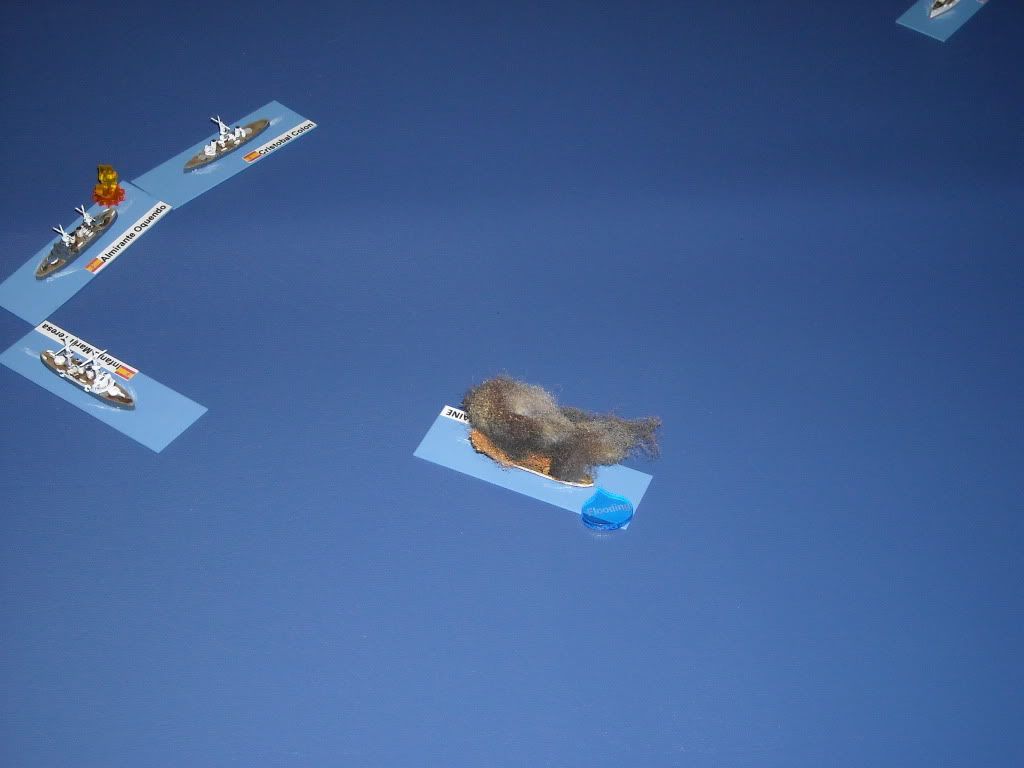
The damage tally has proved too much for the aging 2nd class battleship. Her crew is unable to control the raging fire and it proves to much as her decks go awash and she starts to settle below the waves of Havana harbor.
USS Brooklyn now hopelessly outnumbered retires leaving the battered Spanish Squadron in command of the harbor and the city trapping the US Marines and soldiers that went ashore the day before.
The U.S. fleet will be back to seek revenge crying "Remember the Maine"
I was quite surprised by the results of this action. The Spanish had a small point advantage, but considering the Colon carried no main guns it seemed fairly even. The Spanish definitely had the dice gods with them this day scoring many criticals to include 2/3 torpedoes scoring their mark.
I would not expect the same results again.
So far RotB 2 has lived up to my expectations. ;)