Thursday, February 25, 2016

Axis & Allies Miniatures Collection

Complete AAM Collection
So I am currently contemplating selling my entire Axis & Allies Miniatures collection.  This will be a major step for me as I am a collector and a bit of a hoarder when it comes to games.  I have moved on to 28mm WWII and have not played AAM is a few years, so these are somewhat redundant.

The purpose of this post is to document the collection for potential buyers.  My preference will be to sell to one buyer, but understand unless I find the right buyer I may have to break it down as the average gamer typically does not have the disposable cash to purchase a collection this size and I will take a considerable loss selling to a dealer or re-seller.

I am sure I can do better parting it out, but there is some value to my time and effort, so initially I think I will look to see if I can get some serious offers for the collection as a whole.

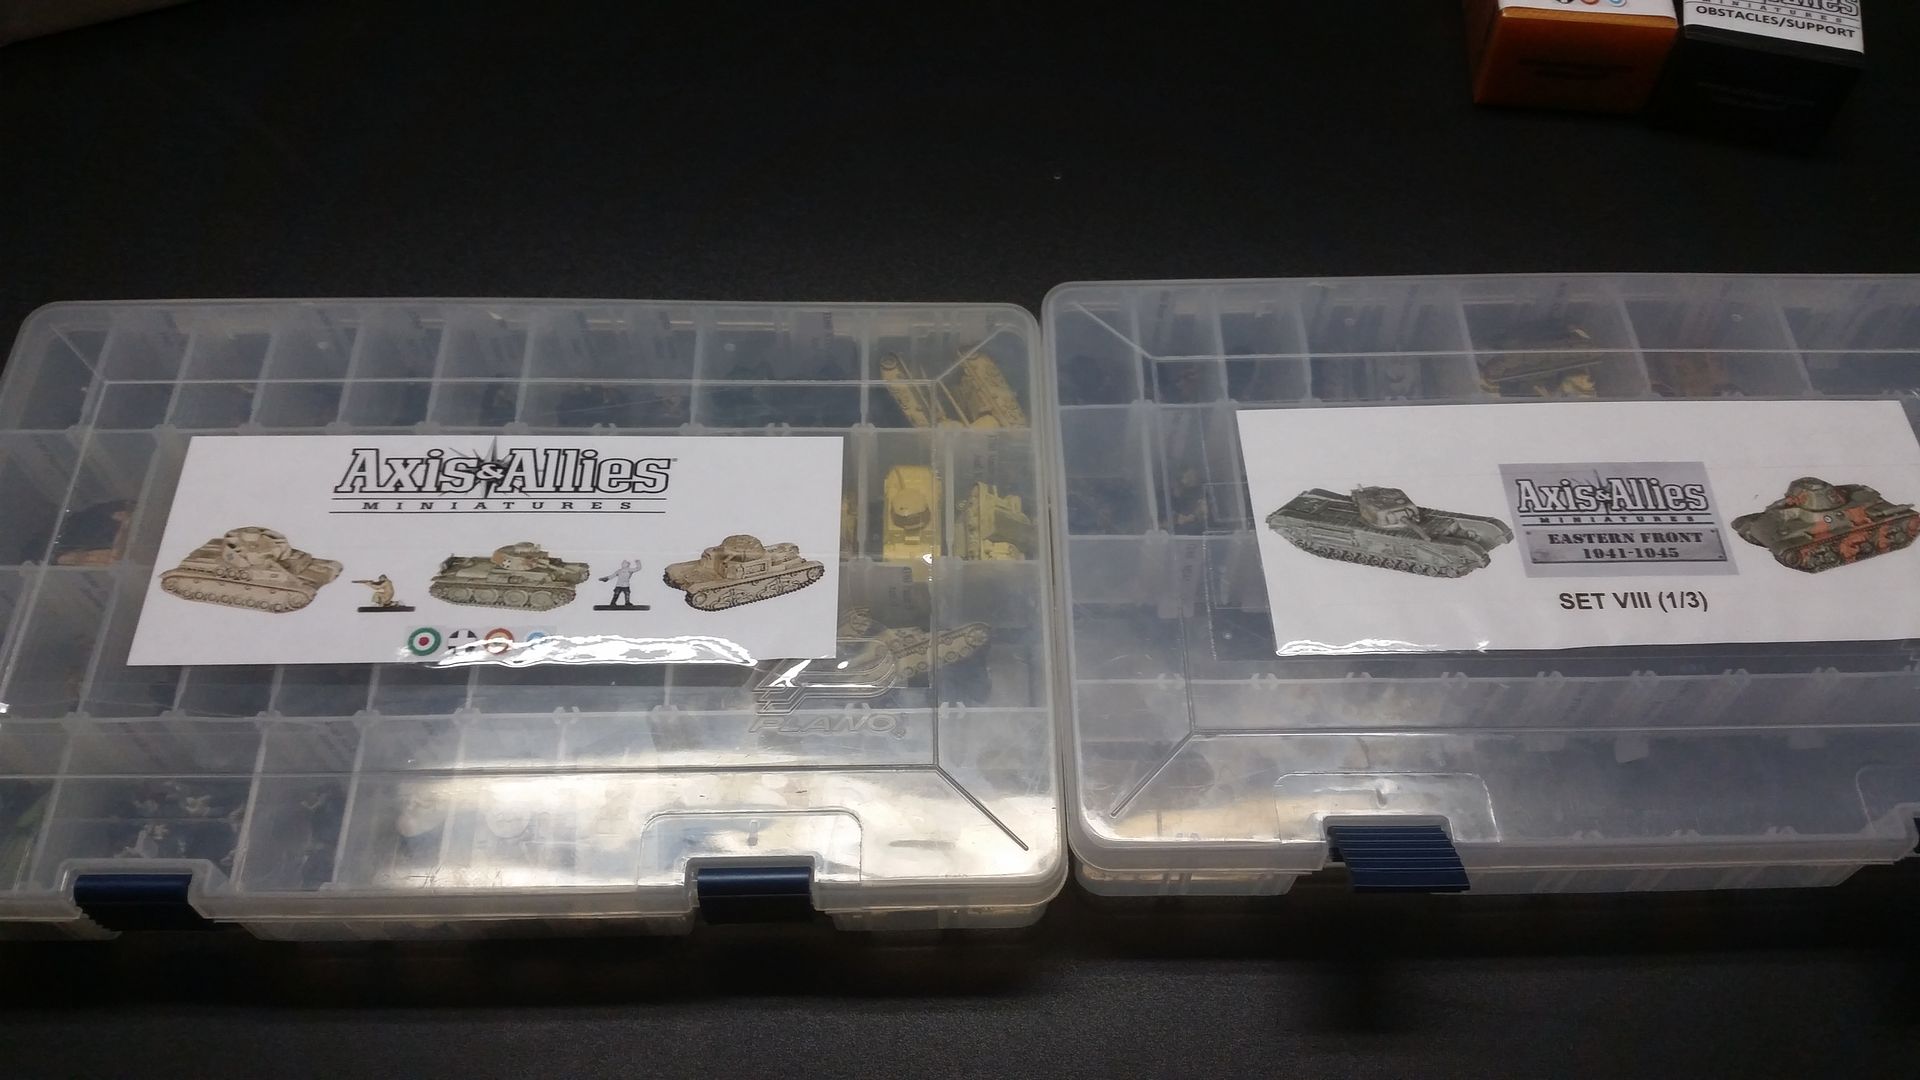
At one time I owned complete sets for all the sets (ended up being 10 total), but I decided to sell off Set 1-5 when Wizard of the coast changed the scale with set 6 and started re-releasing precious minis in the consistent 15mm scale.  I have since gone back and re-collected some of the original minis in the first 5 sets that were not re-released.  As a result I have select minis for set 1-5 and complete sets for 6-10 with many in multiples.

It has been awhile since I have prices out the individual minis, but a quick scan on e-bay and other online retailers tells me that many infantry are still selling for $1+ and vehicles are all over the place with many in the $5-20 range.

I do have an extensive inventory record in excel, but it has been a few years since I have touched this collection.  I plan to go through and re-validate the spreadsheet in the coming days and I will provide a copy to serious buyers.

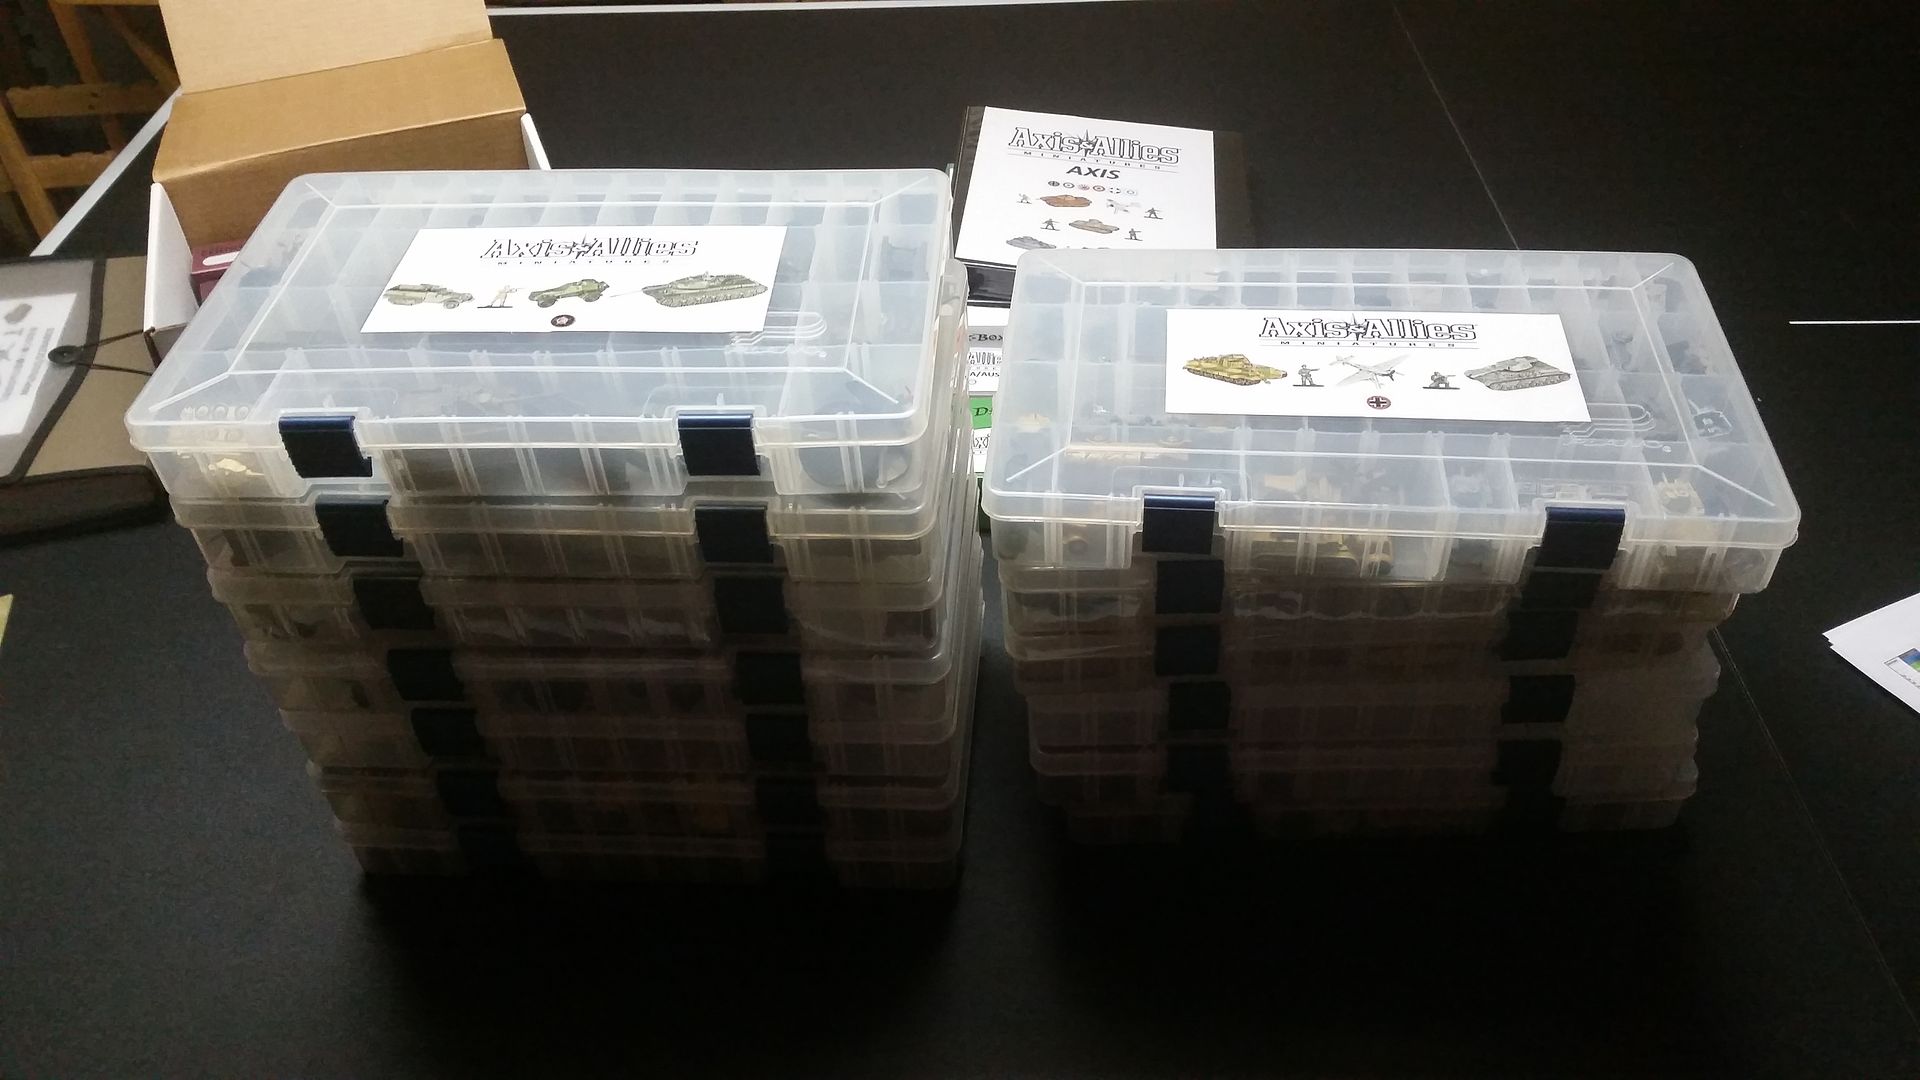
At this time my inventory shows me that I have over 1200 minis in total.  It is possible that a few trades did not get captured, so once I validate it I can provide an exact number.

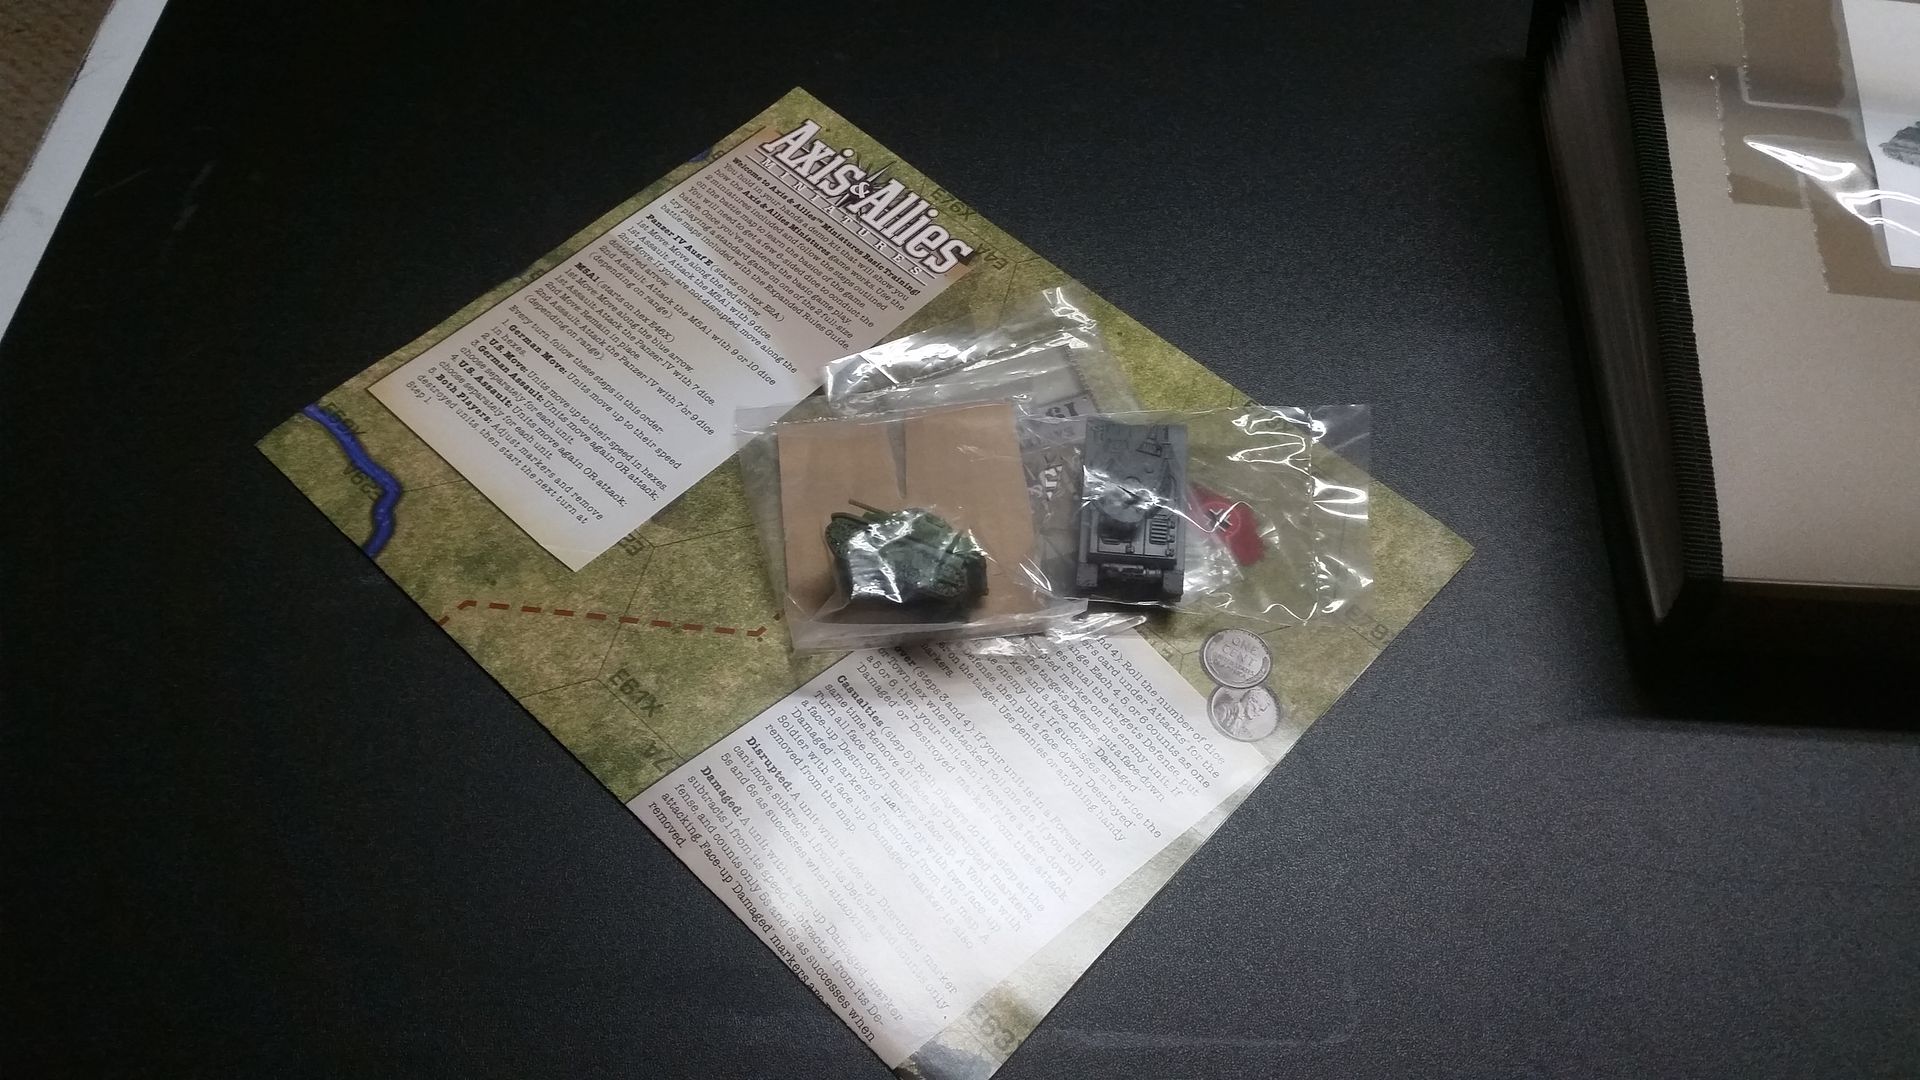
As for condition, I will let the pictures speak for themselves.  I was a player and a collector, but more so a collector.  As a result only a small portion of this collection ever saw the gaming table.  Other than being out of the bag I would rate everything in Mint/Near Mint condition with only a very few exceptions where I may have acquired an older mini that someone else marked.  When I validate the inventory I will make any condition notes.

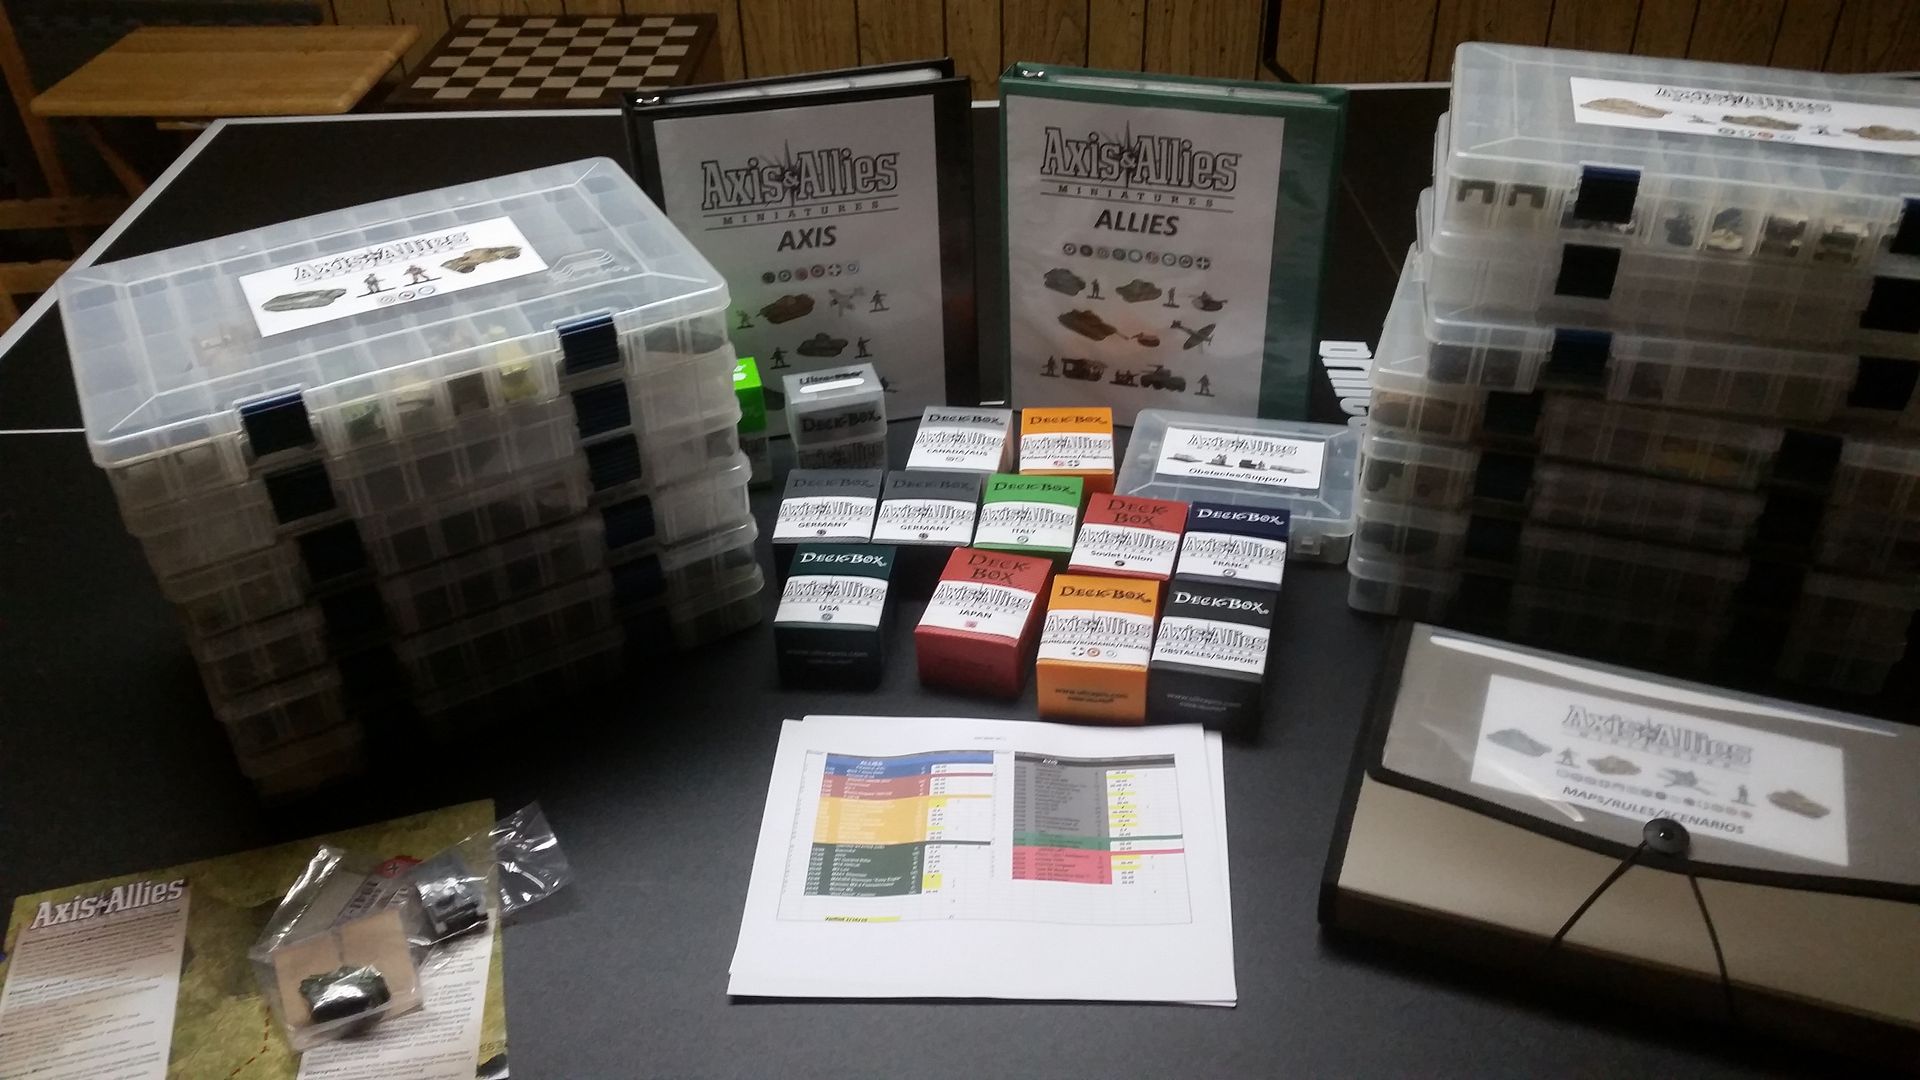
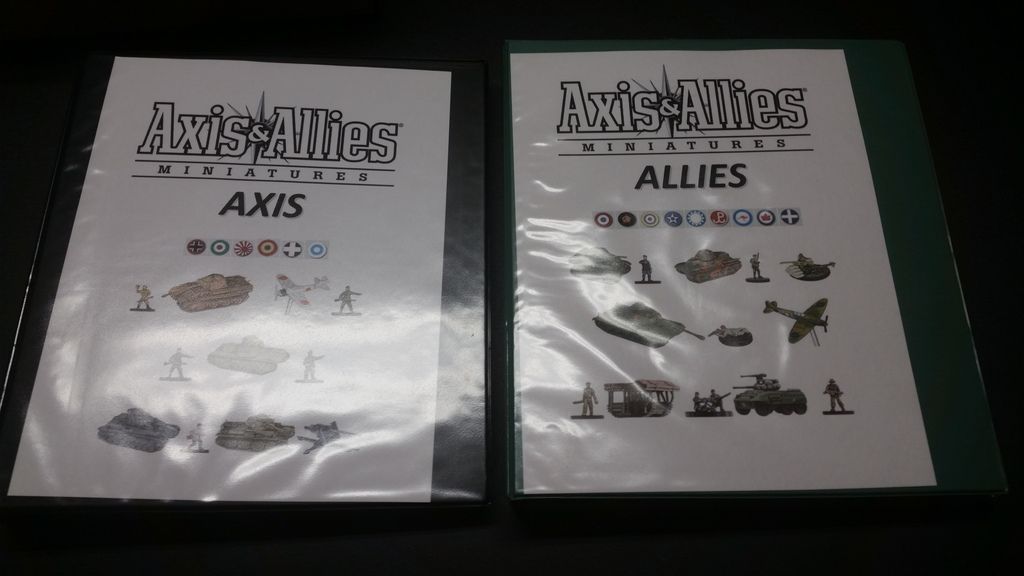
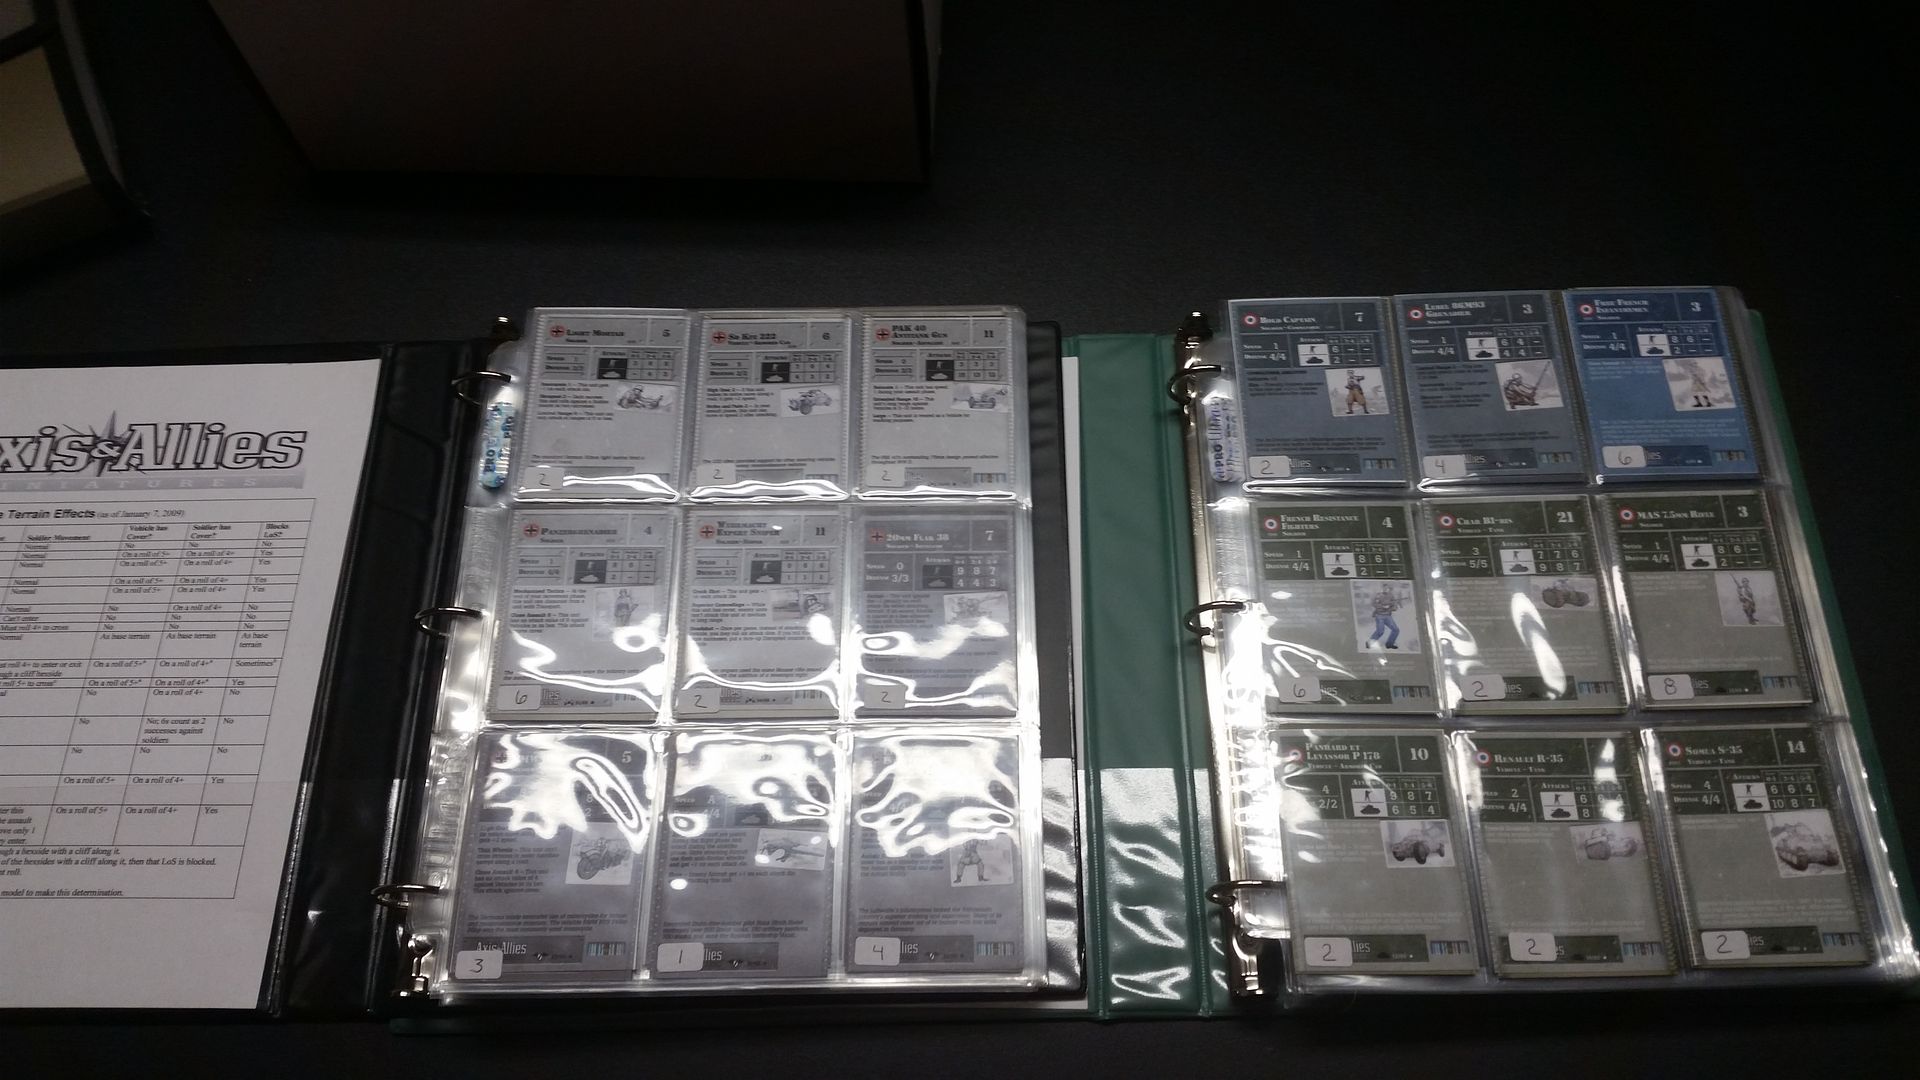
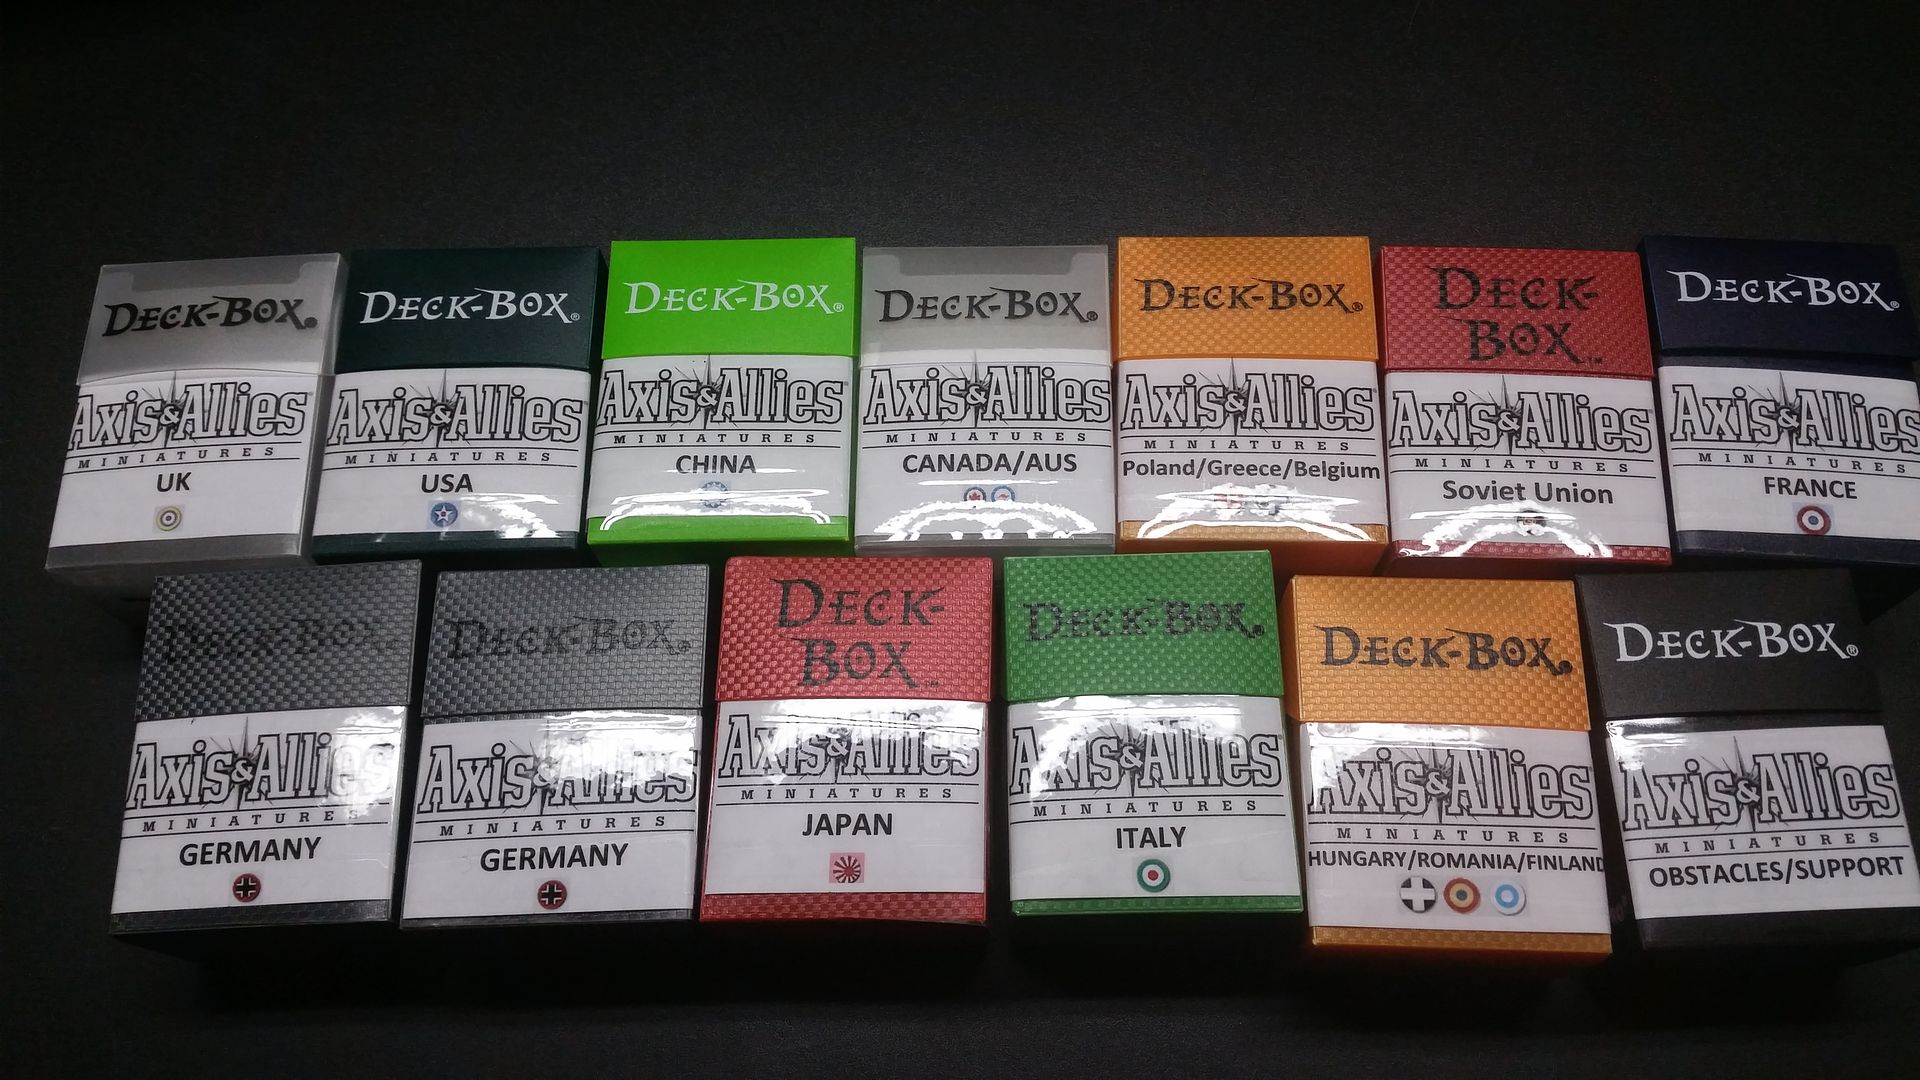
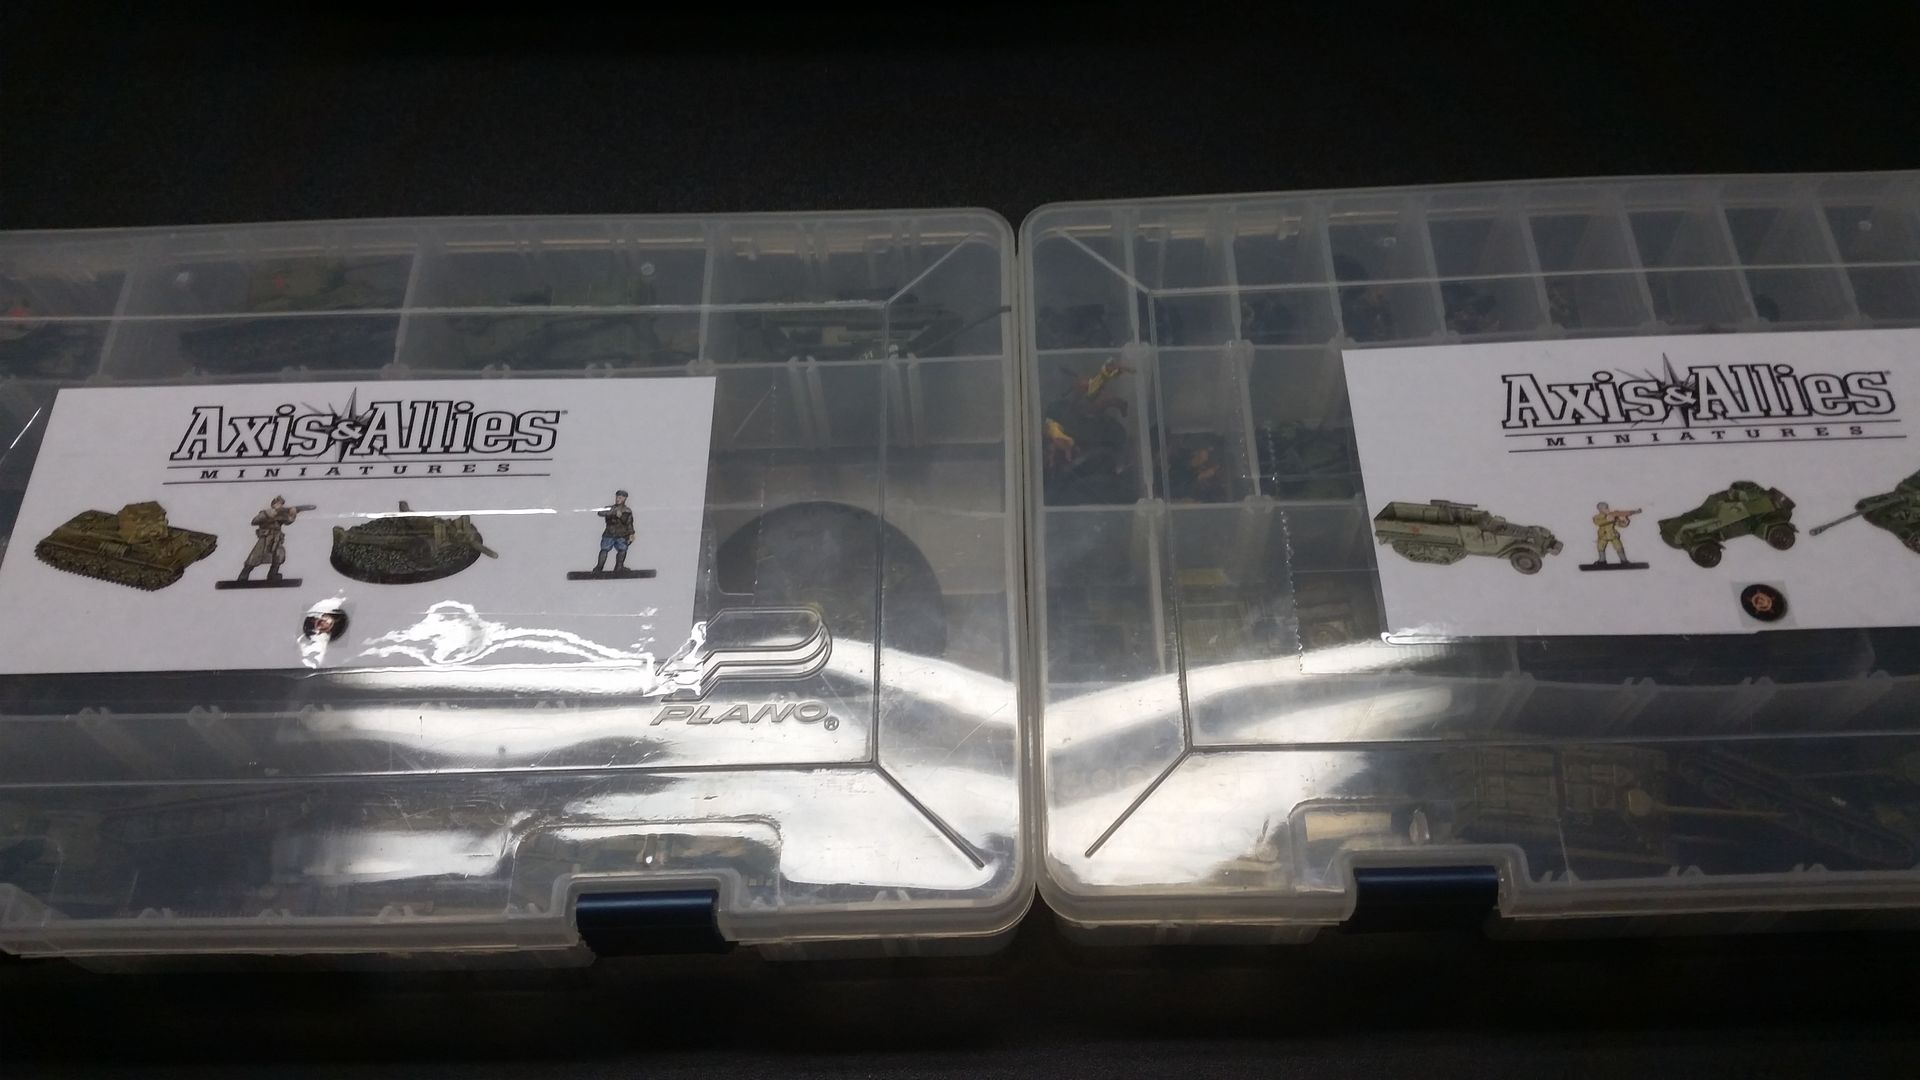
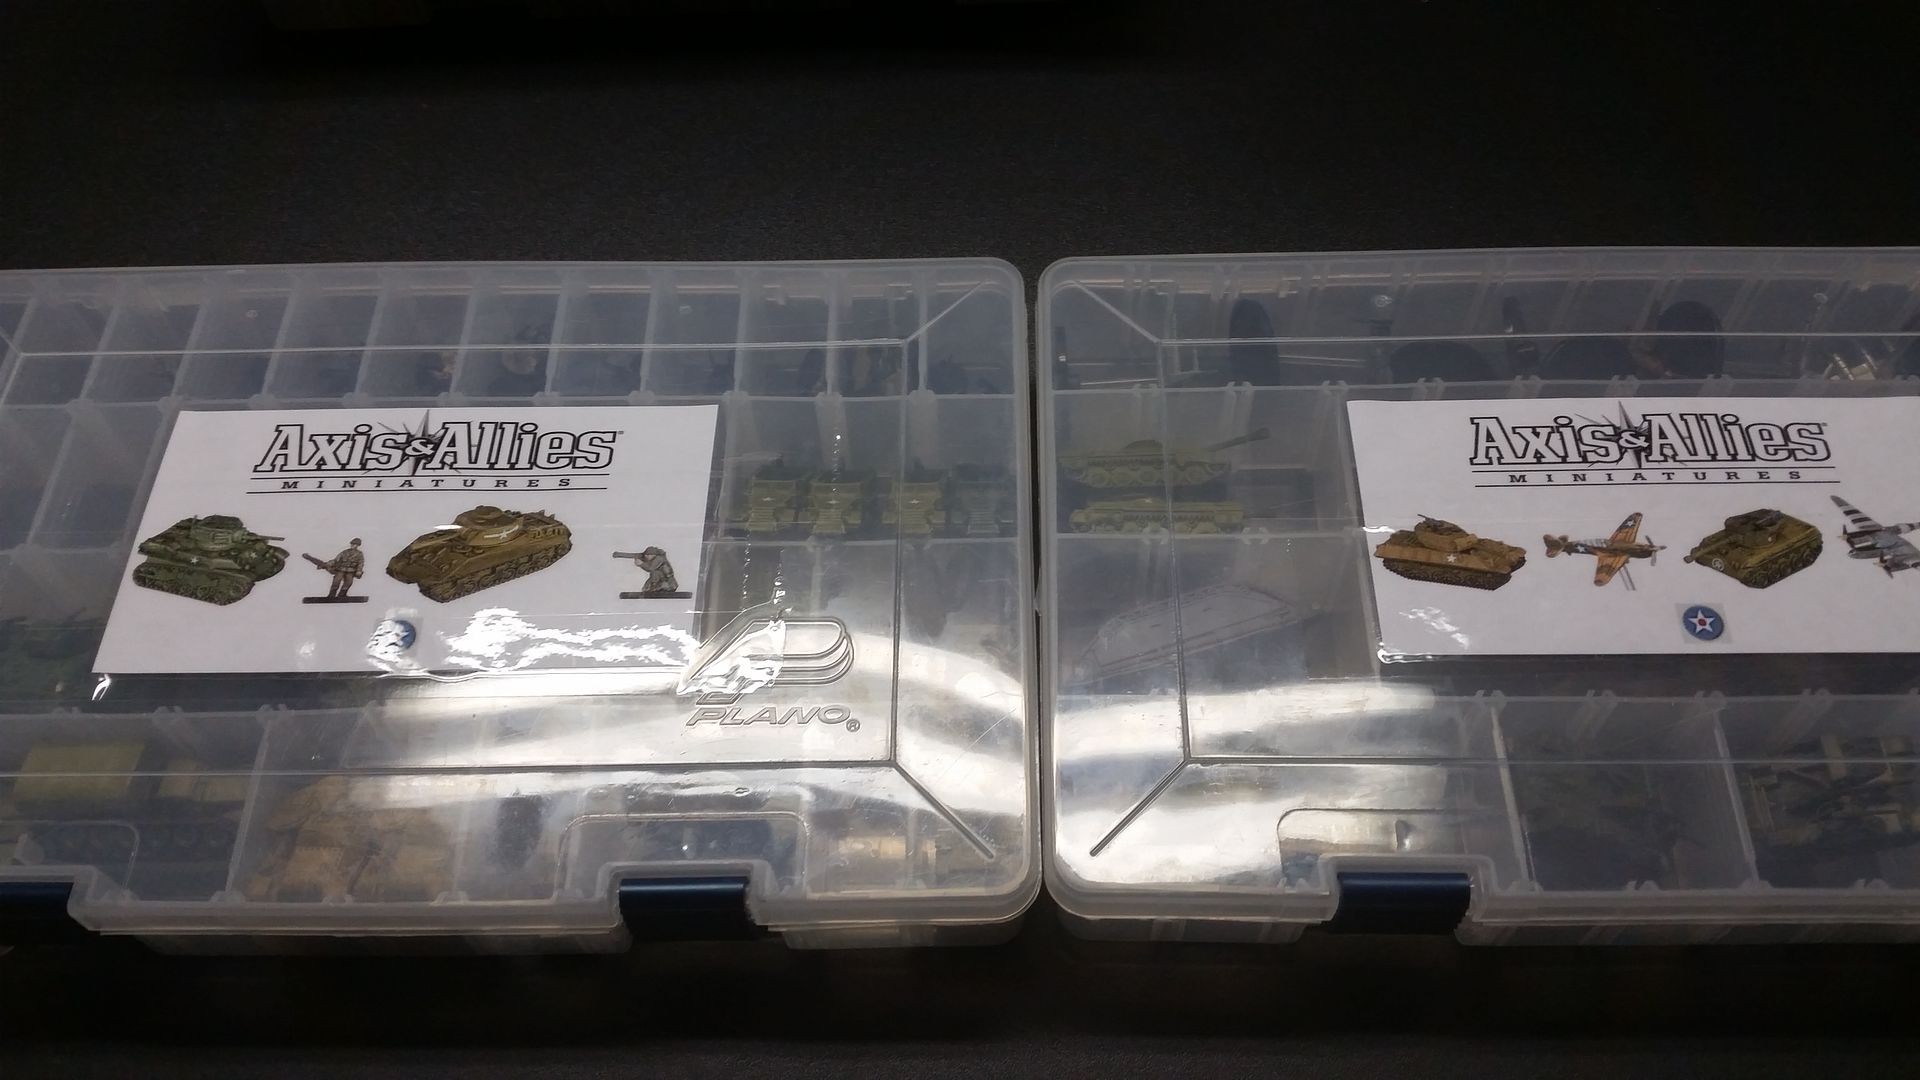
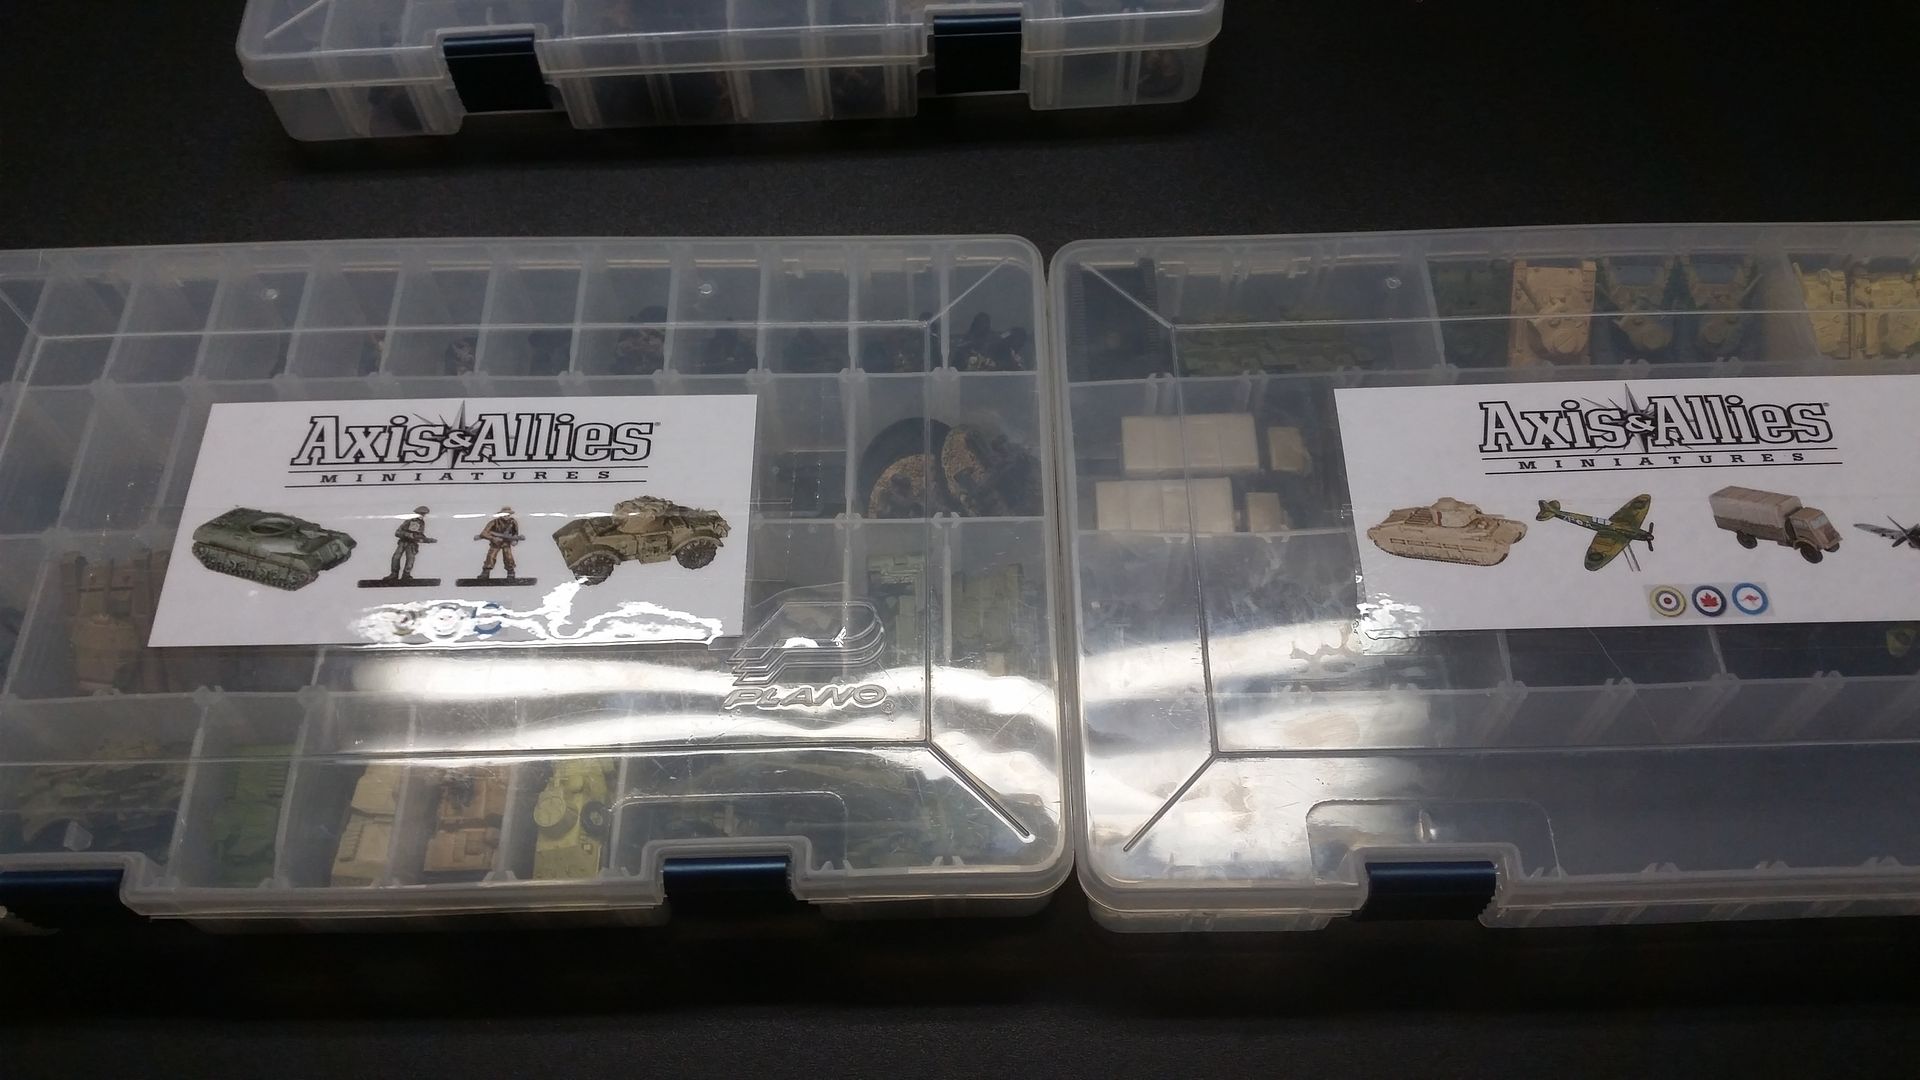
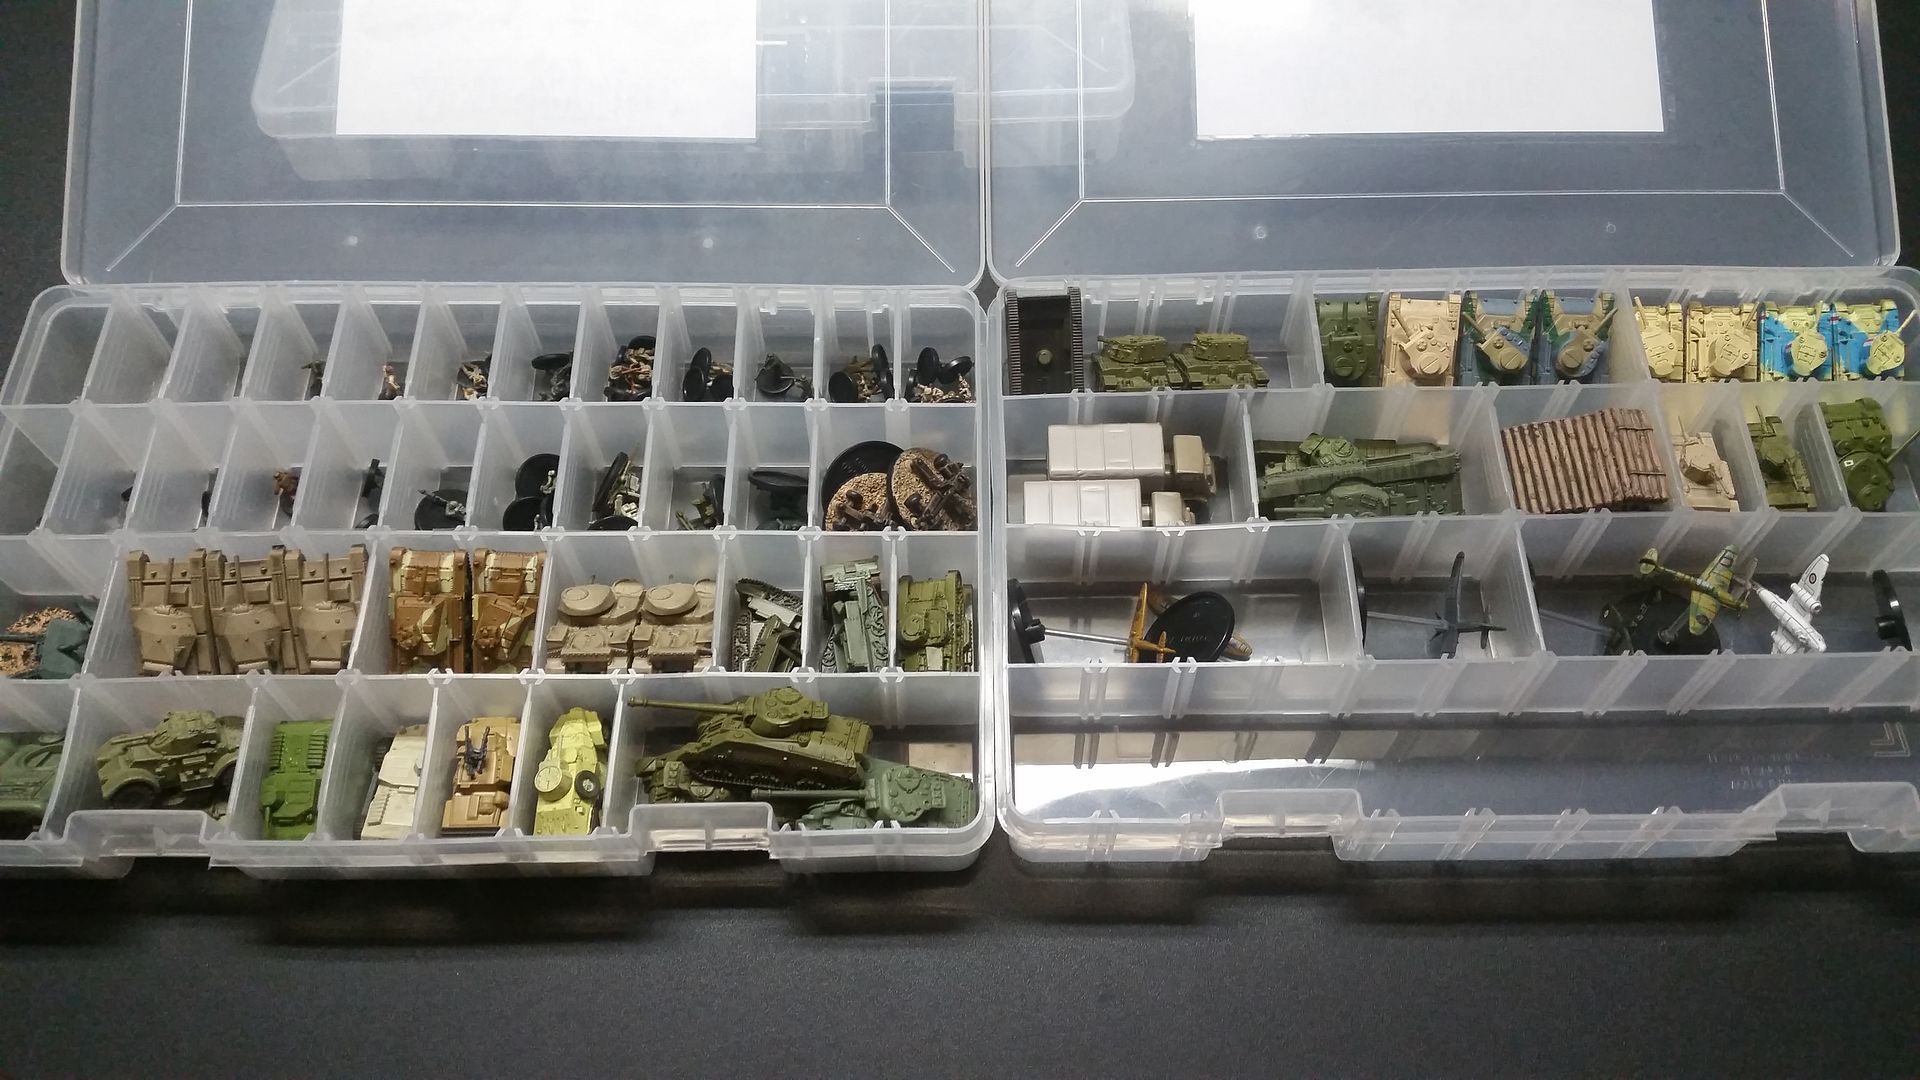
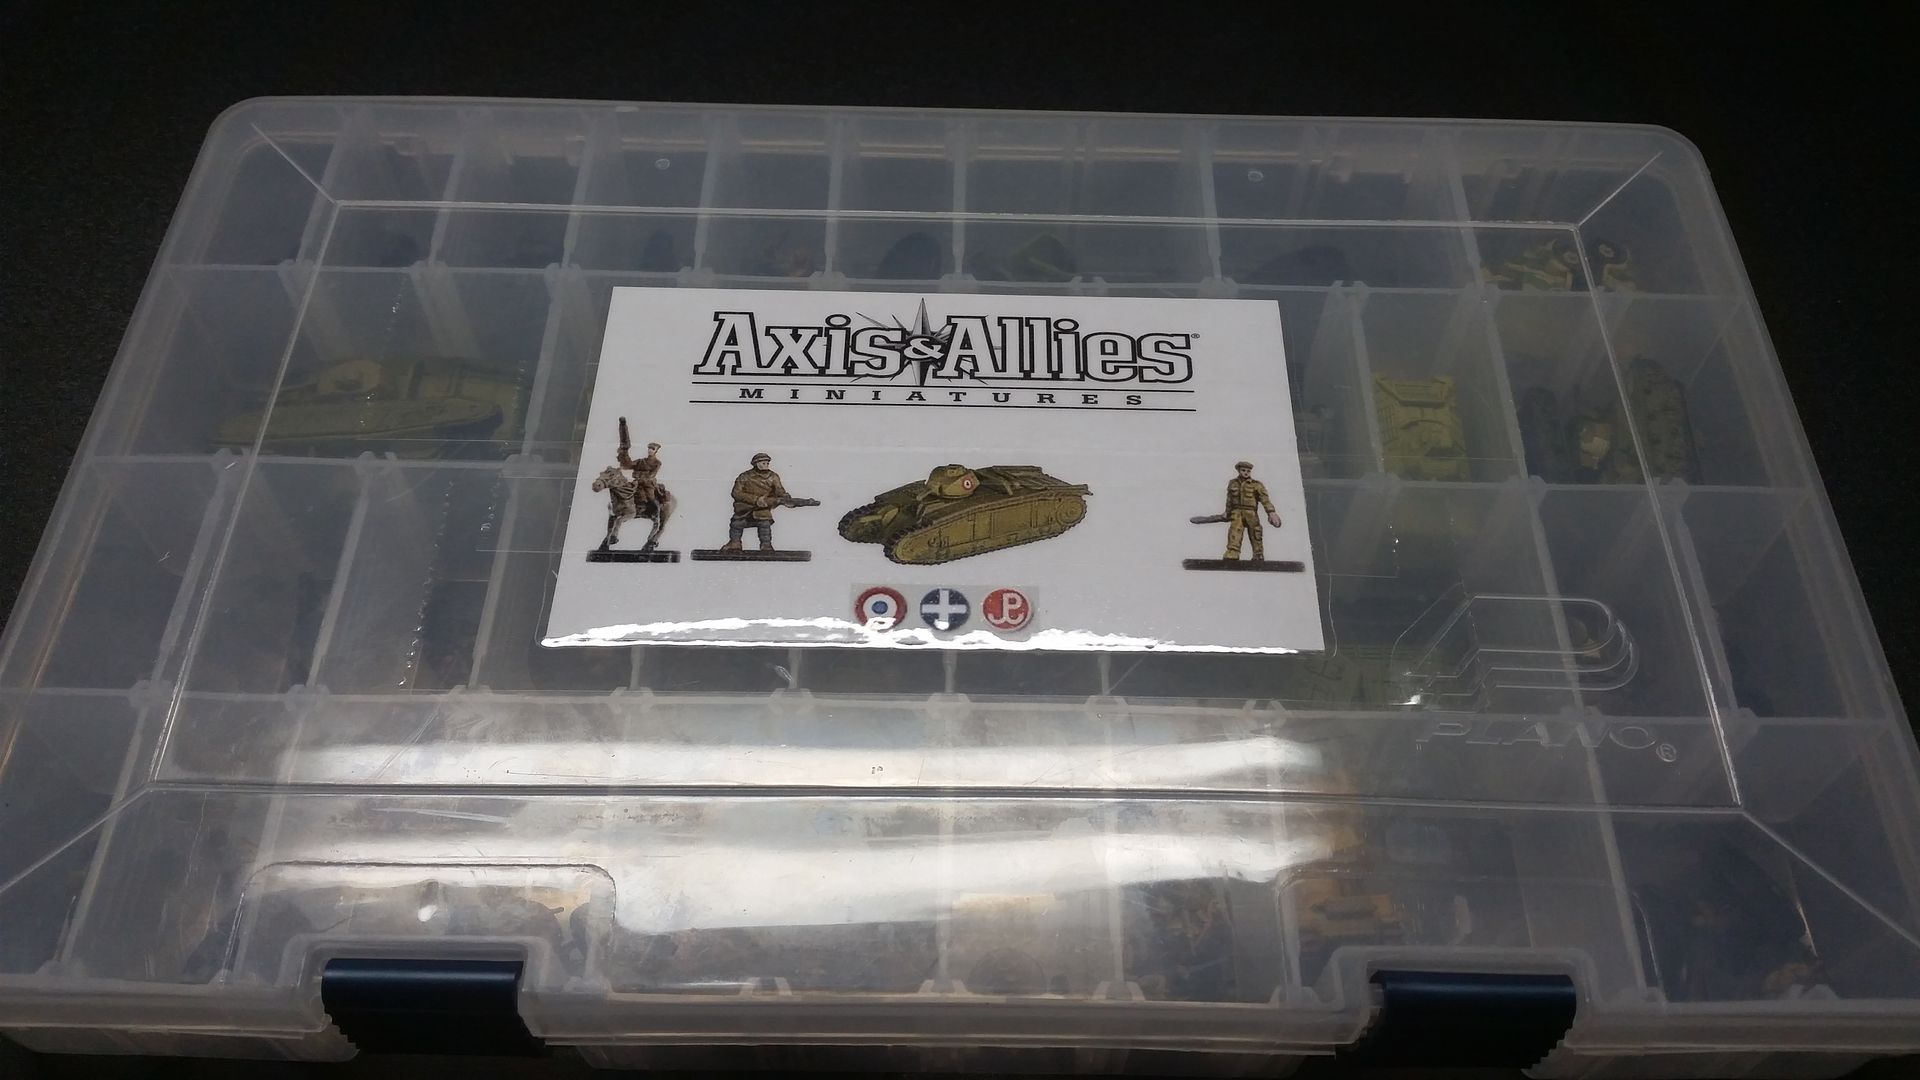
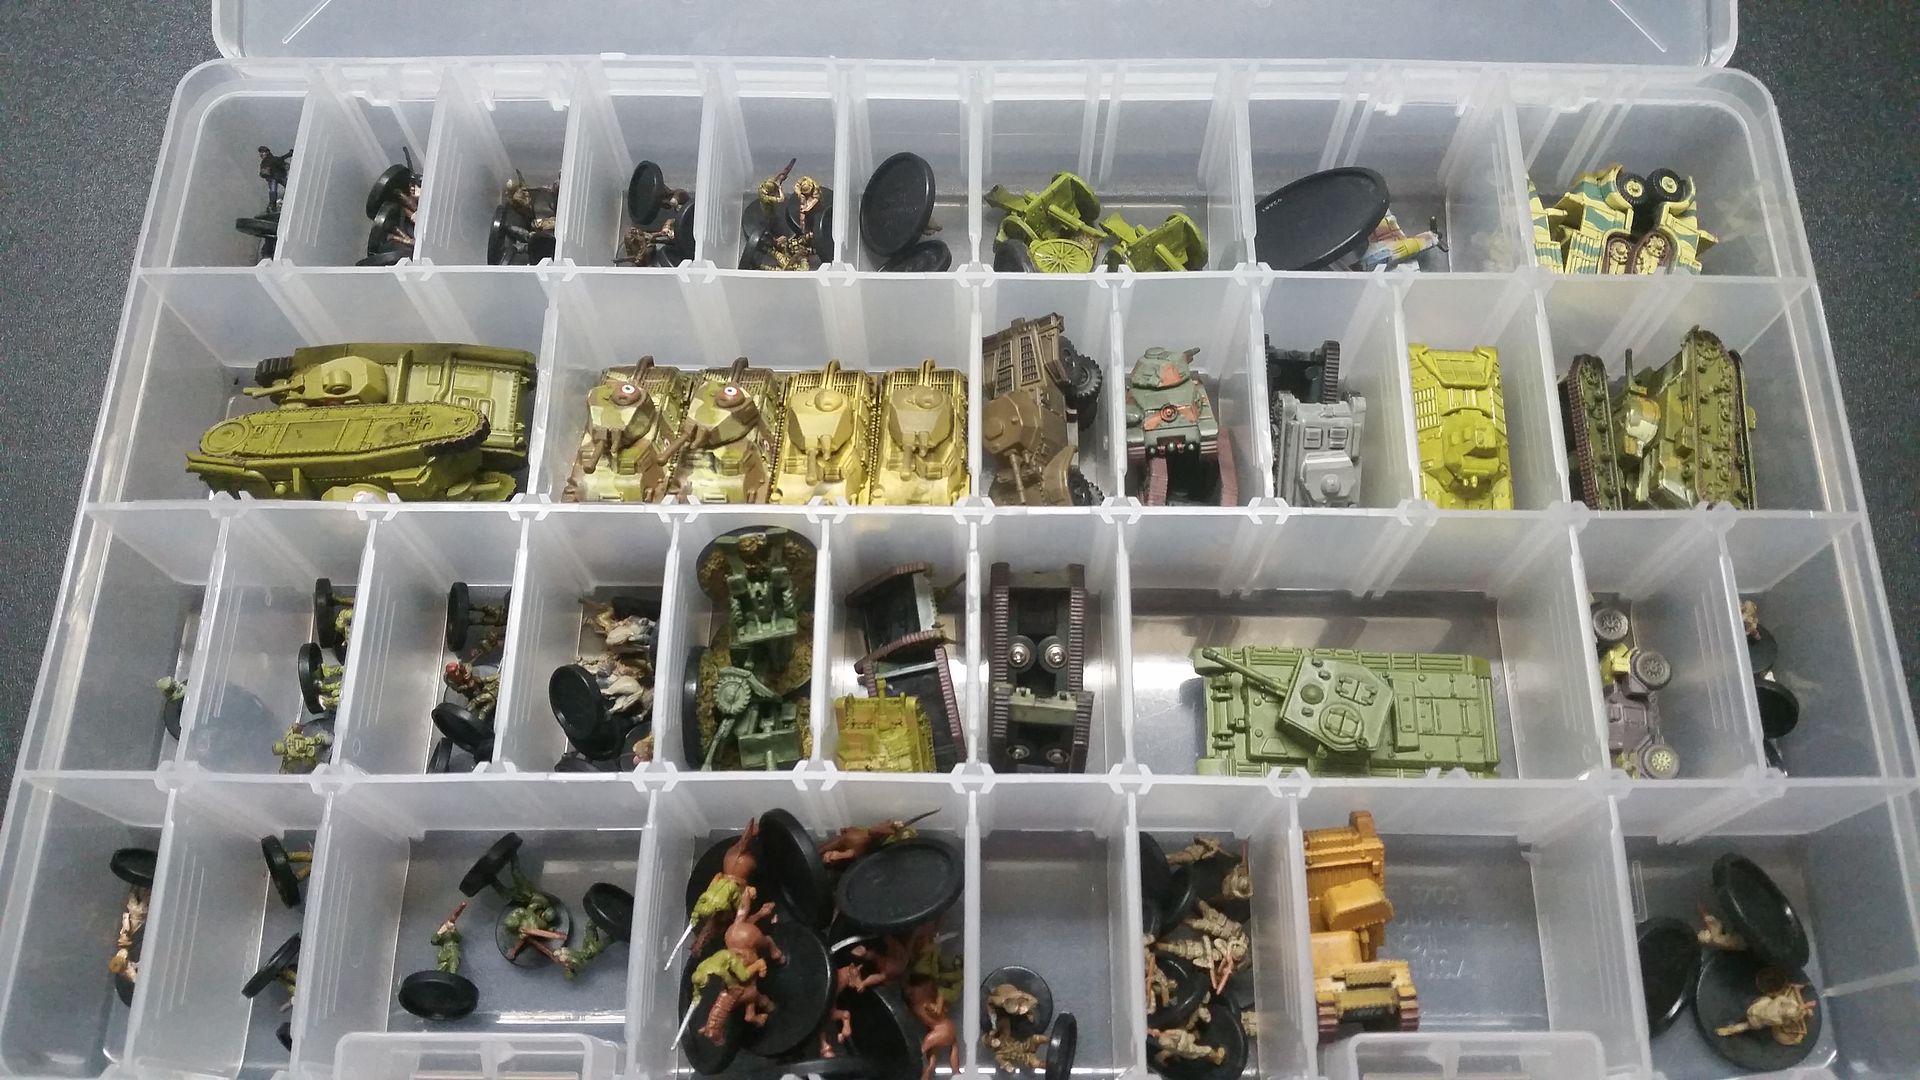
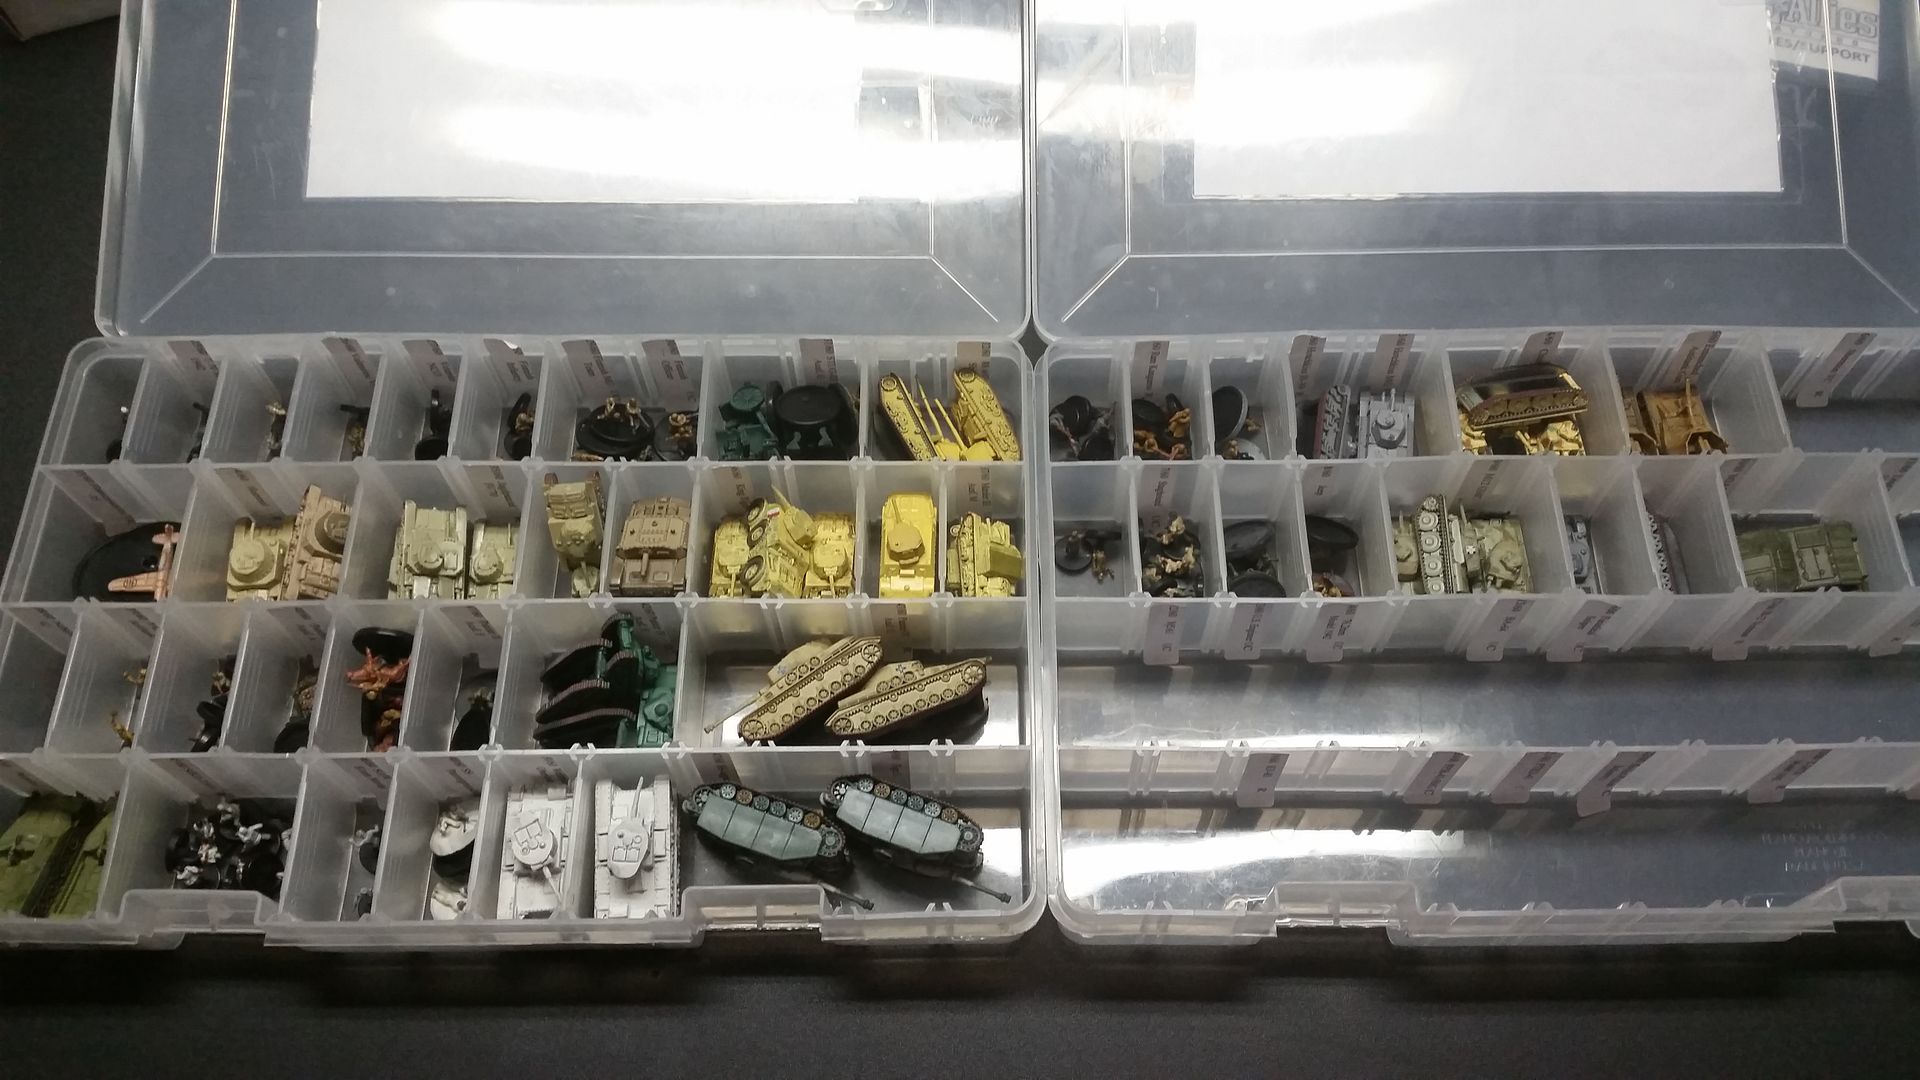
Currently everything is organized and stored by Nation in set order.  One or each card was stored in a binder by nation in set order.  All extra cards are present and were stored in deck boxes.  When I did play I typically only used one card even if using duplicates.

Here are the pictures as it stands right now.

Cards (Binders and Deck Boxes):


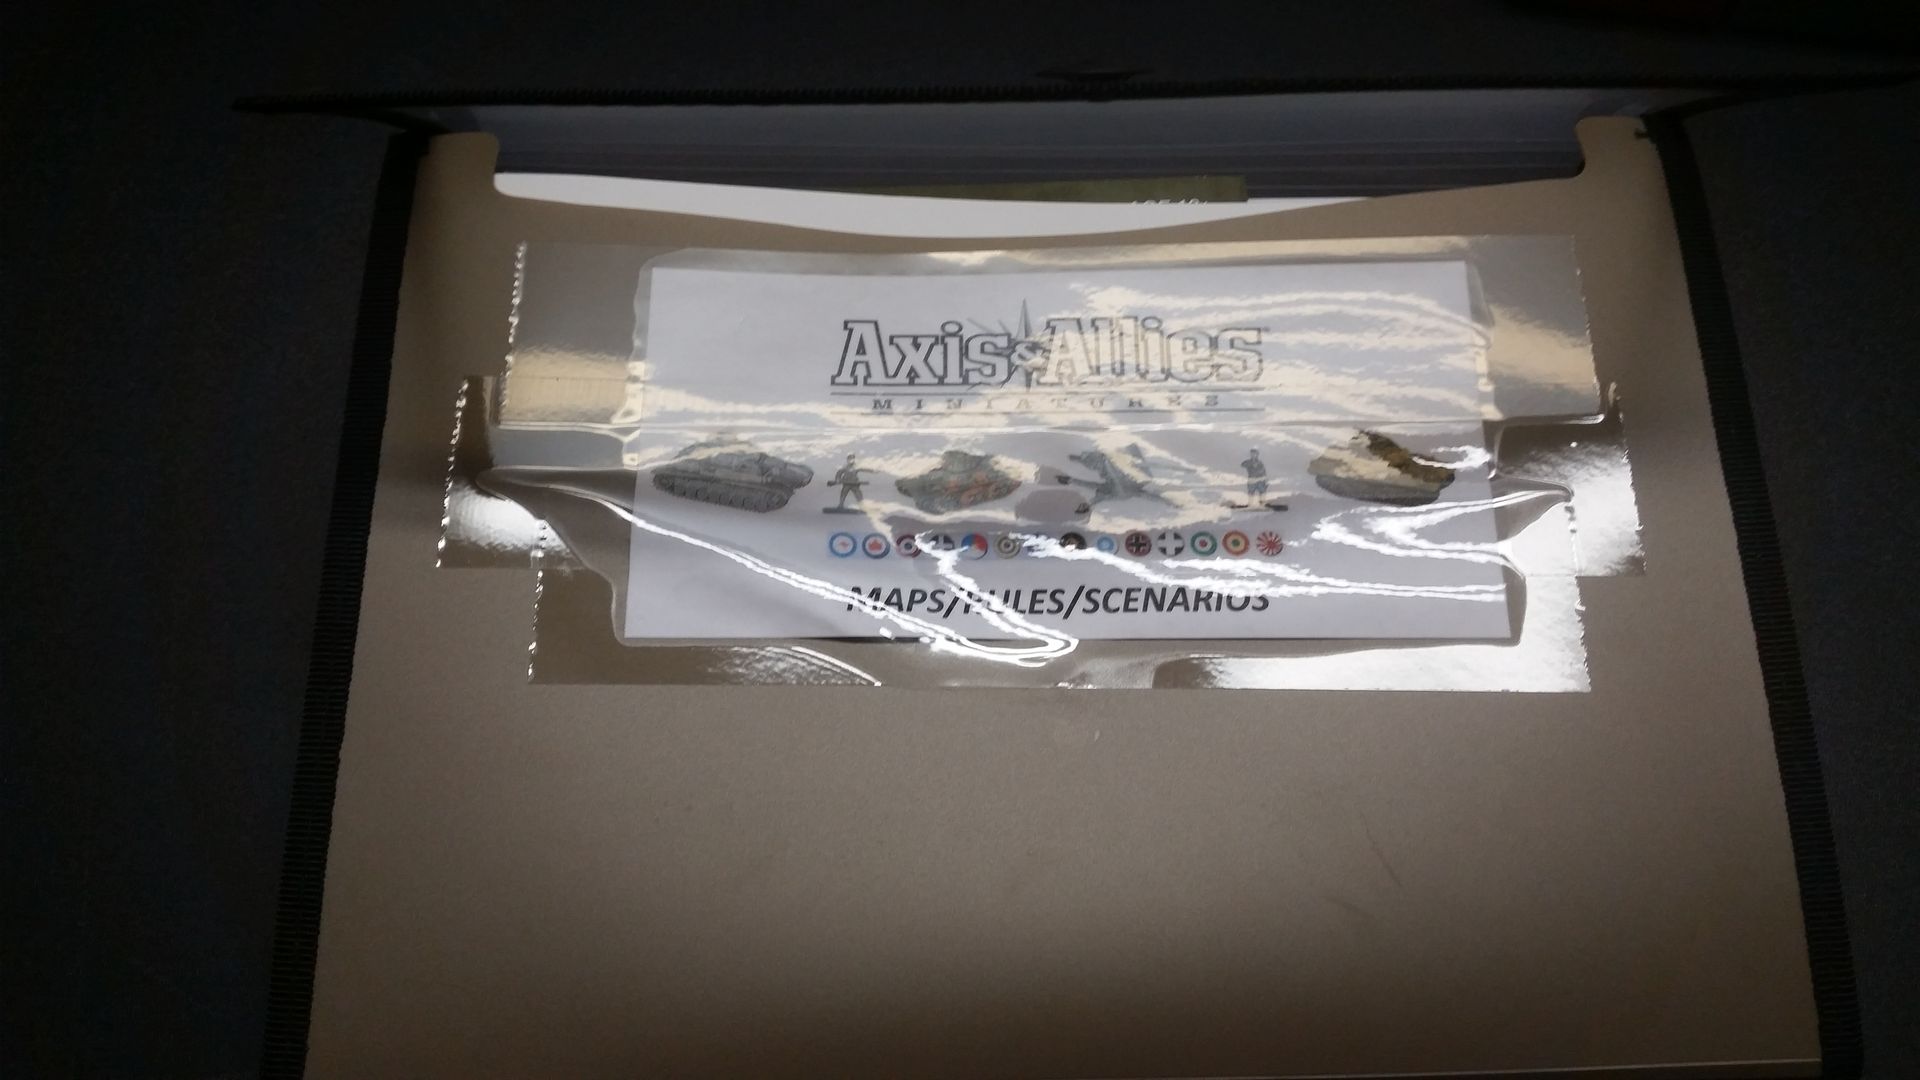
Extras (Rules, Map Packs, Scenarios Etc.):
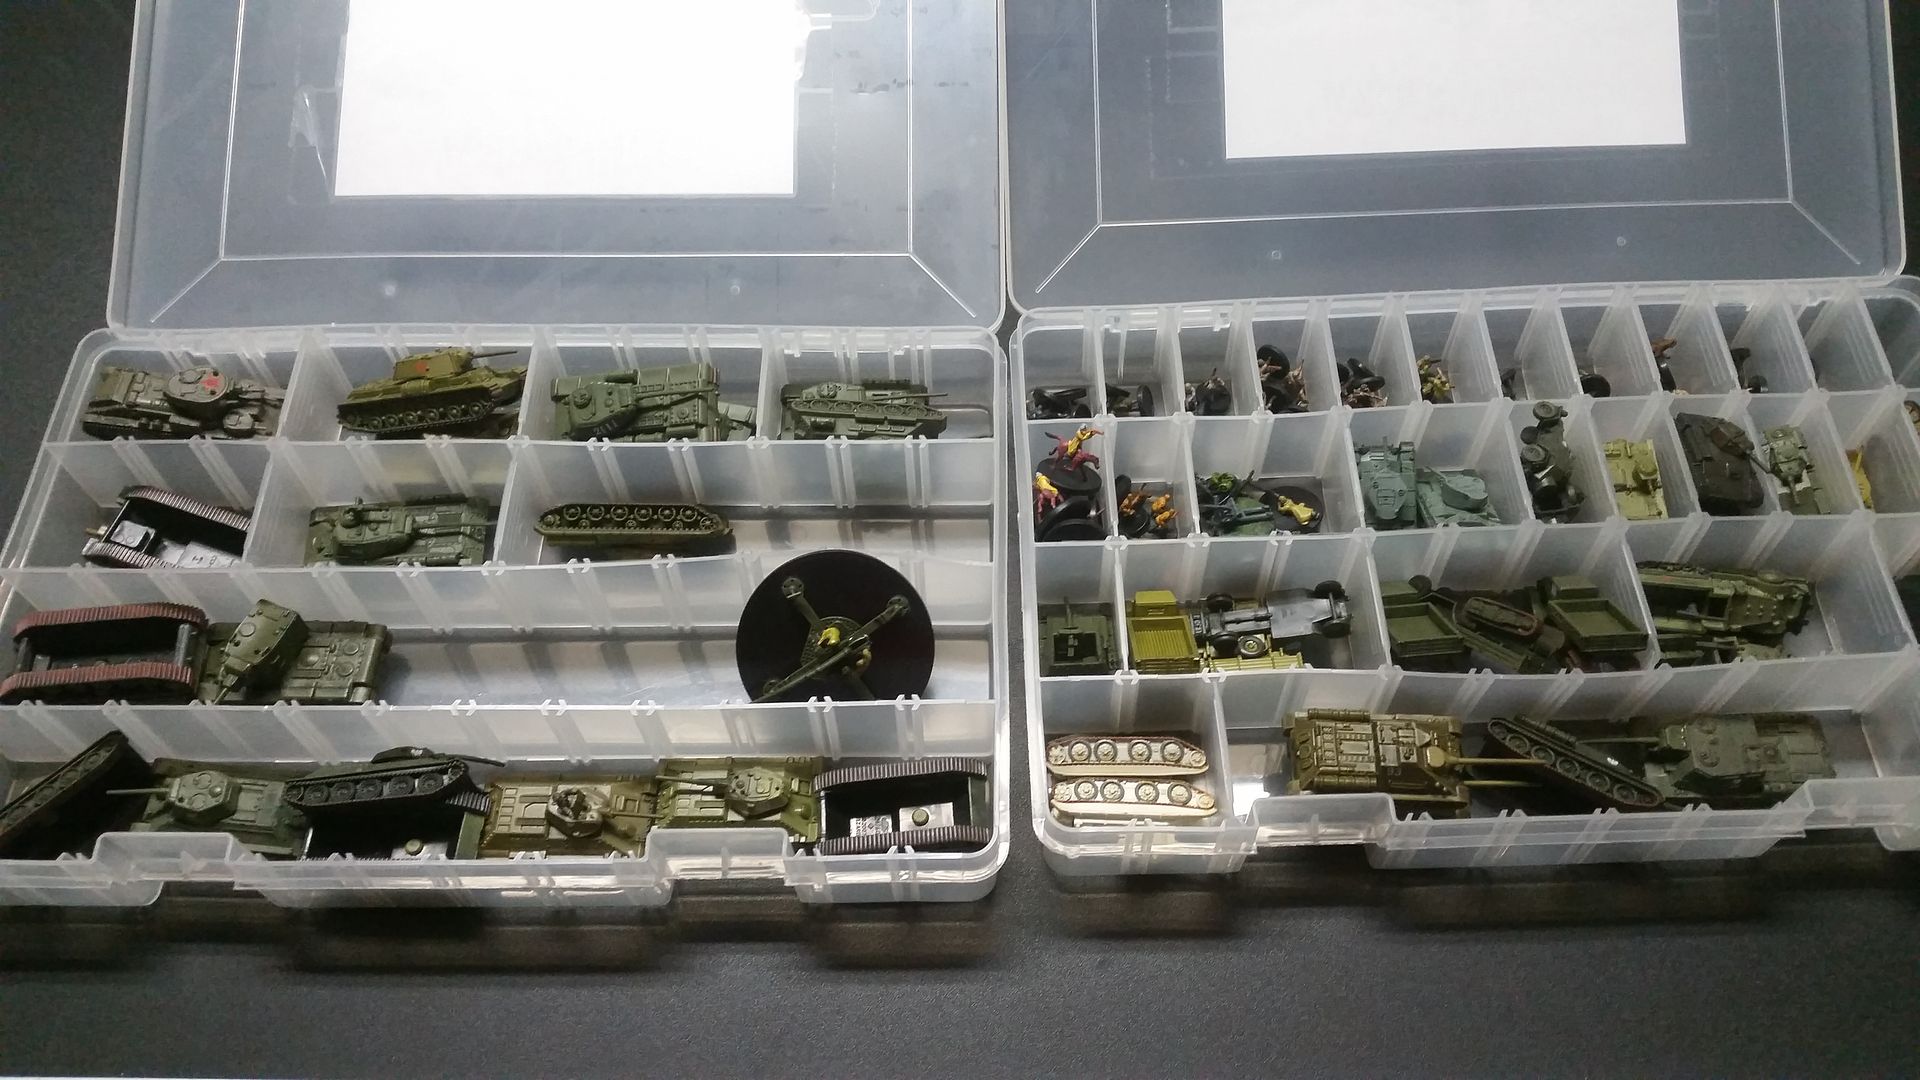
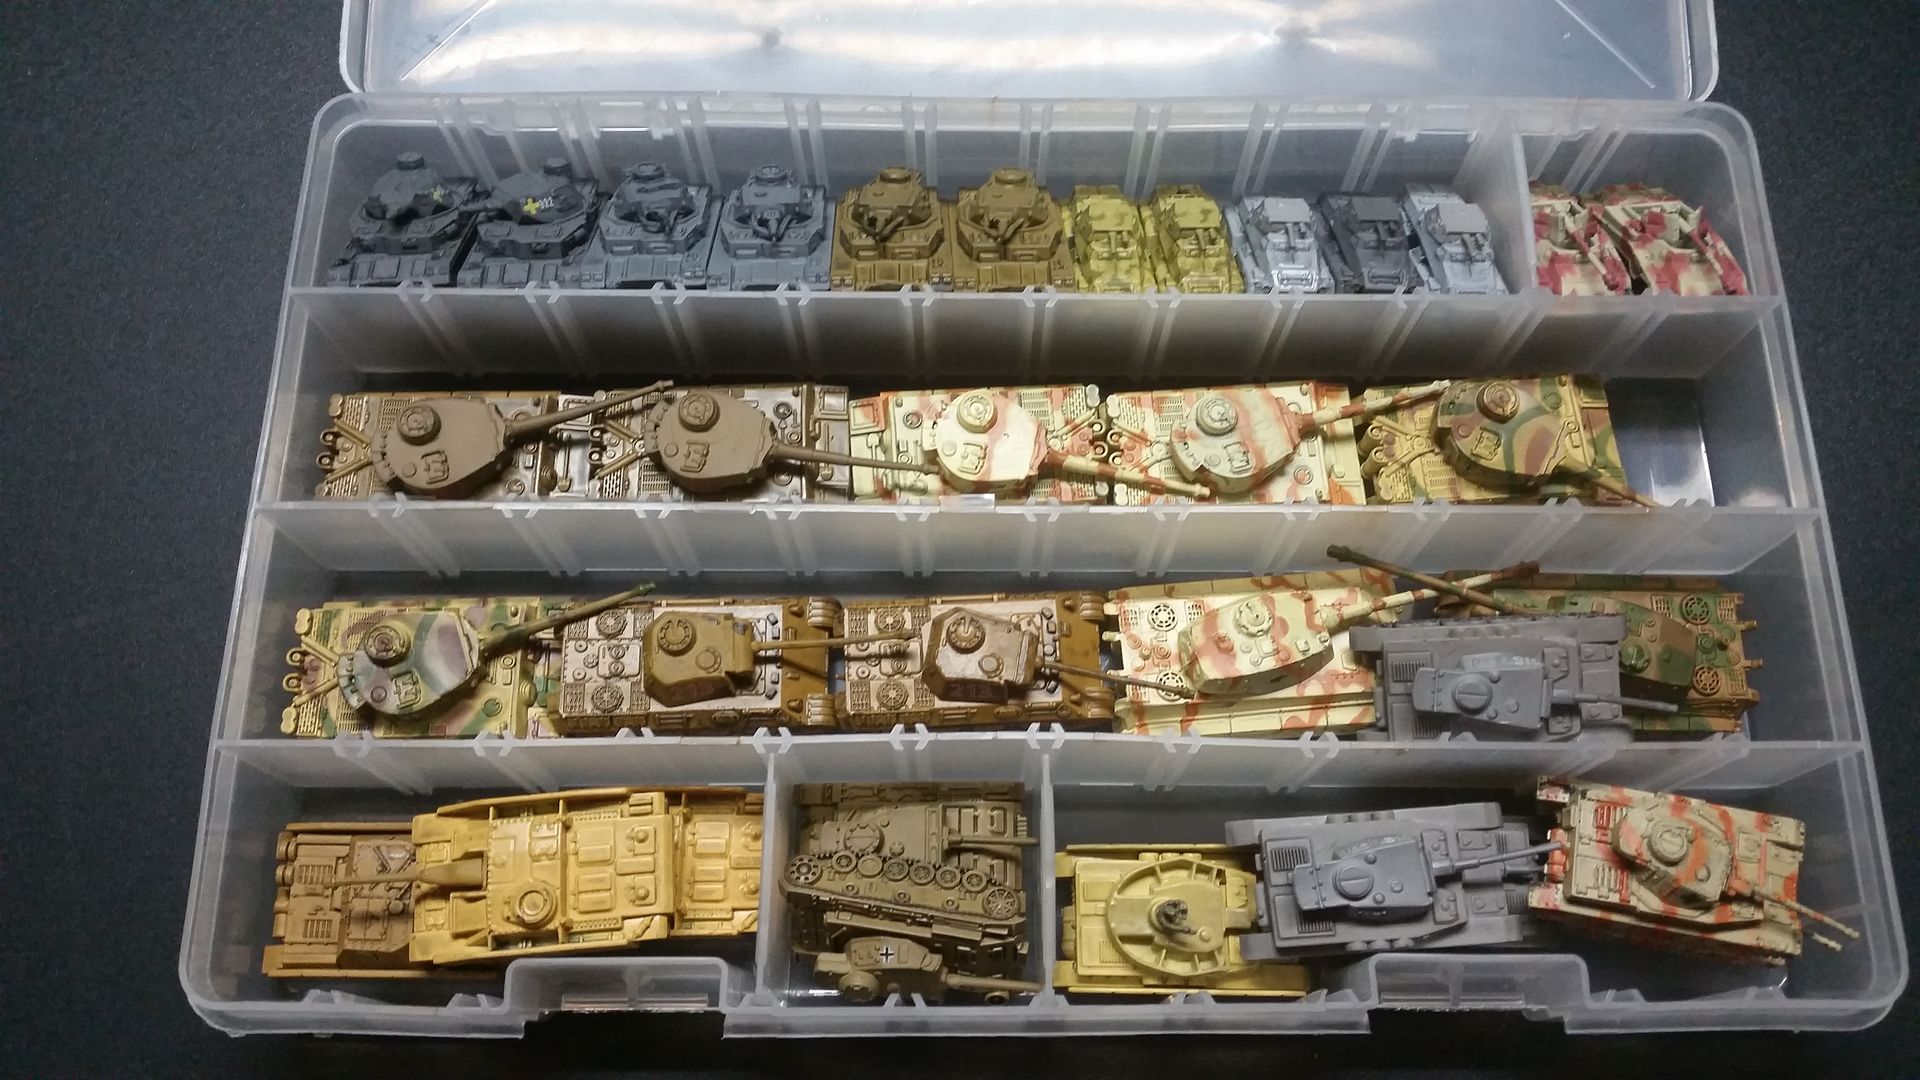
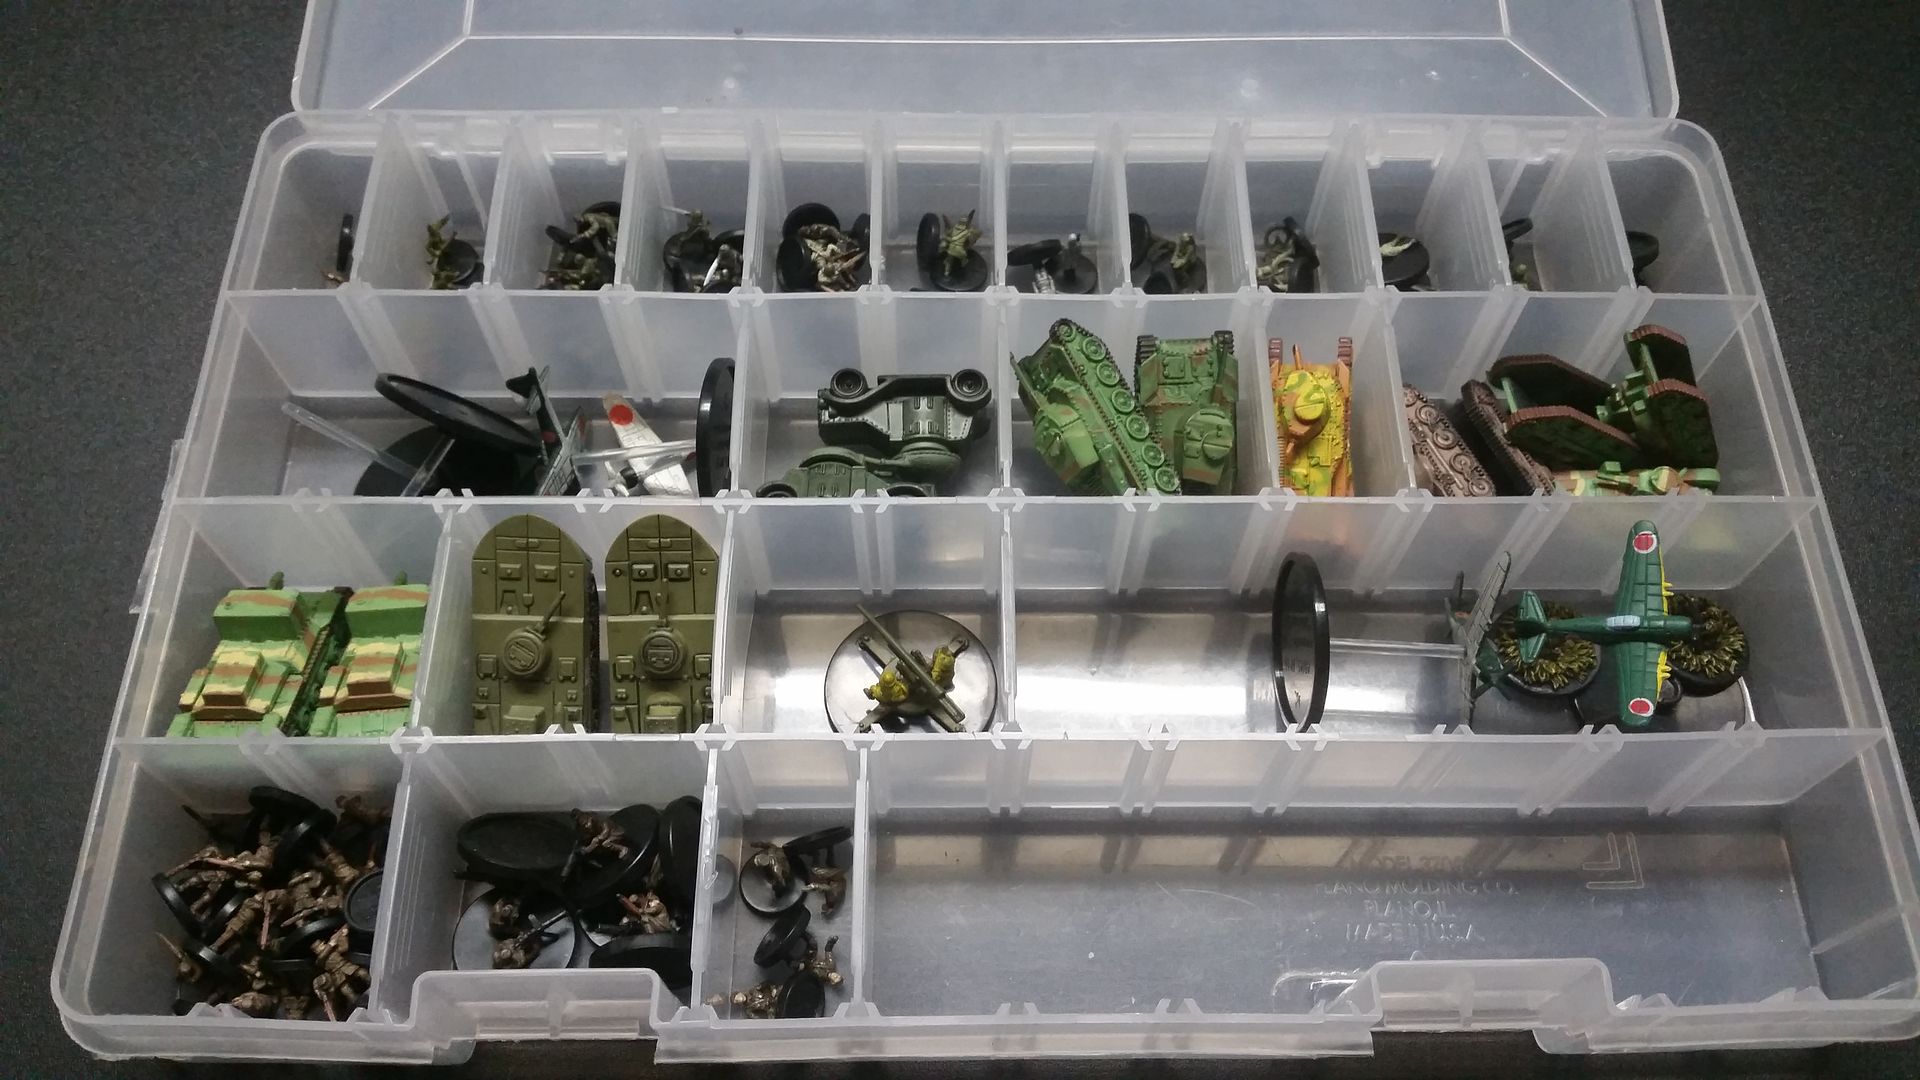

Minis:

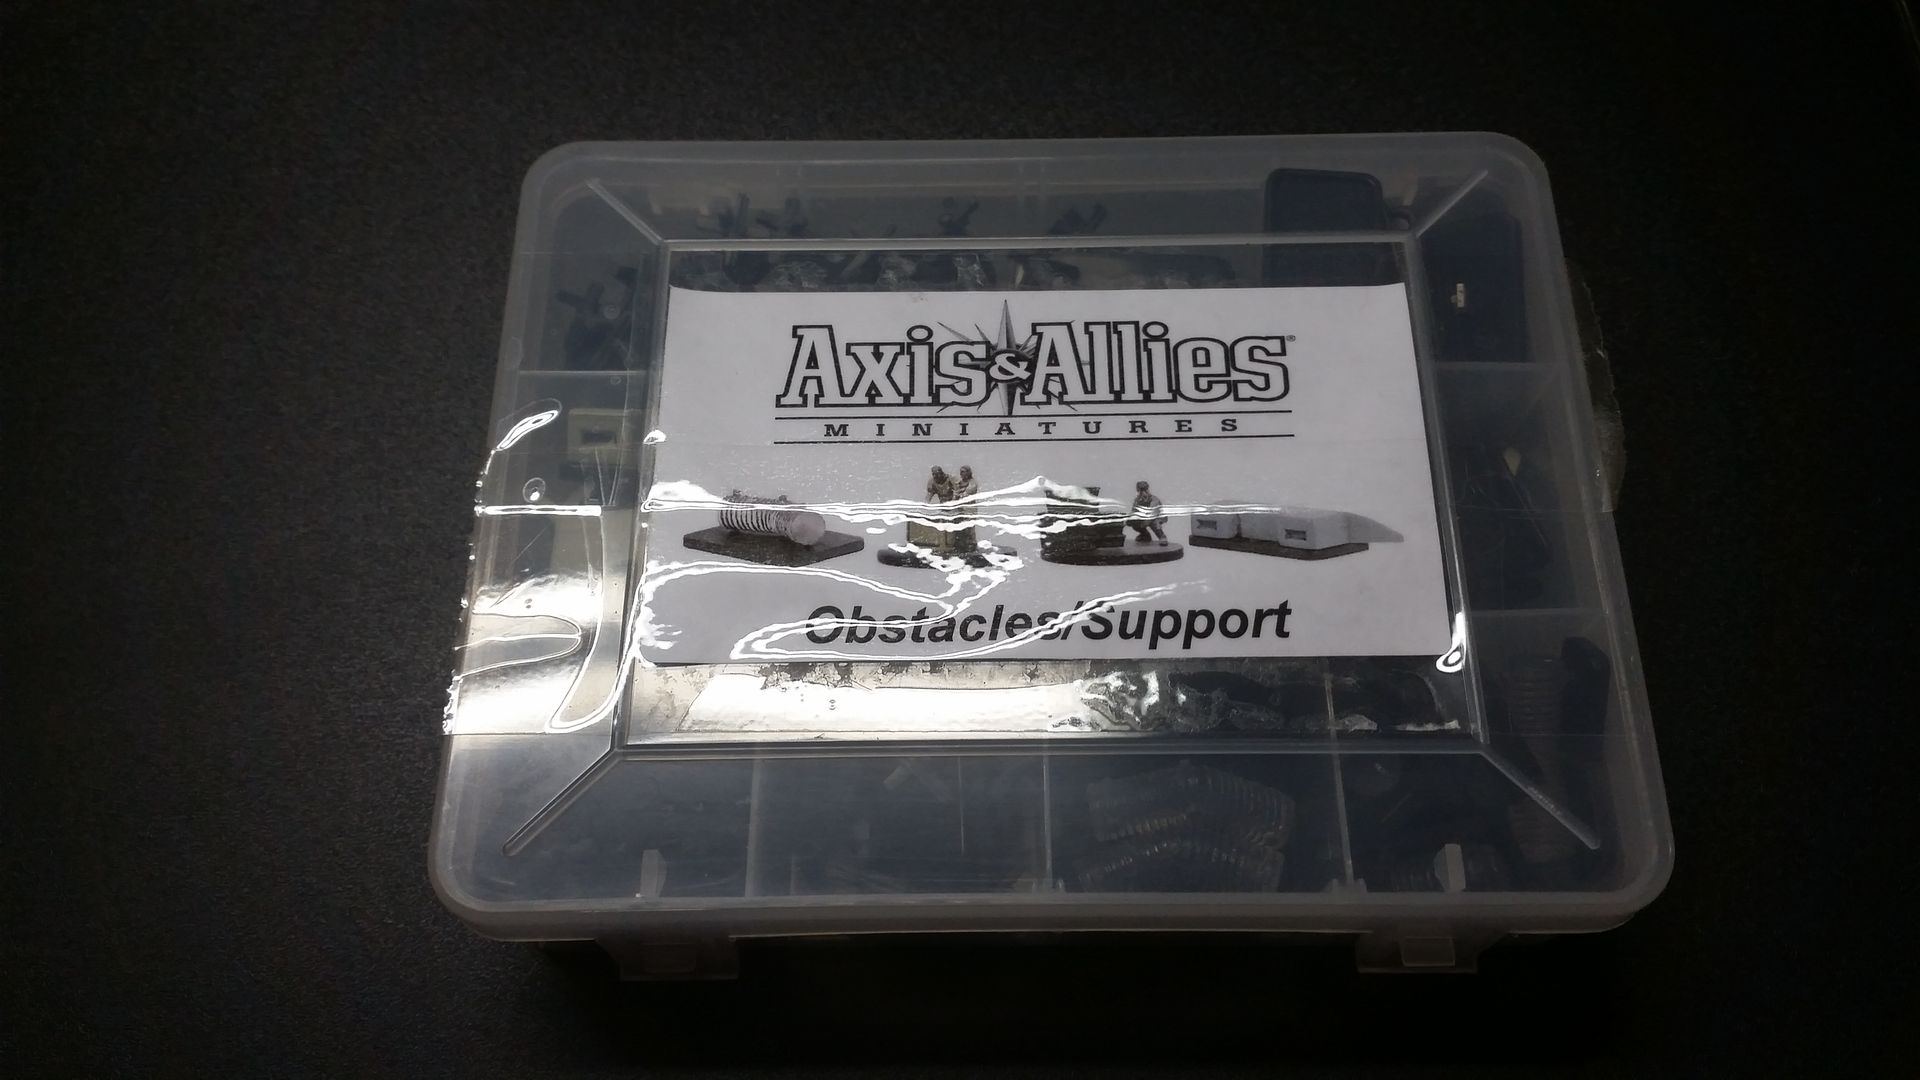
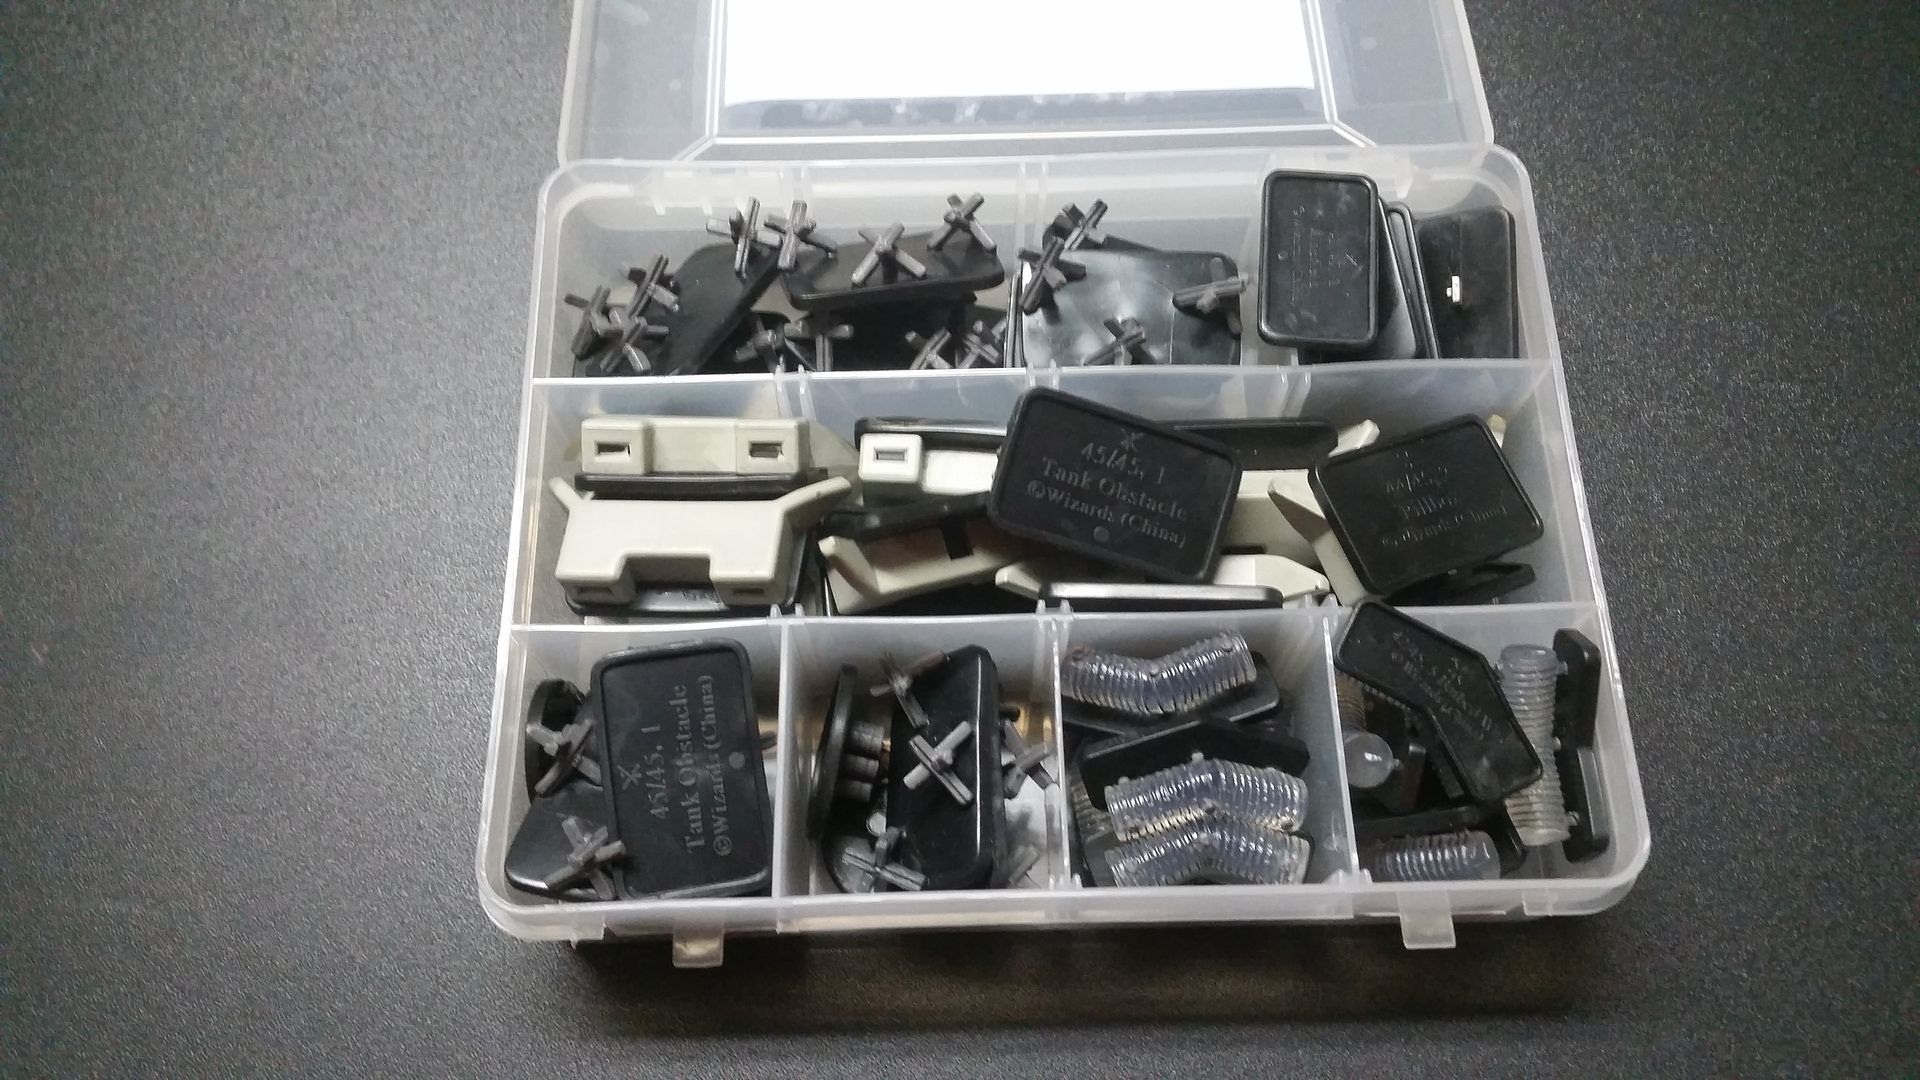
Obstacles and special Units:


Soviet Union:

United States:

British and Commonwealth:

France and Minor Nations:

Germany:

Japan:


Italy and Axis Minor Nations:

More to come as I validate the inventory and decide how I want to proceed.

Thanks for looking.

Anglo-Zulu Counter Attack Part 2


Played this scenario again last night at our weekly gathering of Anderson's Irregulars at Mark house..

We had 6 players and I was the judge. We used the same scenario Phil and I tested Saturday and is documented in the previous post.
Initial Deployments
The only tweak was adding a unit of Native Natal commanded by Igor ( Phil's favorite mini, NOT!) and giving the Heliograph an active roll signaling for reinforcements as long as the British held the hill.  This resulted in the British gaining one additional unit on turn 6.  As it was the reinforcements  really needed, but did bolster the defense.
Many of the Brits start in Camp and must activate in response
The Zulu had a tough time coordinating their attack. The left horn was significantly delayed which resulted in the Red Coats being able to mount a mobile defense in depth to meet each threat.

Zulu "Chest" Starts to advance

British begin to respond to the looming threat
It was set up as a 12 turn game, but by the end of turn 9 the Zulu commander accepted that his attack was stalled with little hope of cracking the newly formed British alternate position, so they conceded victory.


After surviving one assault the right breaks from a fresh attach on the front and flank

British Left gives way after being exposed and assaulted from the rear
There were a couple of highlights. The first time the rocket sections attempted to fire double ones were rolled resulting in it blowing up and the 2nd section rolled a 3. Next turn the 2nd section blew up with snake eyes.
Igor and the Native Natal mobilize in response 
A British company was also able to fend off a simultaneous assault from the front and flank breaking one unit of Zulu and forcing the other to retire.

The Zulu also successfully executed a frontal assault on the Gatling Gun.
Guns work feverishly to fend off the advancing horde

A new line is formed on the right to meet any remaining threat
Left is secured with the aid of Artillery after the initial collapse
Zulu Commander wisely chooses to withdraw his remaining warriors and leave
 the British in command of the Kraal for now
Despite the early set backs the British were able to secure a rare victory which is a first in the four AZW games we have played thus far.

This was a great game and well played by all.  The Zulu certainly struggled with some command roles and unlucky disorders at key moments after putting the British on their heals.  The dice certainly turned against the Zulu seeing a number of units break just when it looked like victory might be in their grasp.

Thanks again to all who played!

Saturday, February 20, 2016

Anglo-Zulu-Counter Attack

Tonight I had the opportunity to break out the Anglo-Zulu troops again with Phil at my place.  Brian was suppose to make the trip as well, but he was detained at home, so he joined us via Skype.

None of the scenarios in the book struck my fancy, so I set up a hypothetical on the 9'x5' table newly covered in teddy bear fur for ground cover.  This also gave us the opportunity to try the new movement trays with the Zulu which proved invaluable.

British Take up positions just in time while Carbineers advance to secure the flank
A British column has over run a a Zulu Kraal while the warriors were away.  The have set up camp to exploit their spoils and take up a defensive position behind the river.  At dawn the next morning reports arrive that Zulu have been spotted over the horizon moving fast with the intent to recapture the Kraal.
Zulu Chest moving to engage
The British Commander has deployed two companies forward and alerted the camp to take up position to respond to the pending attack.
7lb Guns deployed on a rise
The Zulu have divided their forces to form the typical three prong attack using the chest and right and left horns in order to flank the British forces and drive them from their land.
Carbineers mount up and move out to secure the flank
Just as the British firing line takes up position and the alert is going through the camp the Zulu formation can be seen on the horizon advancing quickly toward the river.
British send out a signal to alert higher of the pending attack
The Zulu have some difficulty coordinating their attack.  Half of the chest moves forward at a rapid pace while the other half lags behind.

Chest moves quickly forward
Thin Red Line prepares to face the advancing Zulu horde
Zulu start to take hits at range as they move up
The Martini Henry rifles prove deadly accurate breaking the lead unit
The Carbineers dismount and are hit by the chest
The right horn stalls out
On the Left the Carbineers are driven back but do not break
The center company is quickly overrun at the ford and breaks for the rear
Carbineers soon suffer the same fate opening up the left flank
Left and Center appear to be open
The right is now threatened as well
As reinforcements mobilize they are quickly engaged
Despite being pressed the British right holds firm thanks to Stubborn and Steady
They cannot hold forever and soon break for the rear
A second line is formed and stalled the Zulu onslaught on the right
Rockets and Gatling gun lend firepower to the defense
The Zulu left is slowed down by the river and heavy Arty fire
Finally the Zulu right horn breaks the 2nd red line
Despite delivery crushing fire power the Gatling is over run as well
The Zulu have paid dearly, but are now pouring through the British lines
In the end our scenario proved to be a very close affair as the battle see-sawed back and forth.  In the end the sheer number of Zulu proved overwhelming despite the superior British firepower.

The Zulu paid a heavy cost, but they successfully recaptured the Kraal  drove the British back surrounding the few survivors be the end of turn 12.
Redcoats in full retreat
Despite being an ad-hoc scenario it played very well.  For the second time the Zulu proved to be very resilient.  We even discovered after the fact that we had misread the break test chart which resulted in at least three Zulu units breaking early.

The plan is to make a few tweaks and re-run this scenario next Wednesday of our gaming group.

The hope is Brian can make it next week so he can finally join us in person to see the horde of Zulu he painted in action.