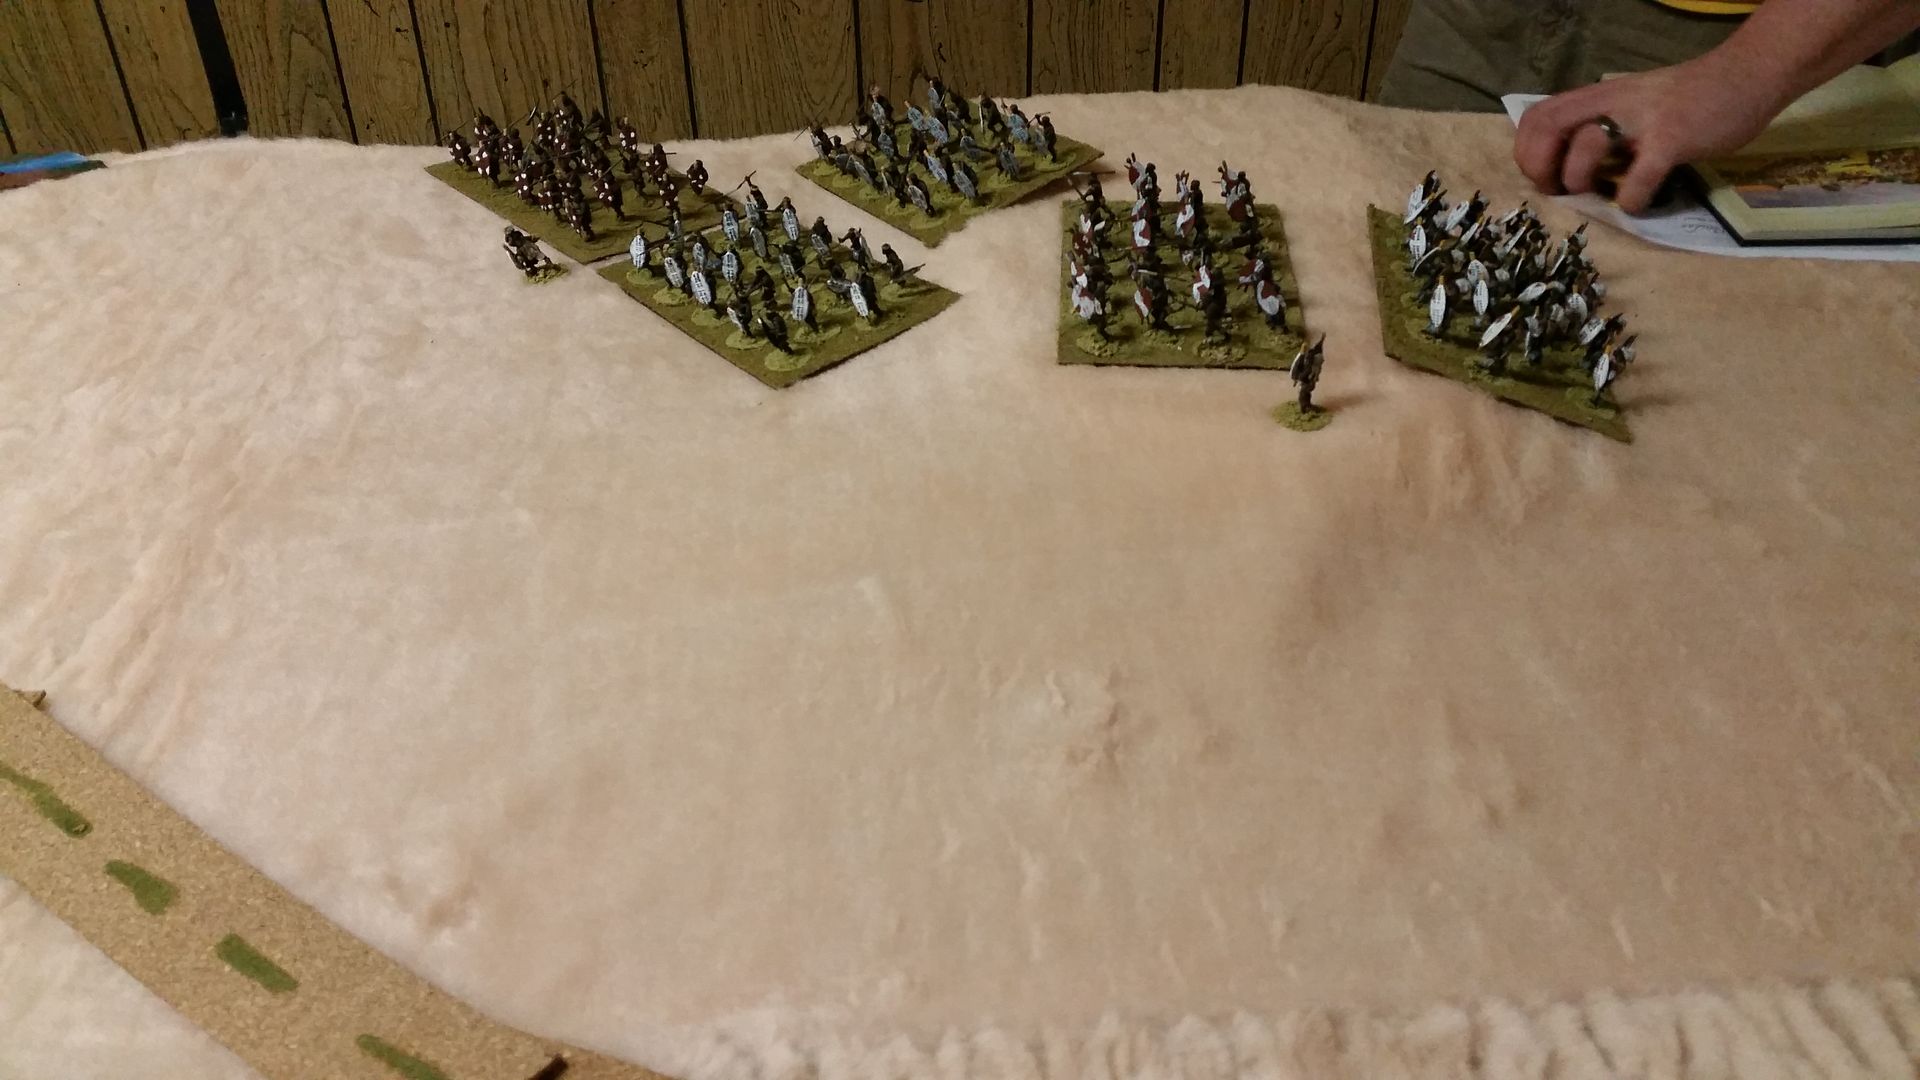
None of the scenarios in the book struck my fancy, so I set up a hypothetical on the 9'x5' table newly covered in teddy bear fur for ground cover. This also gave us the opportunity to try the new movement trays with the Zulu which proved invaluable.
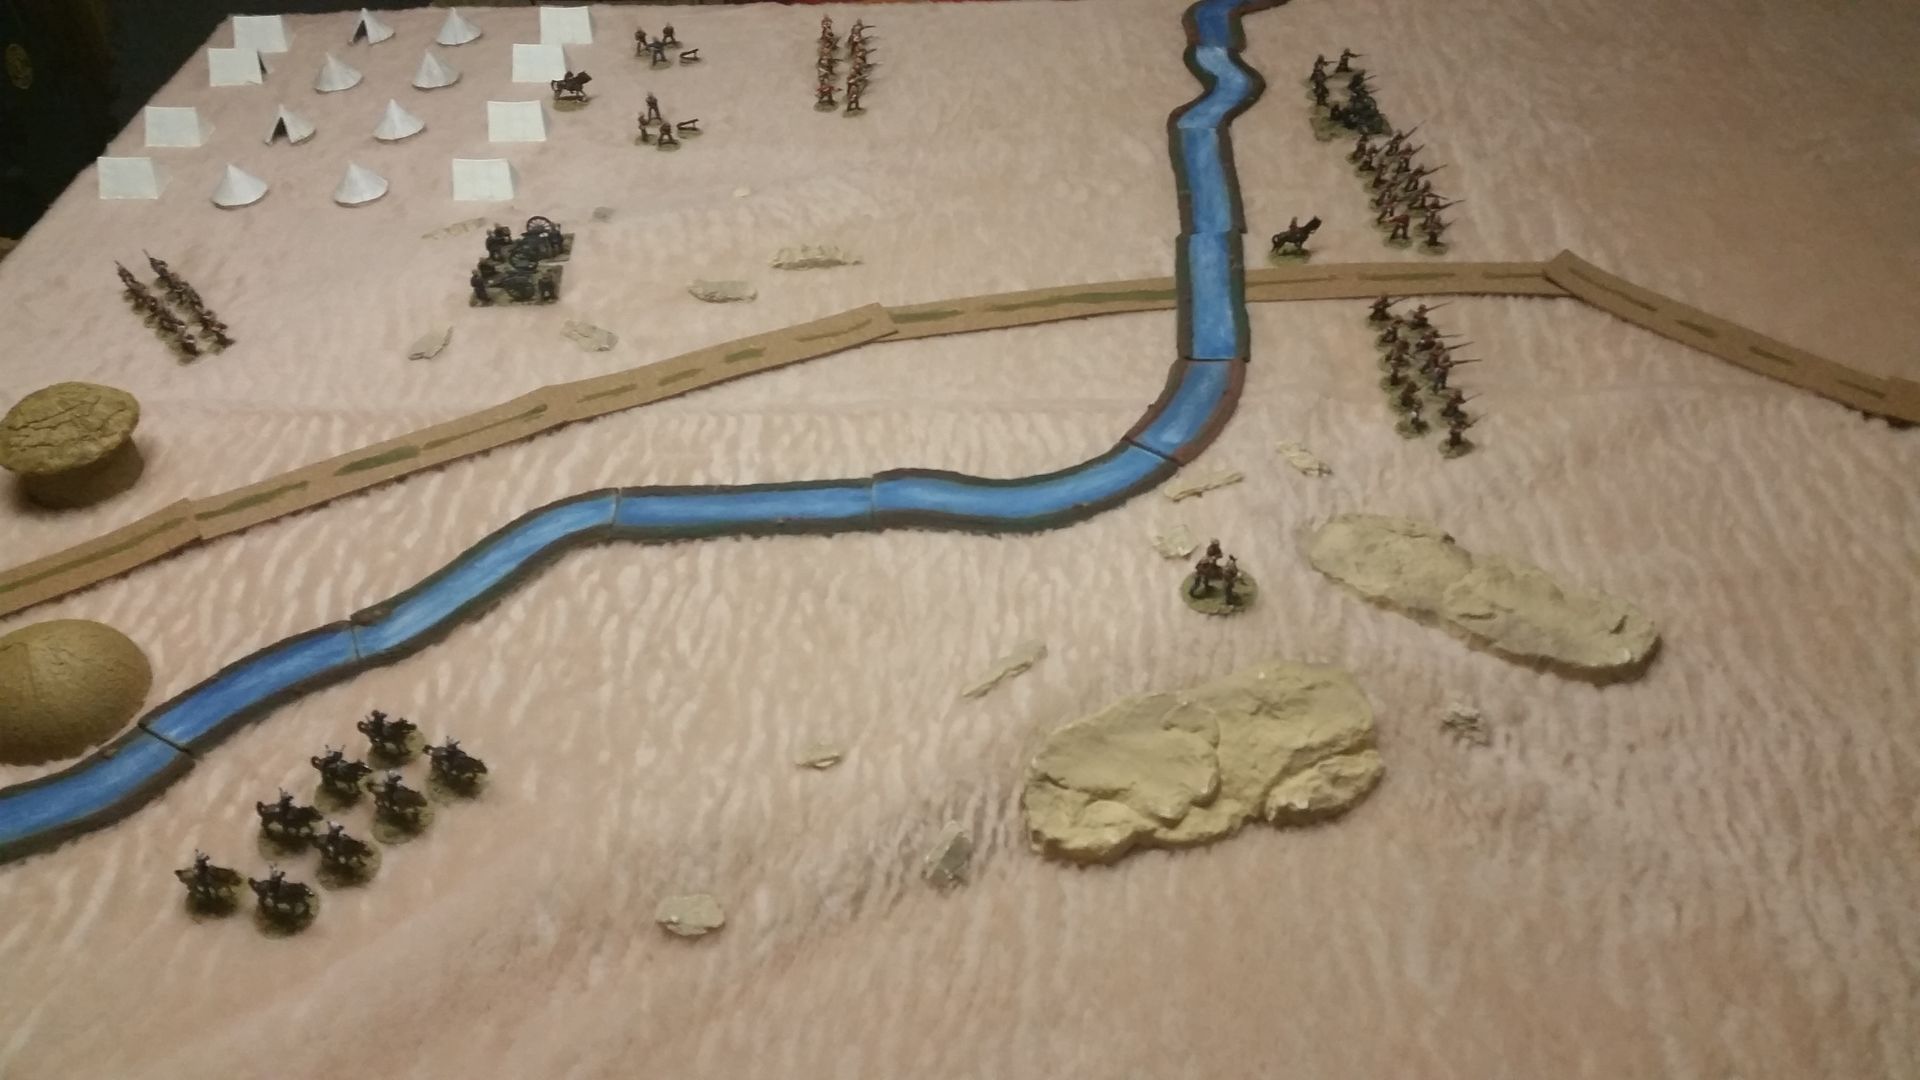 |
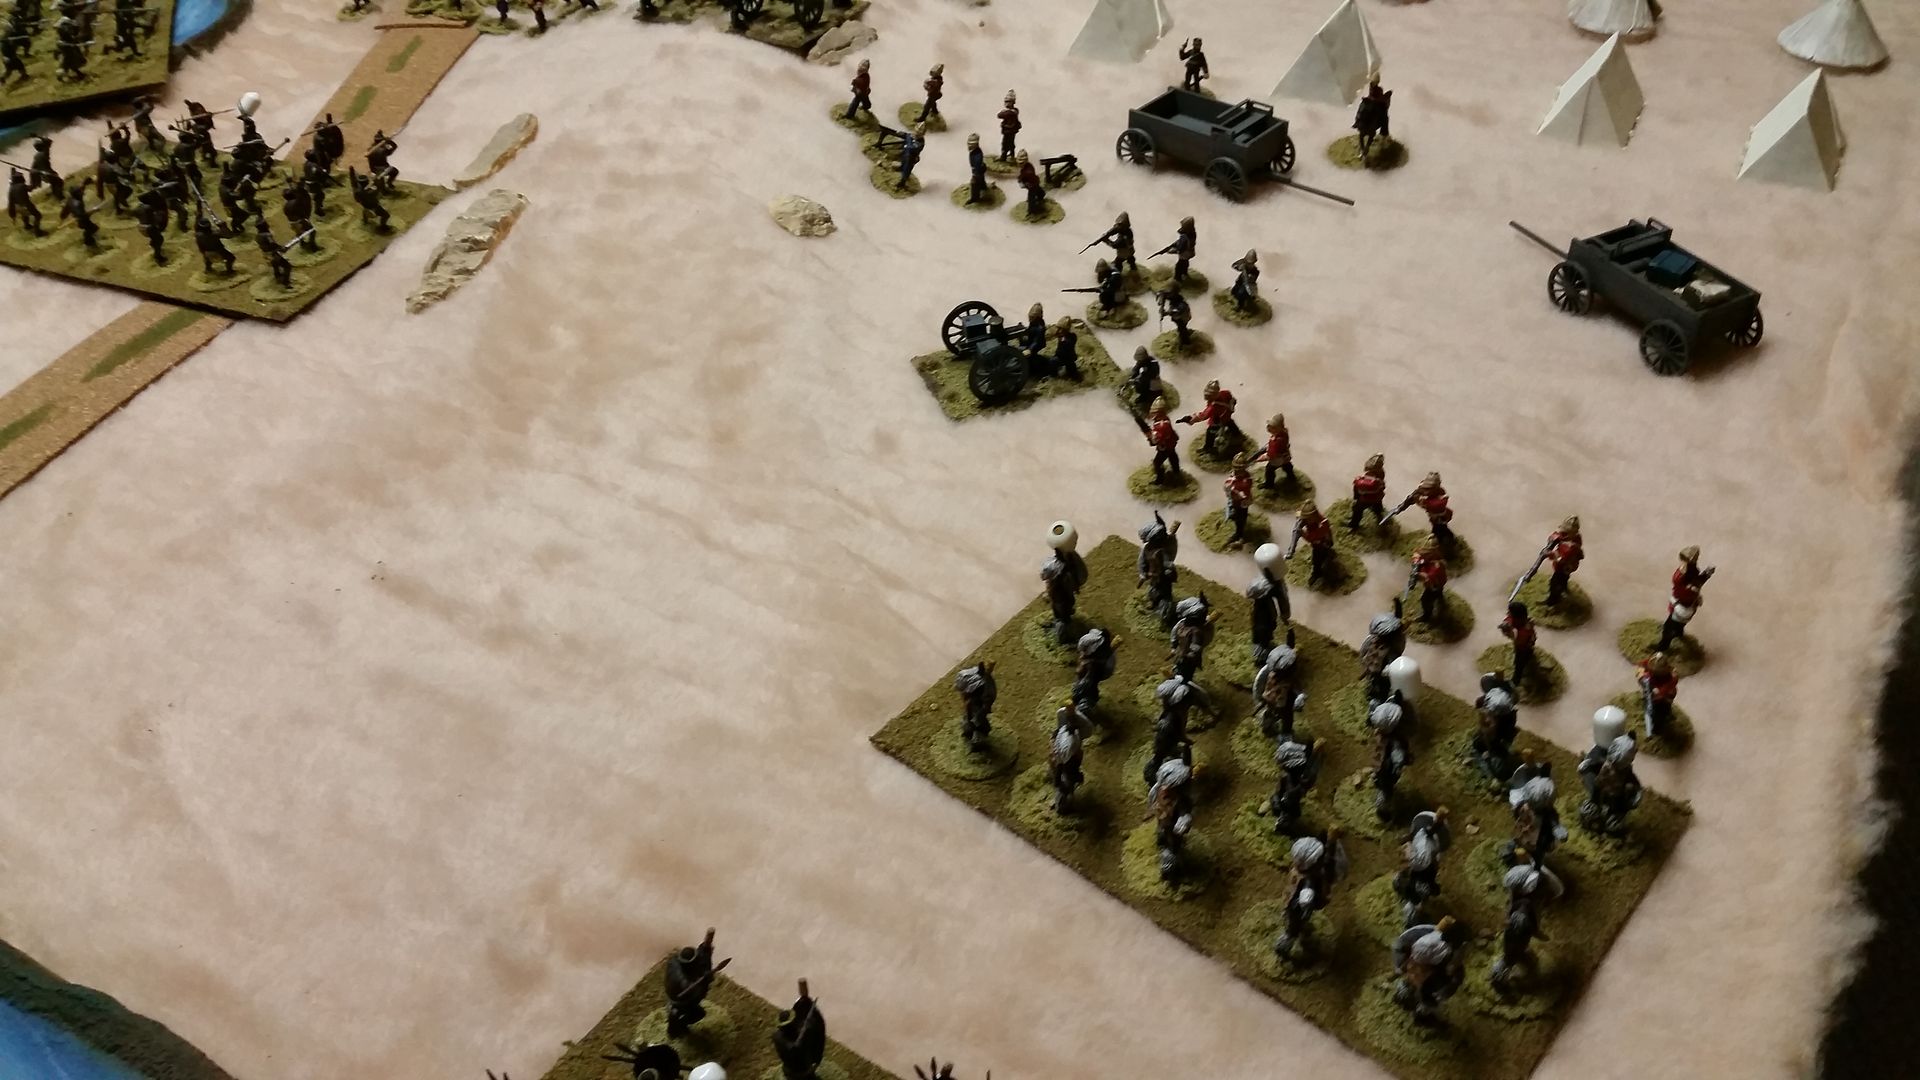
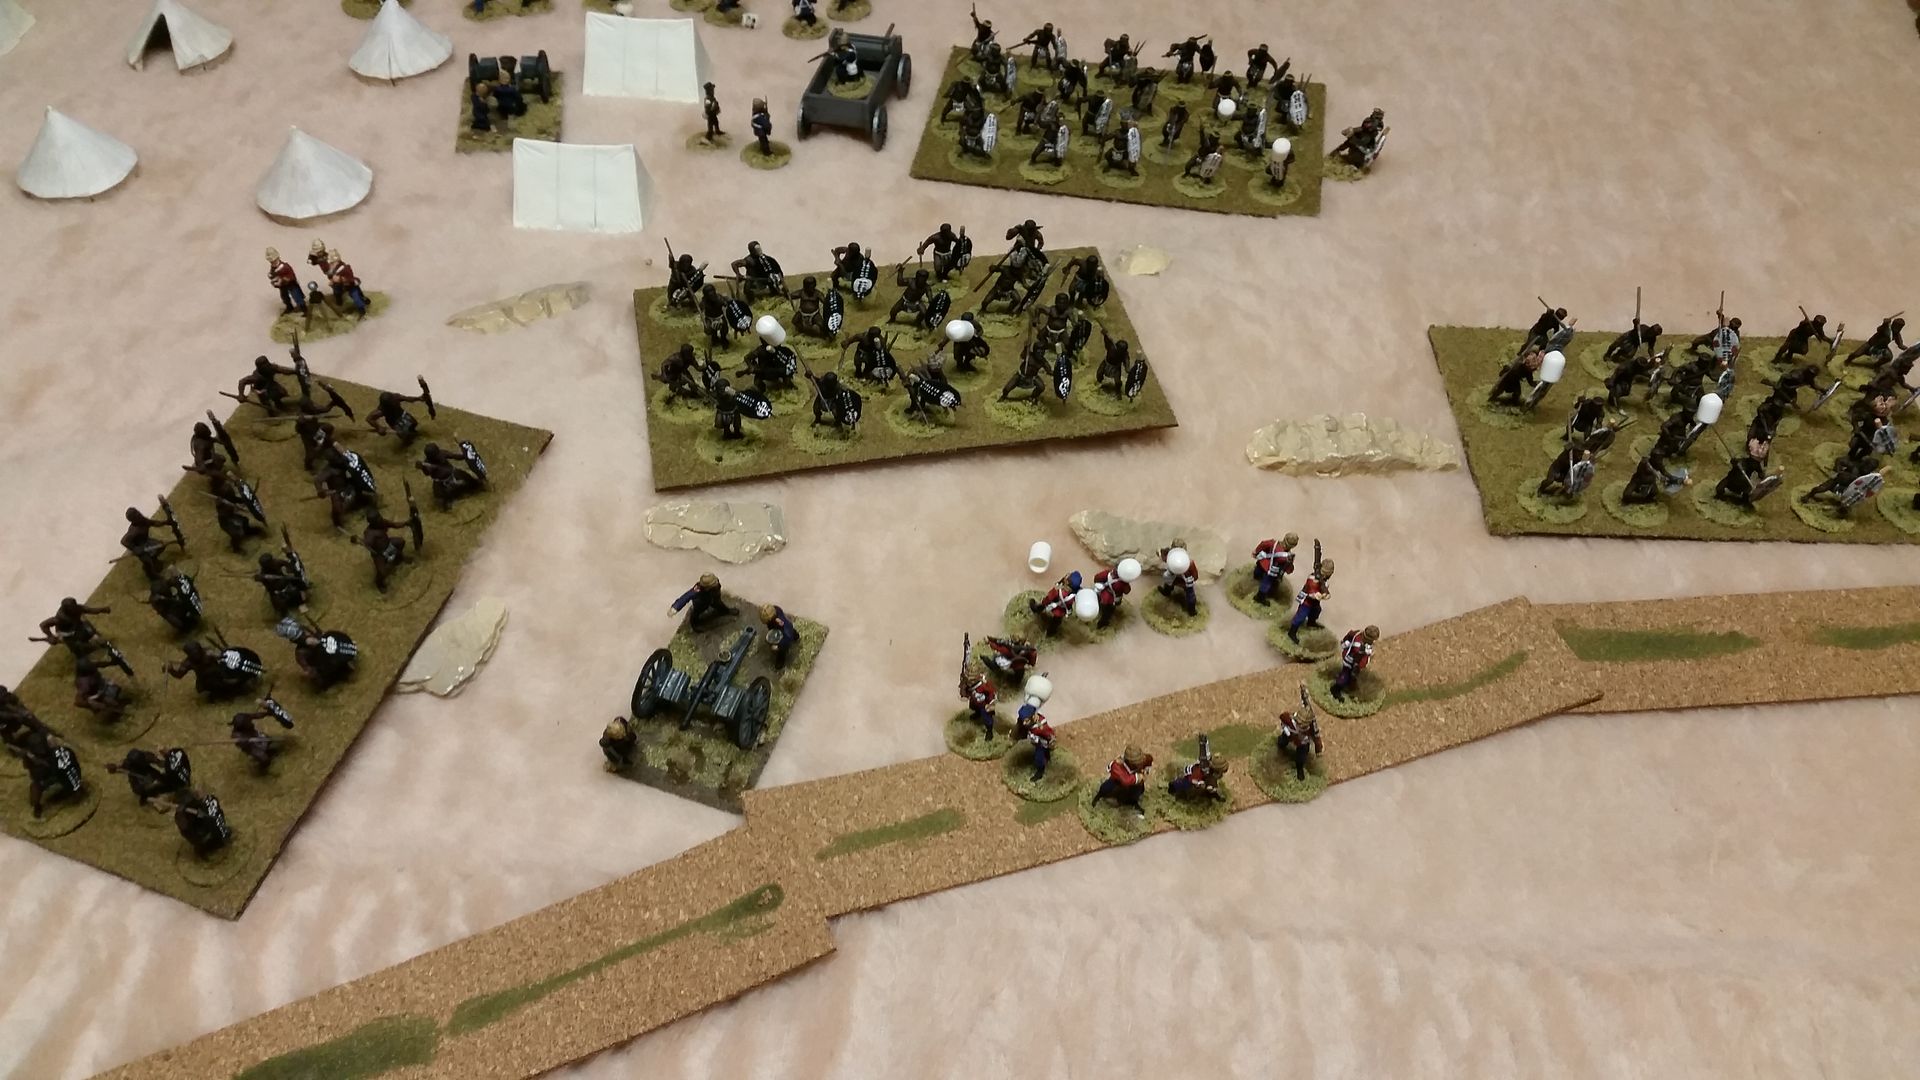
| British Take up positions just in time while Carbineers advance to secure the flank |
 |
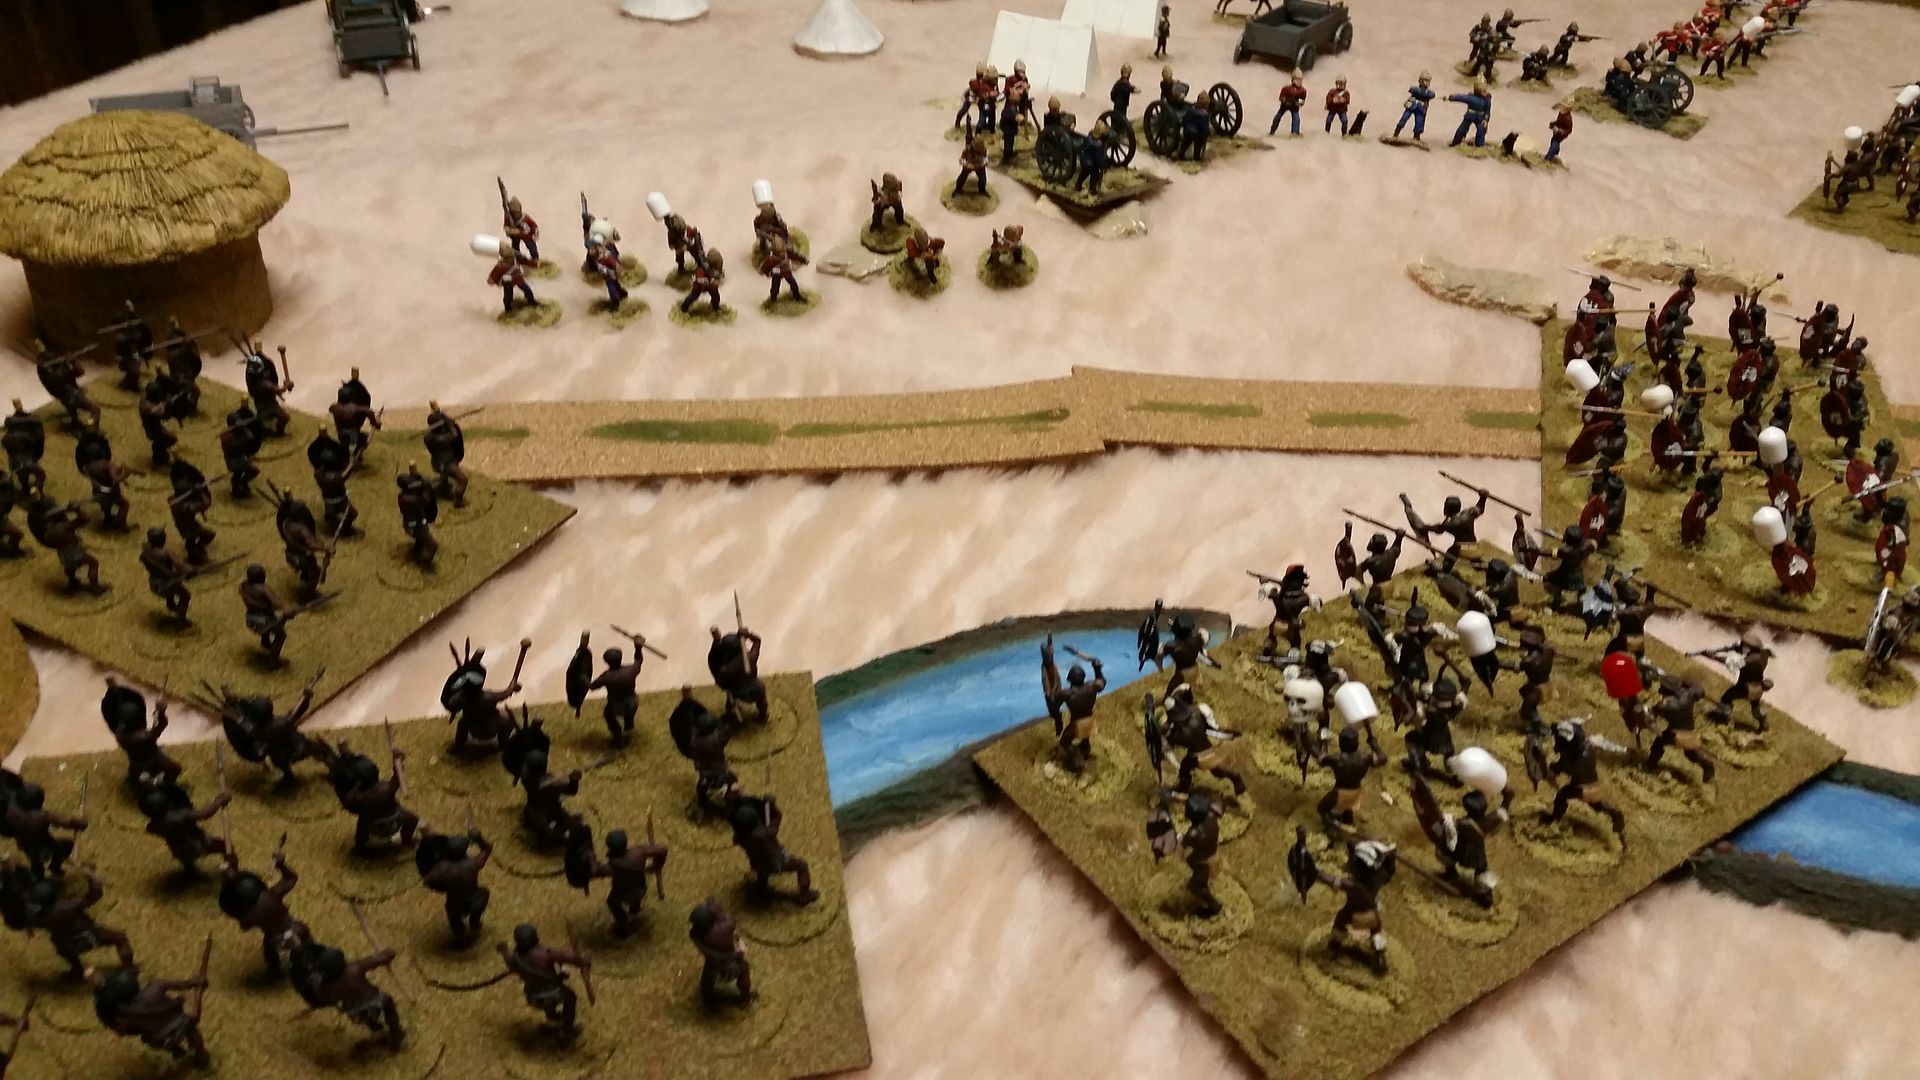
| Zulu Chest moving to engage |
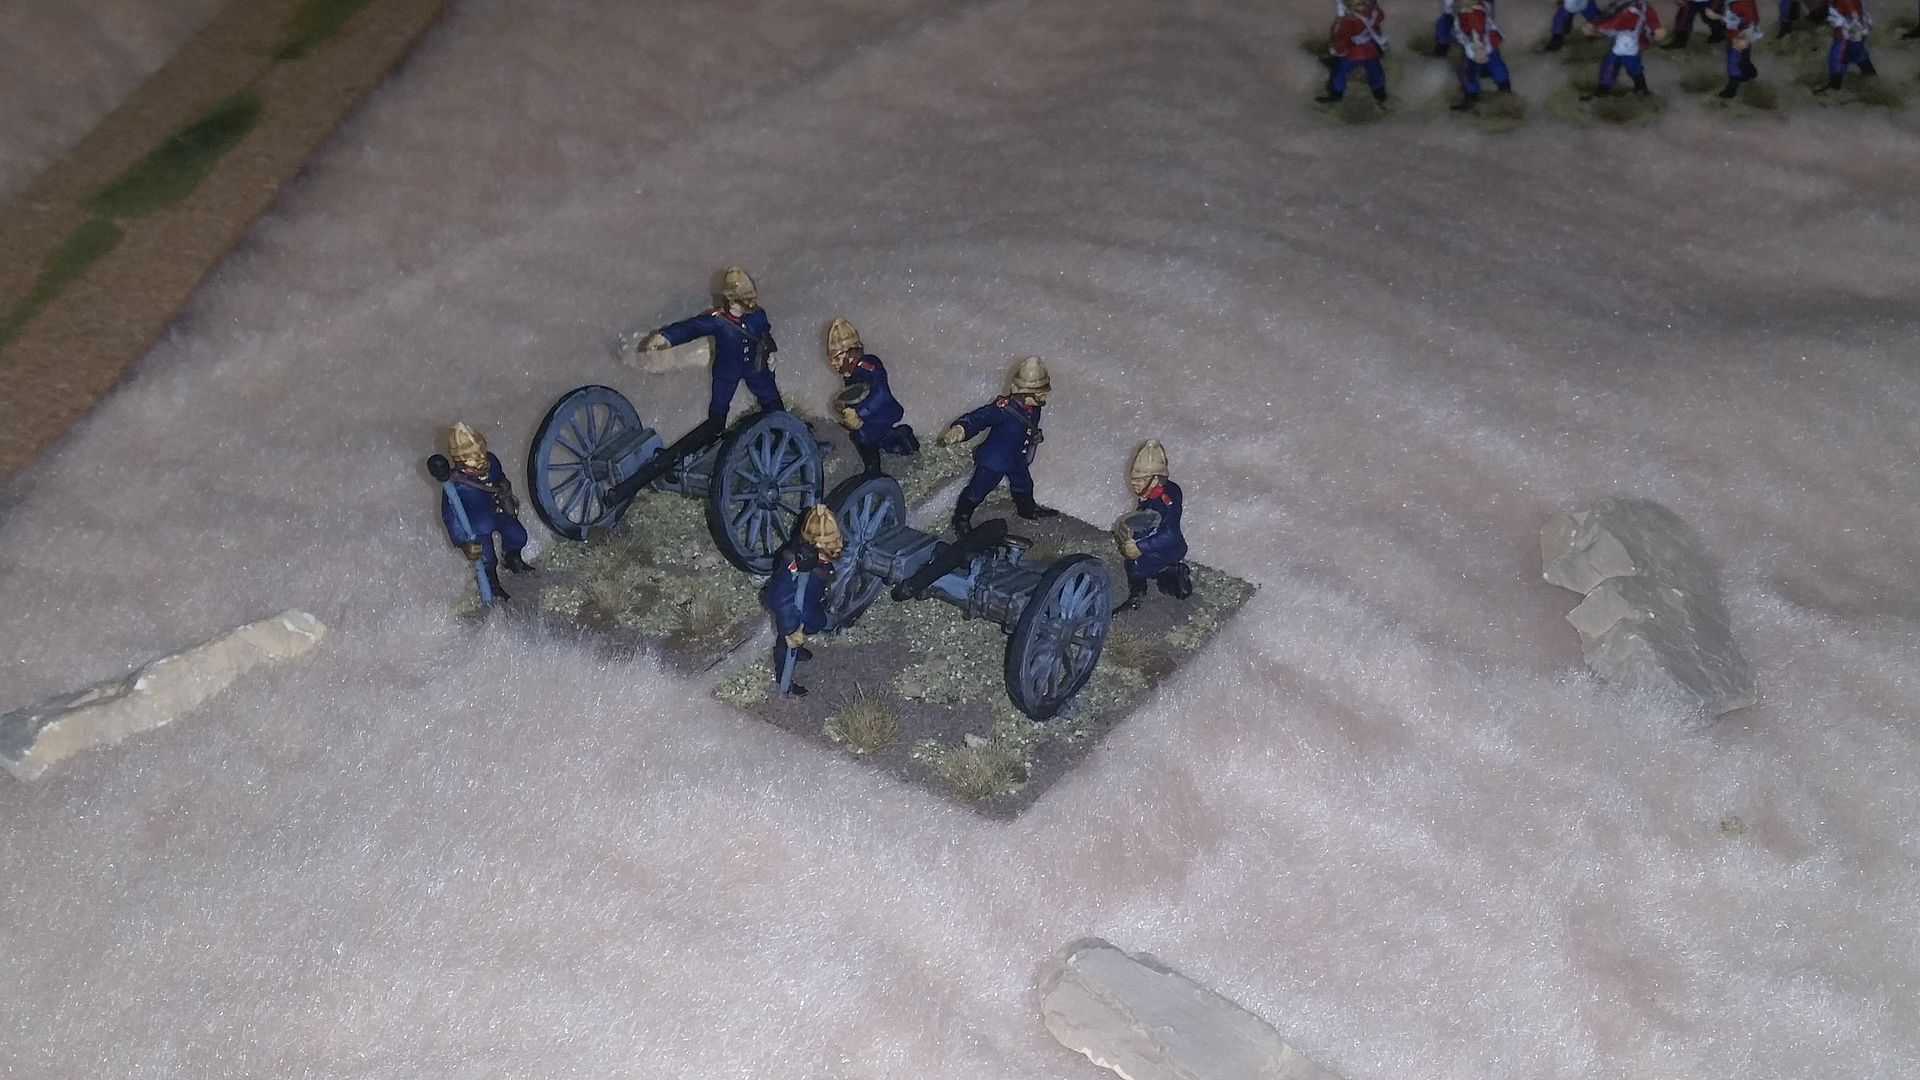 |
| 7lb Guns deployed on a rise |
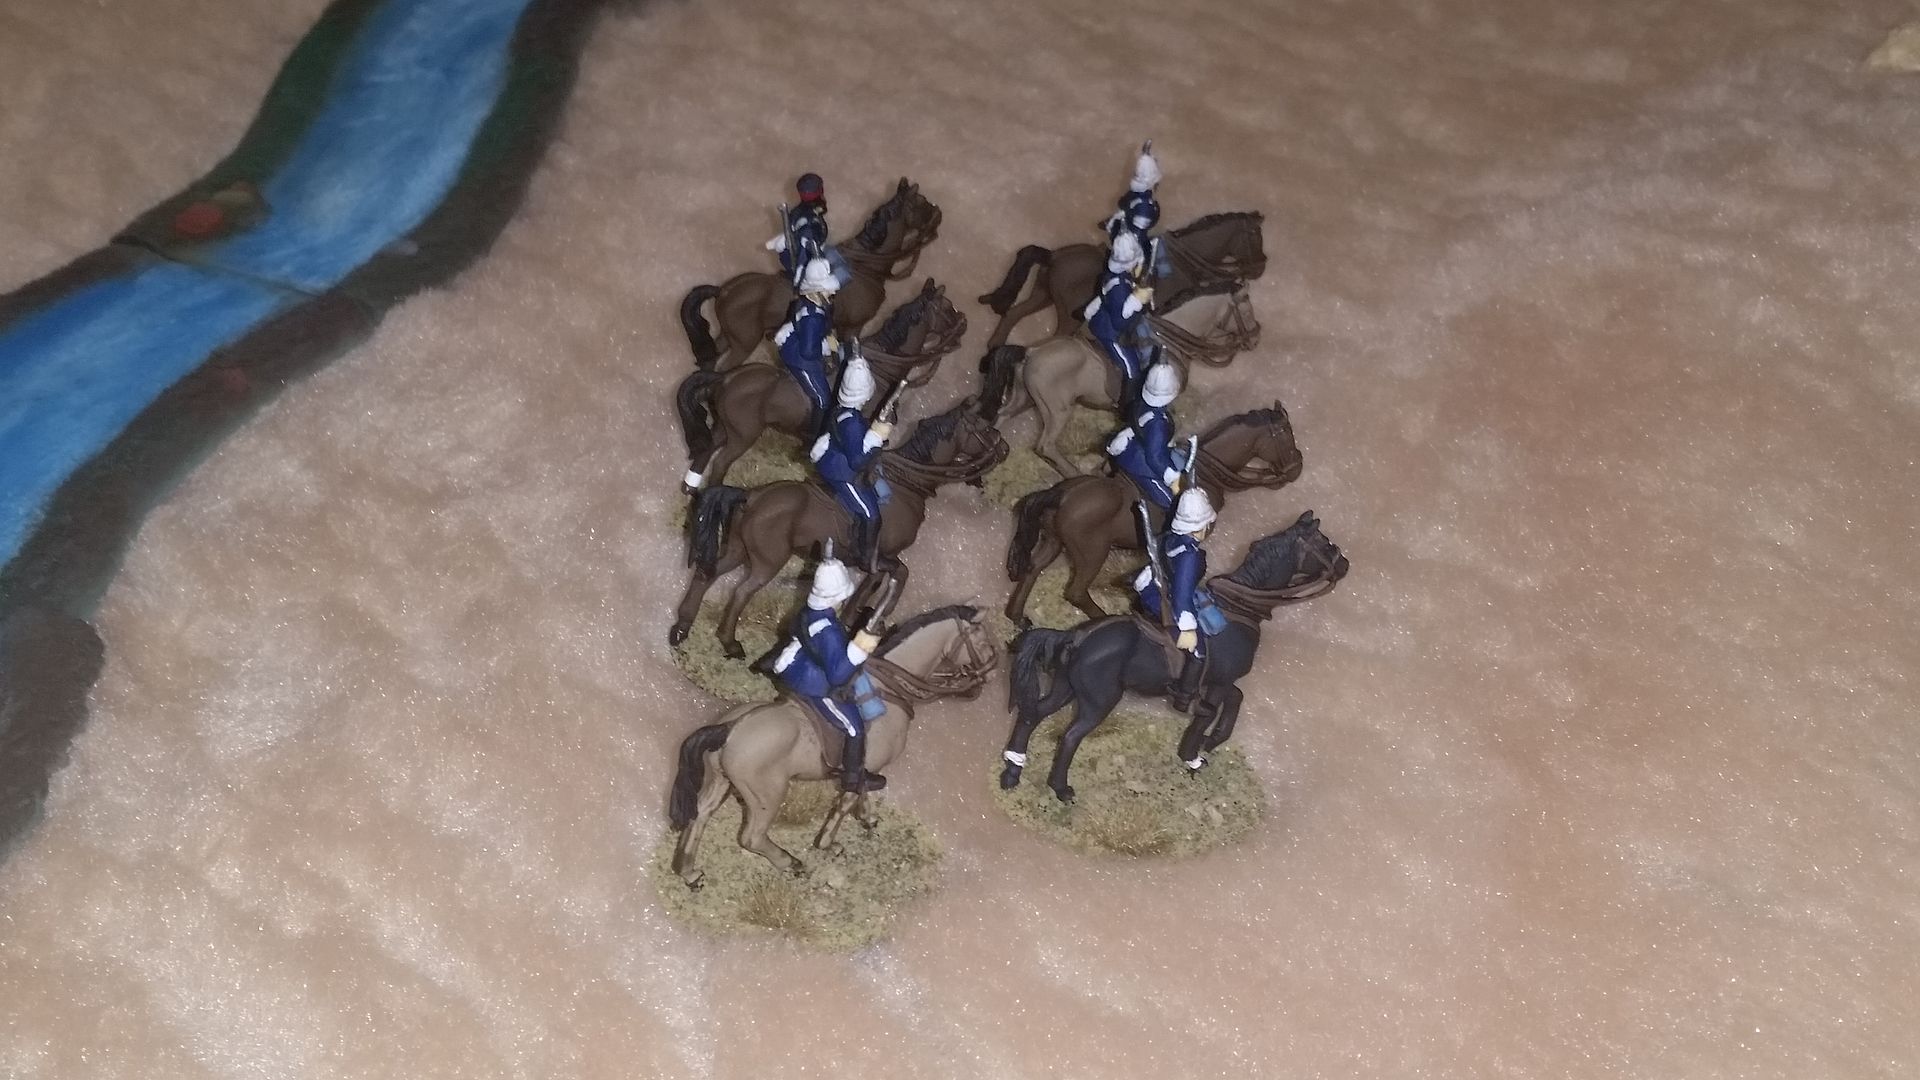 |
| Carbineers mount up and move out to secure the flank |
 |
| British send out a signal to alert higher of the pending attack |
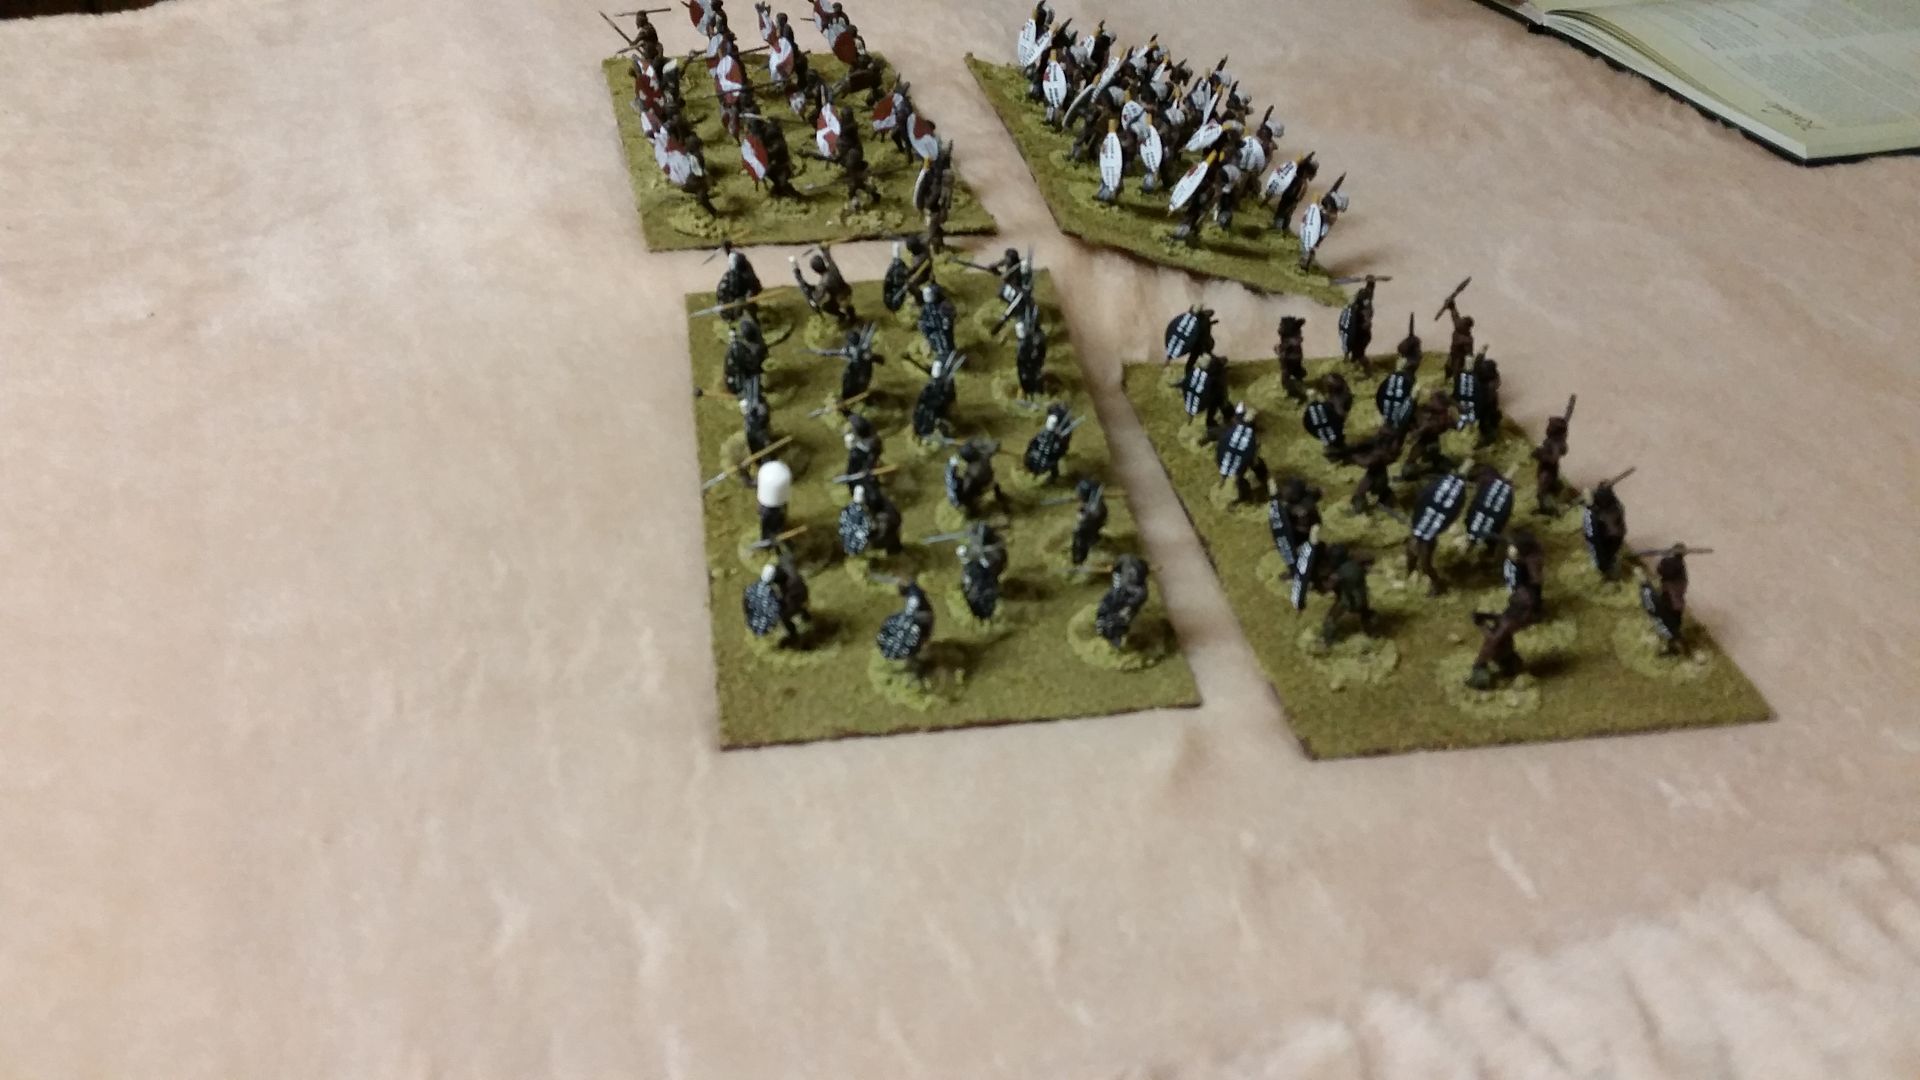 |
| Chest moves quickly forward |
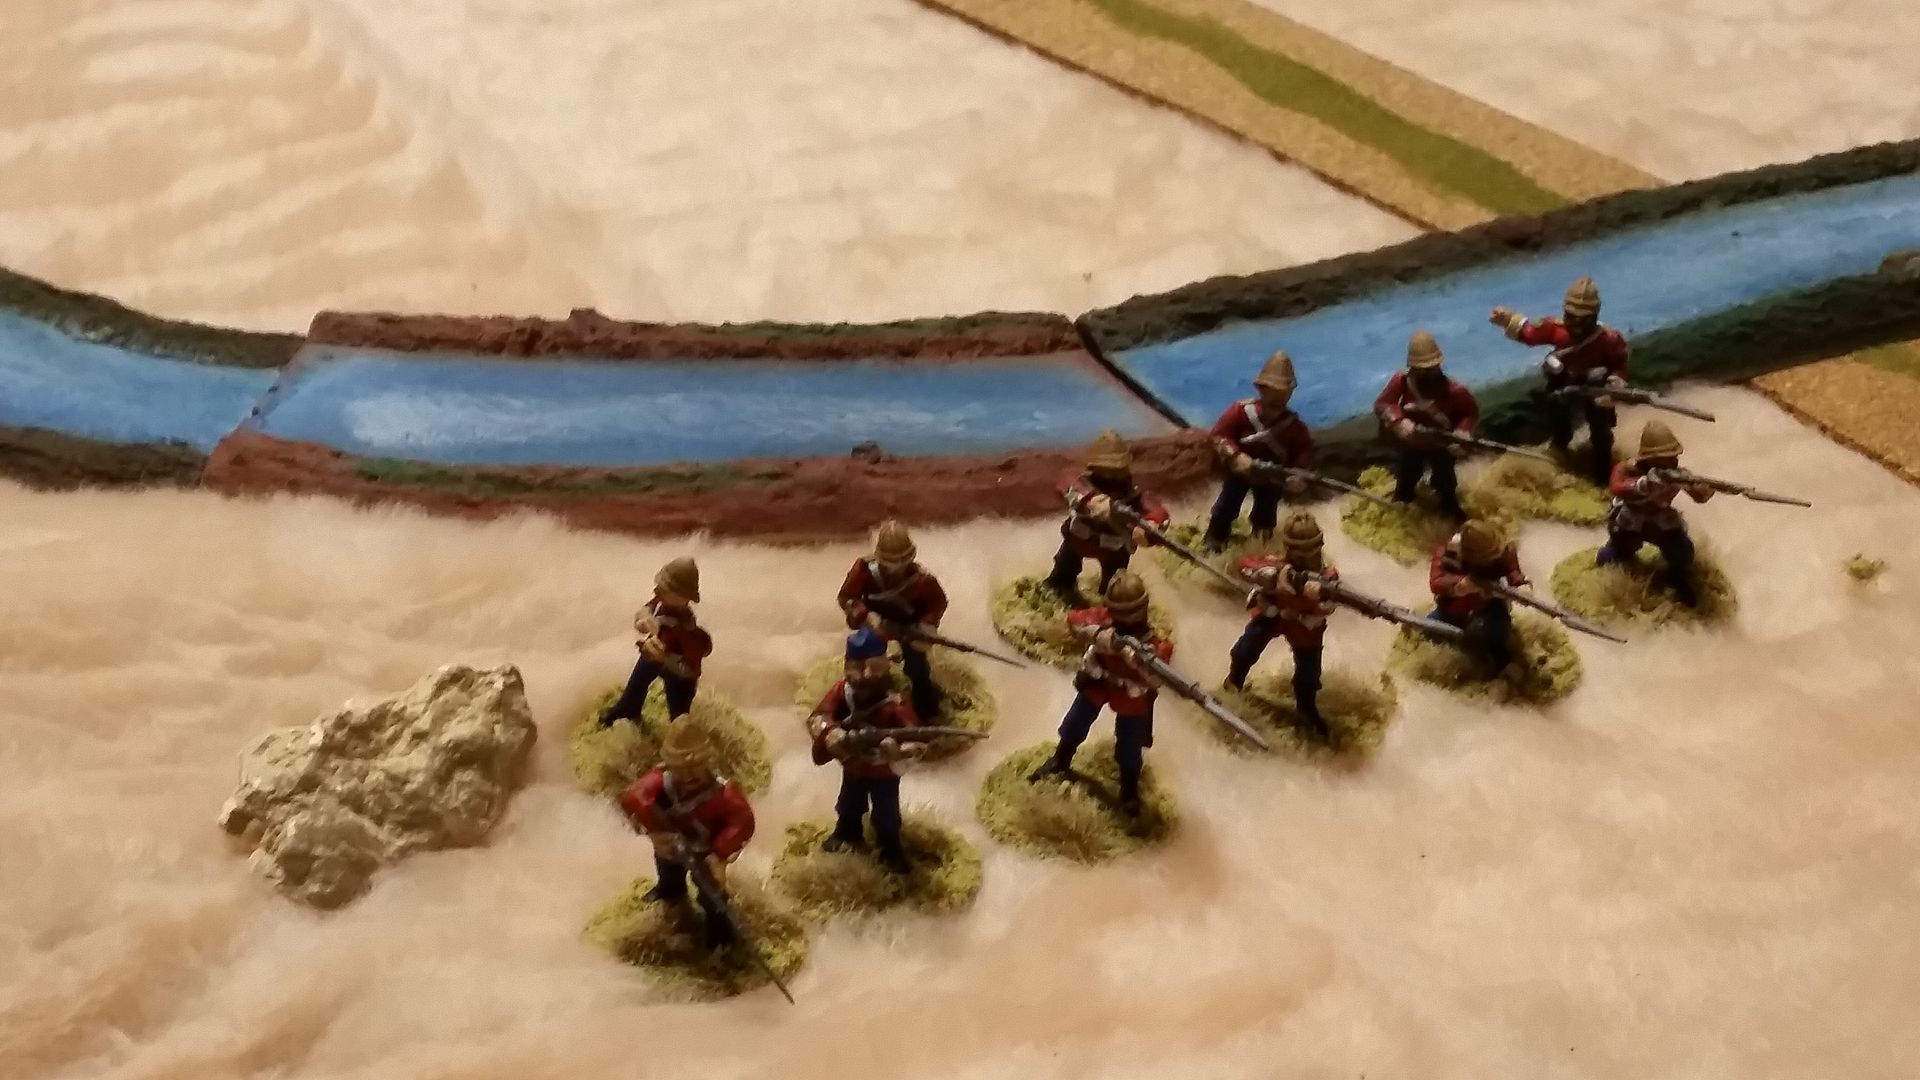 |
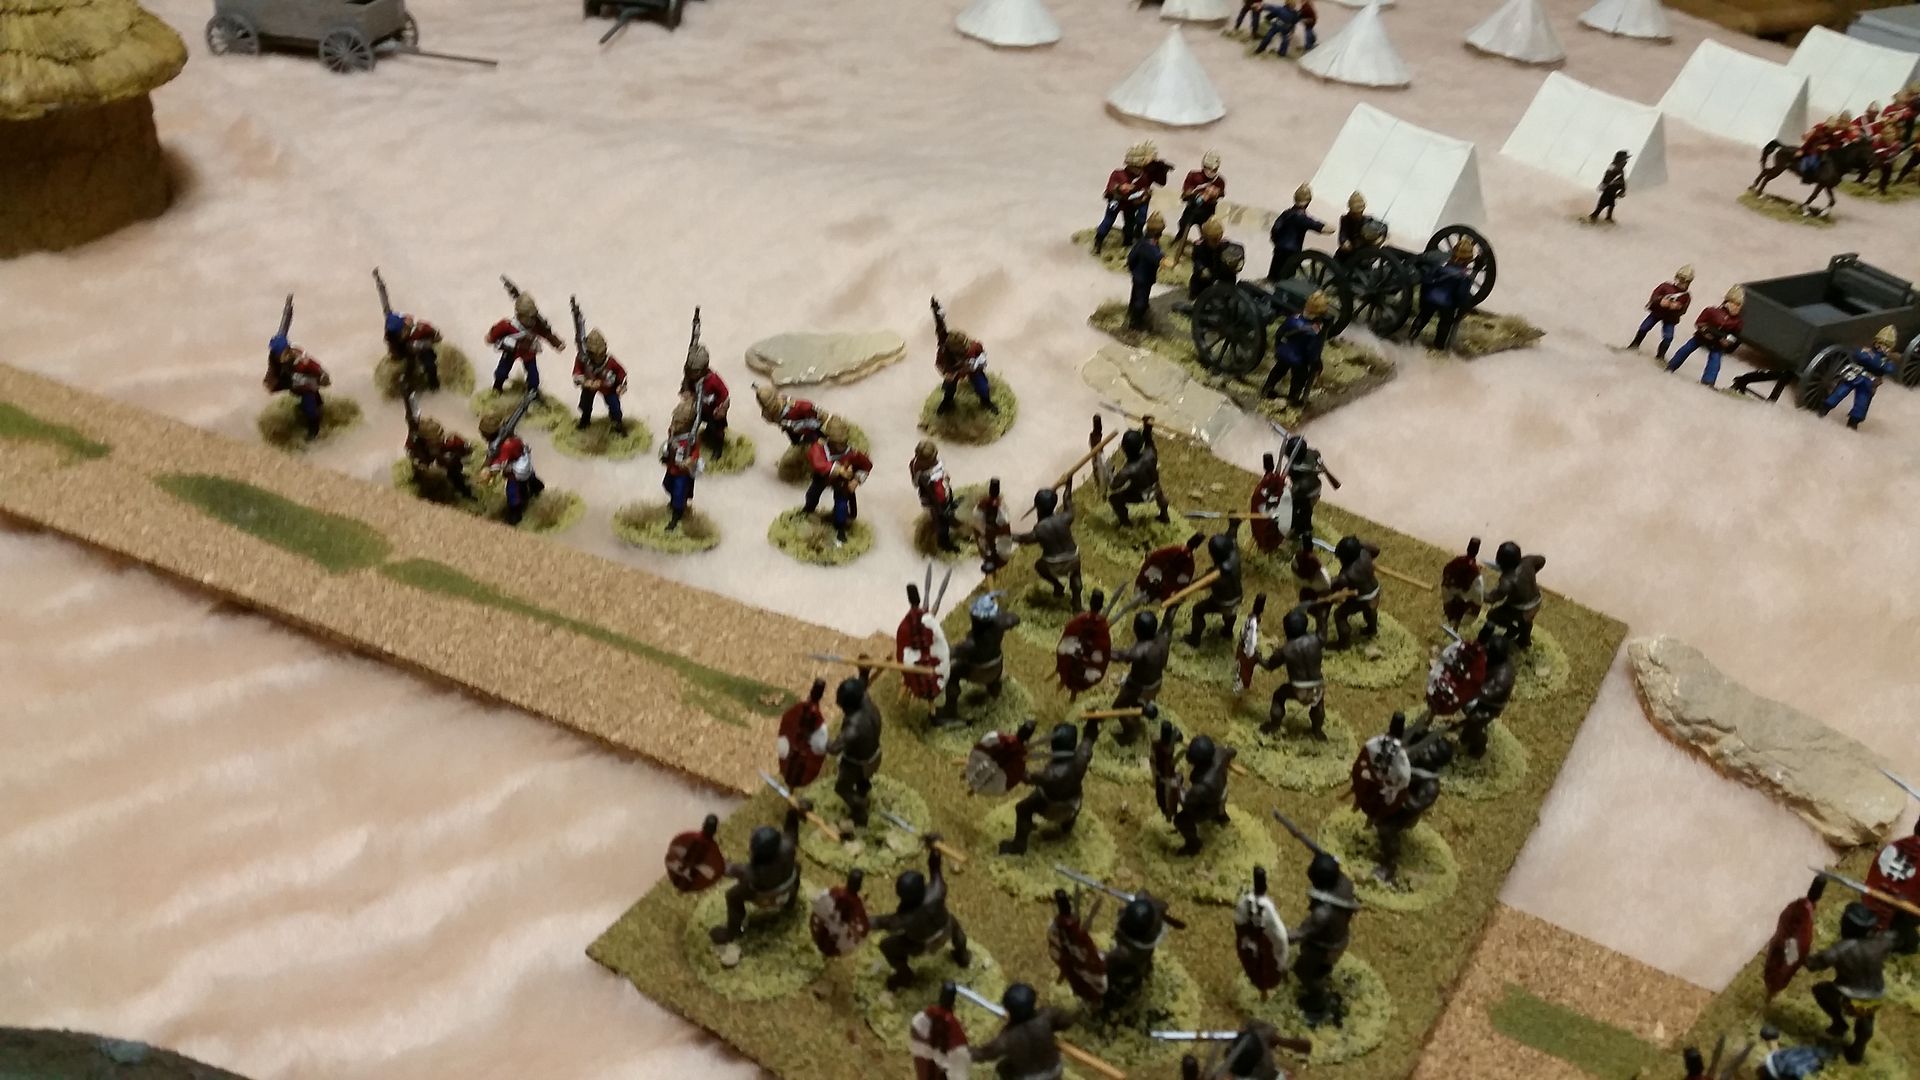
| Thin Red Line prepares to face the advancing Zulu horde |
 |
| Zulu start to take hits at range as they move up |
 |
| The Martini Henry rifles prove deadly accurate breaking the lead unit |
 |
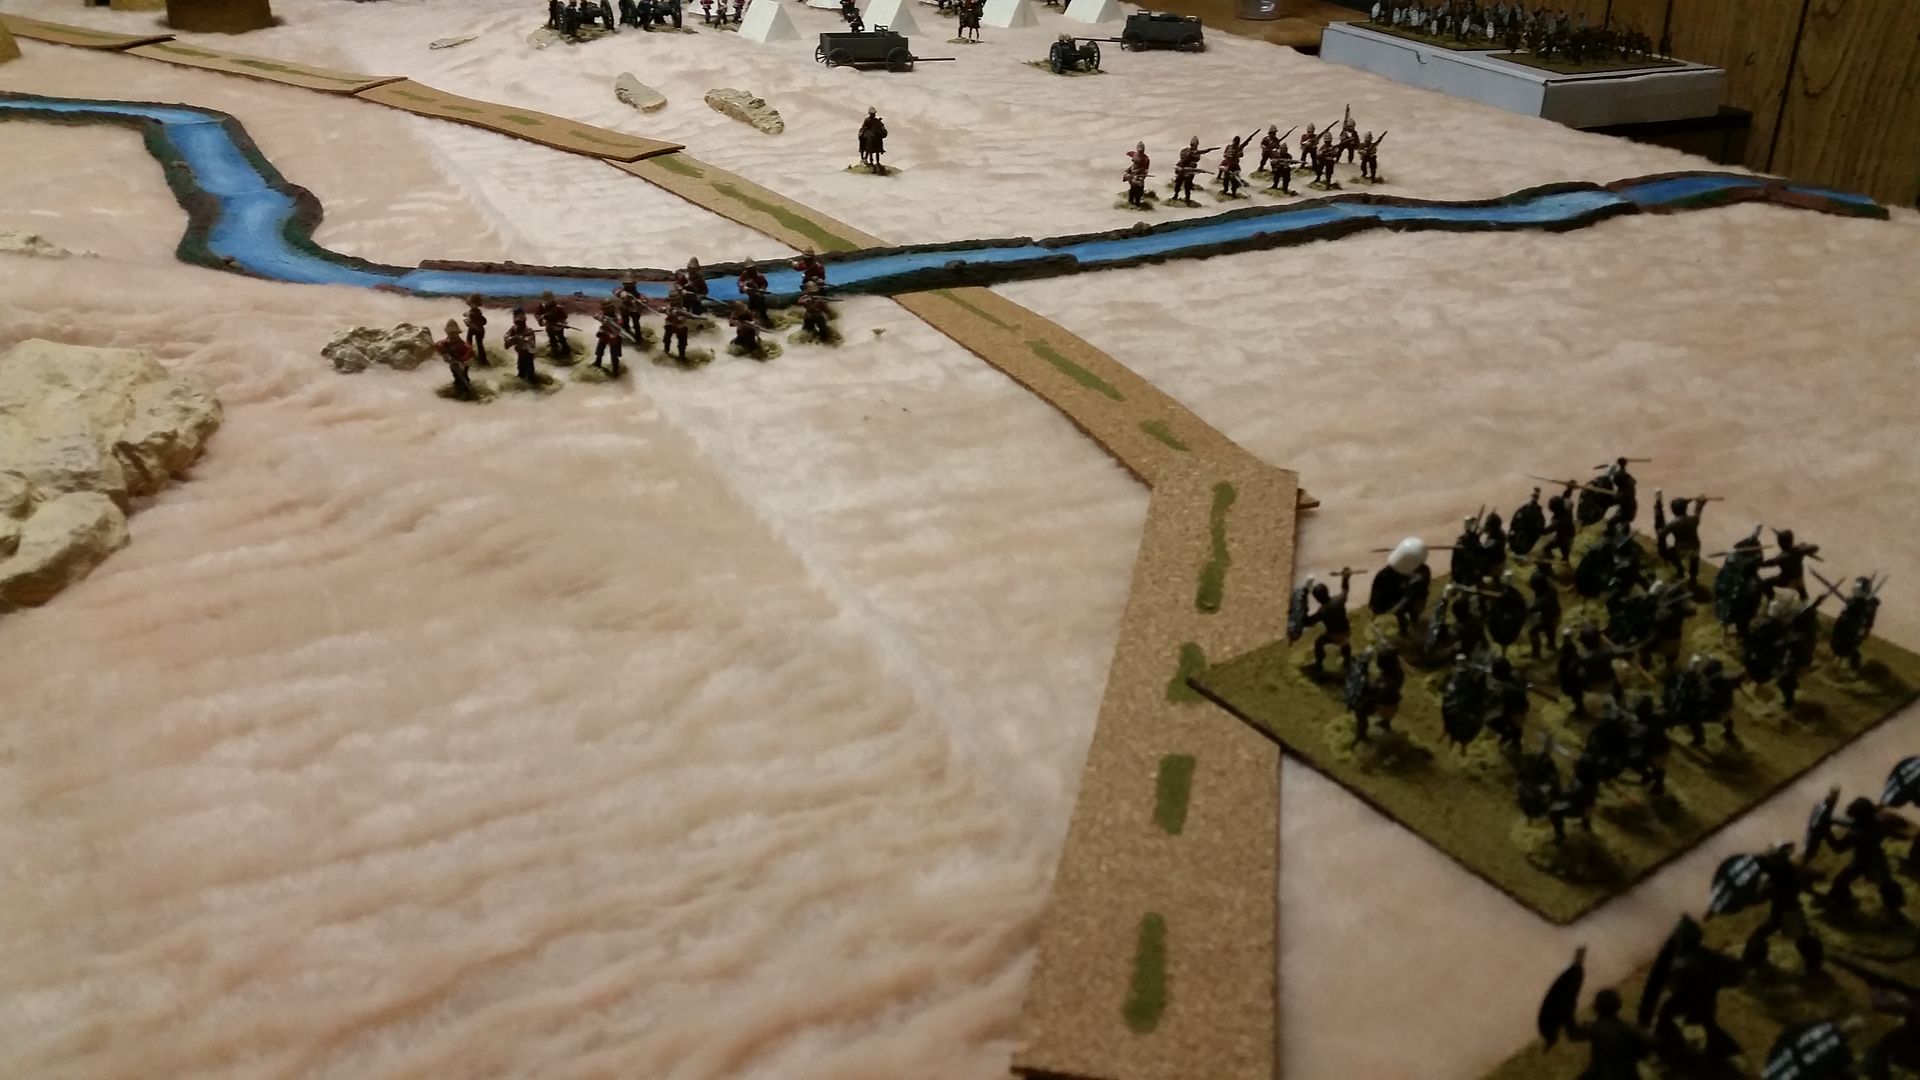
| The Carbineers dismount and are hit by the chest |
 |
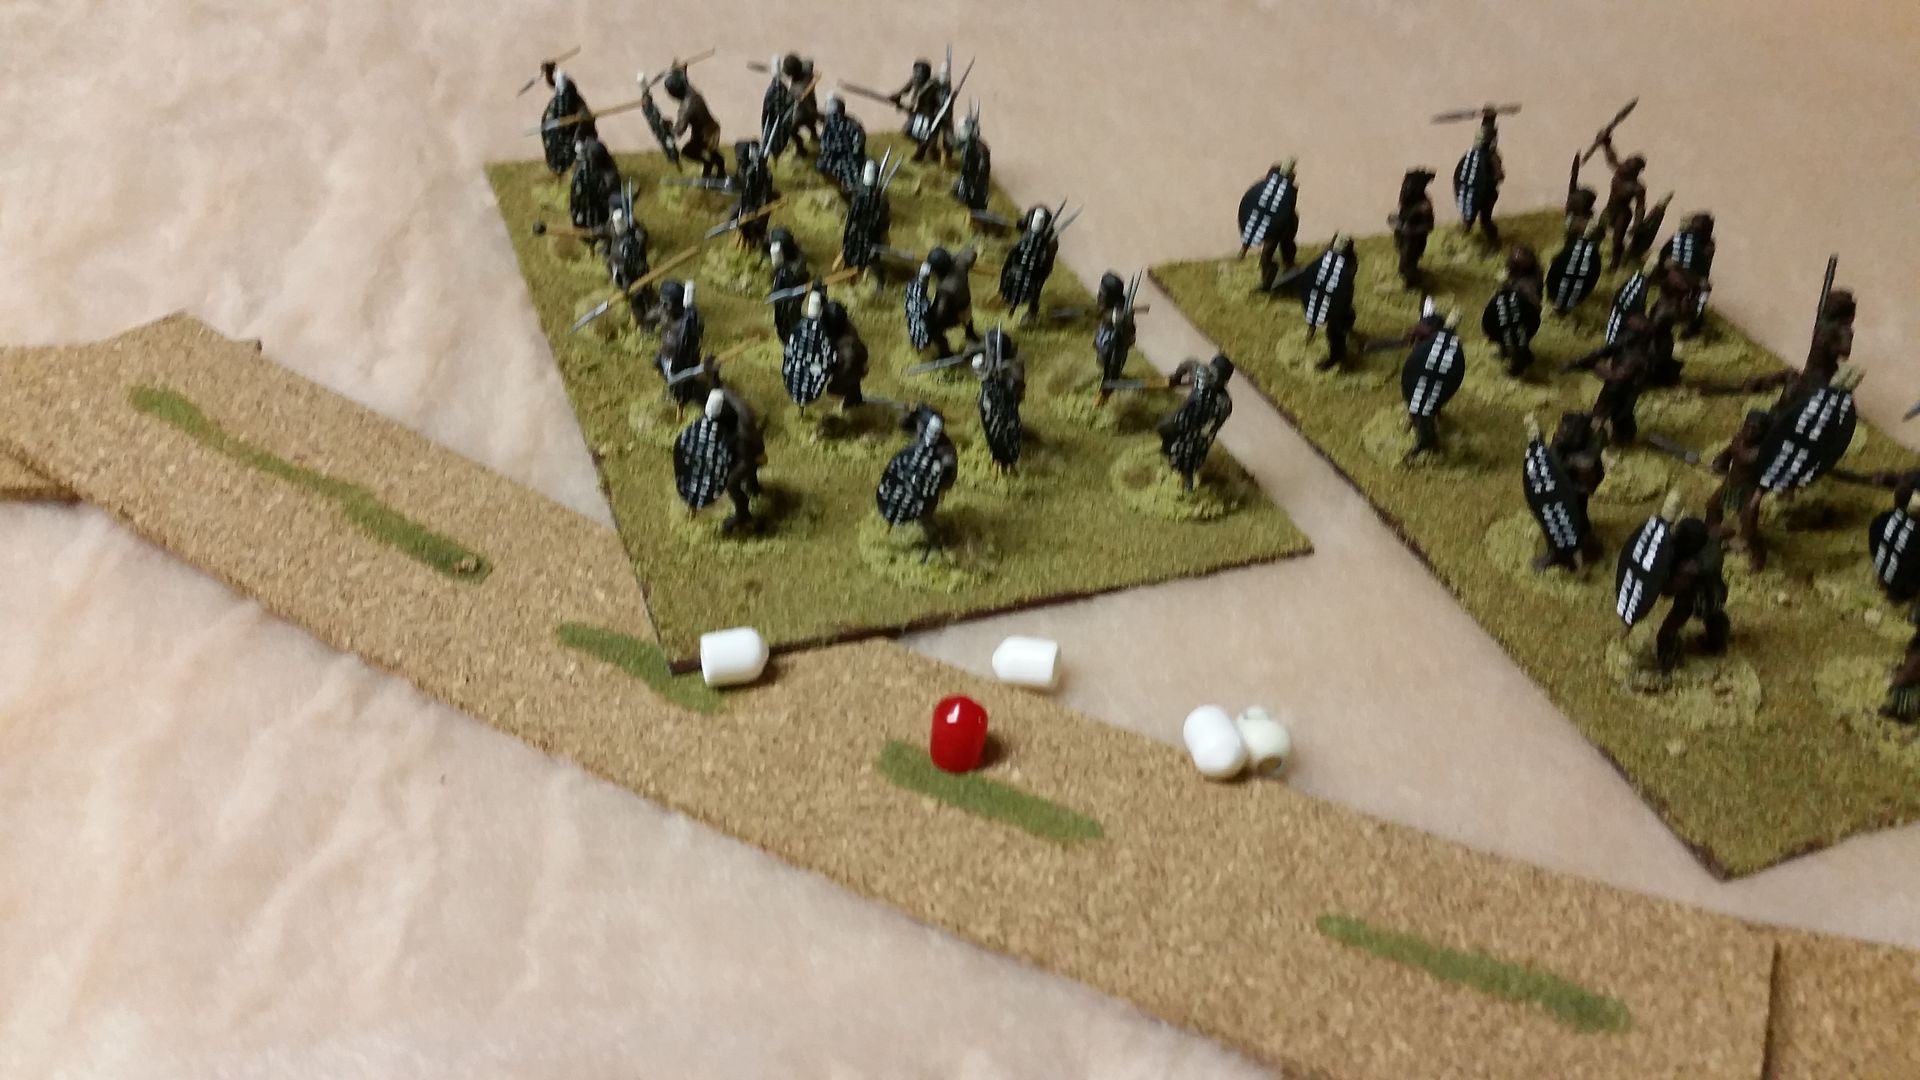
| The right horn stalls out |
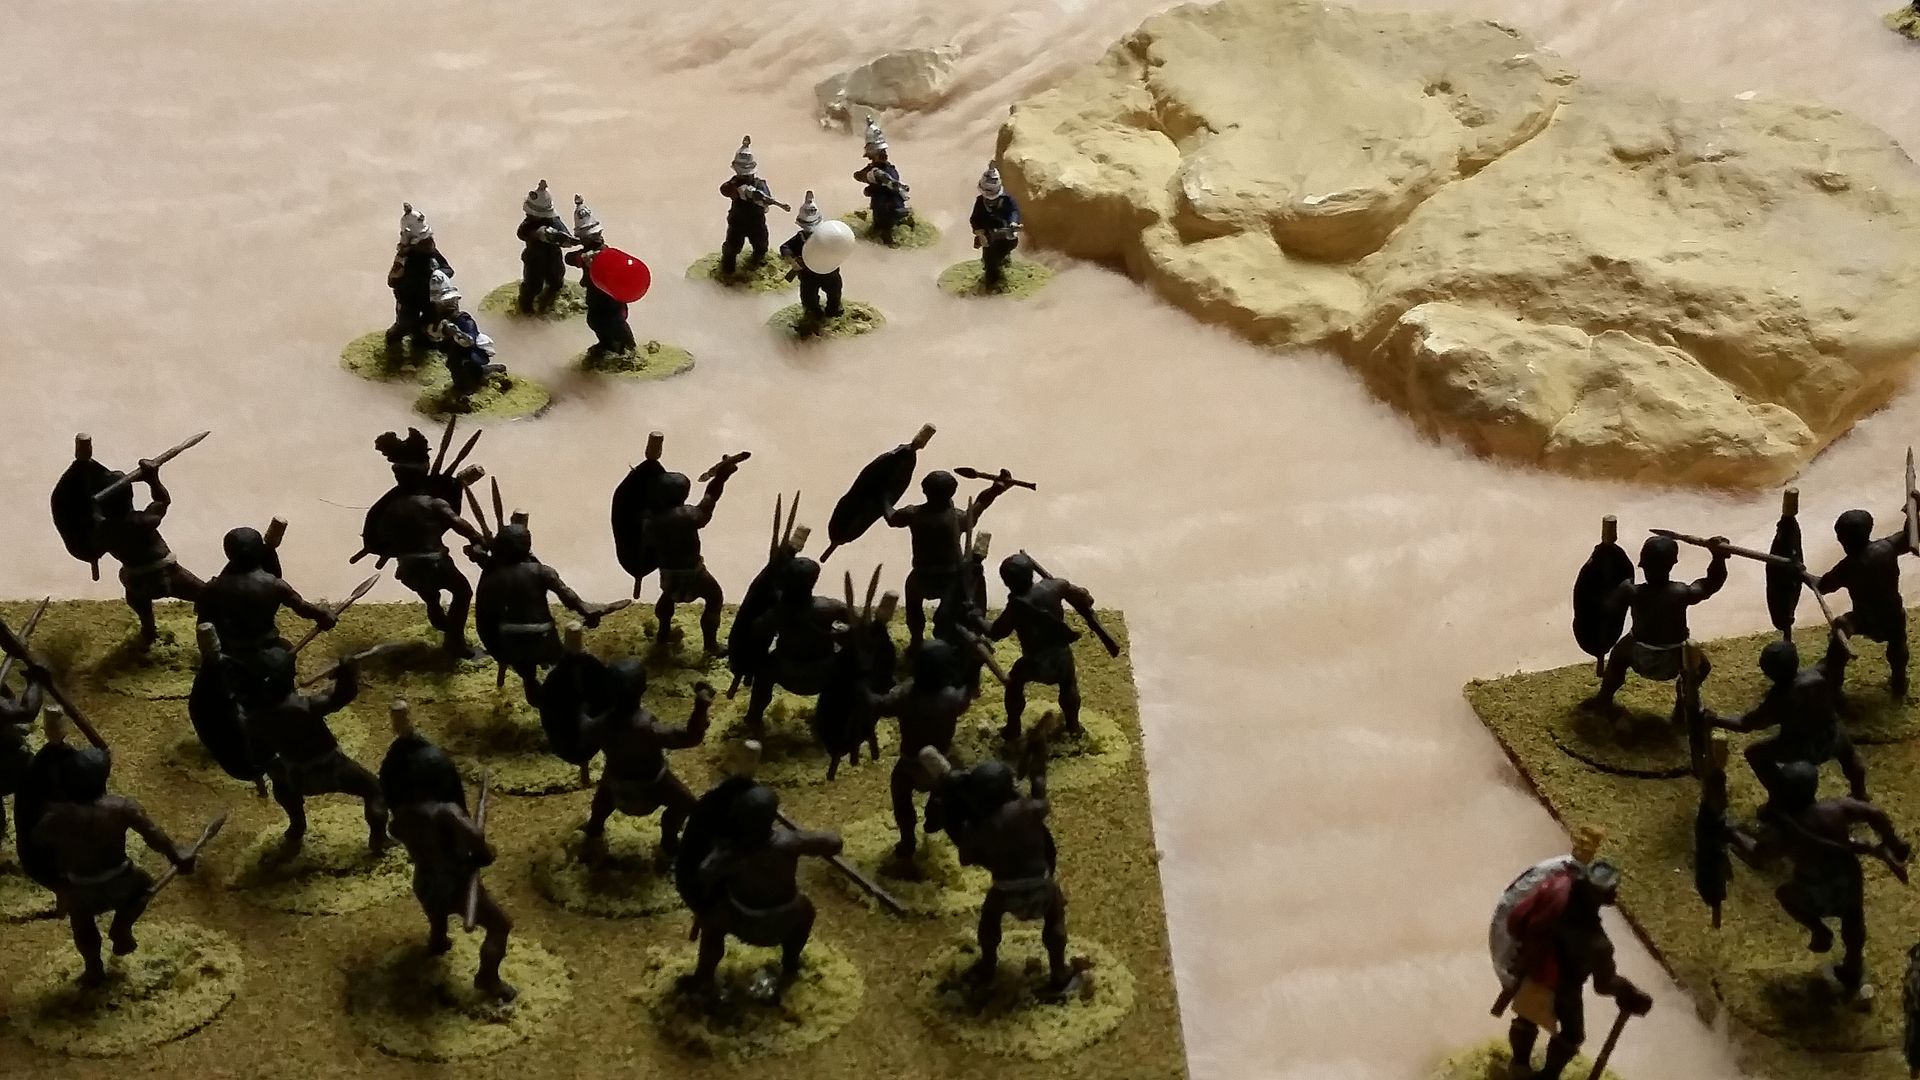 |
| On the Left the Carbineers are driven back but do not break |
 |
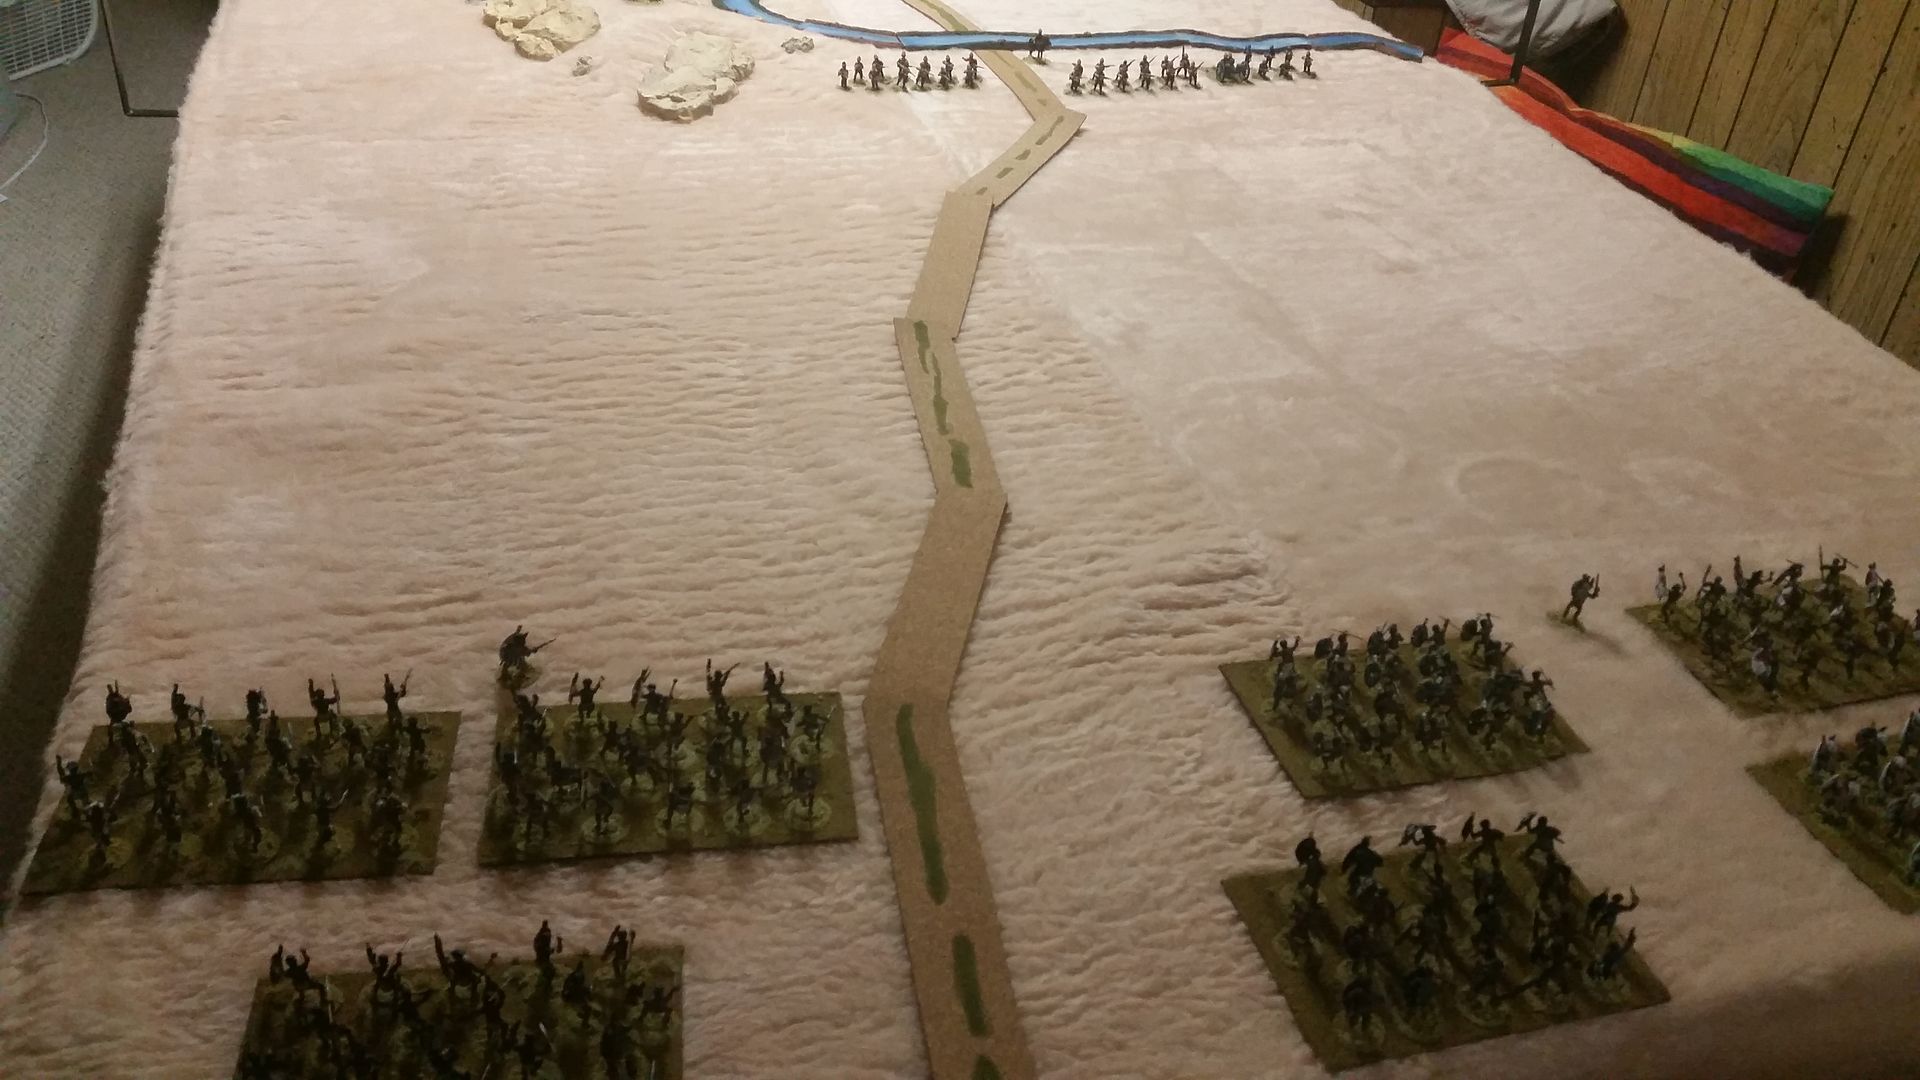
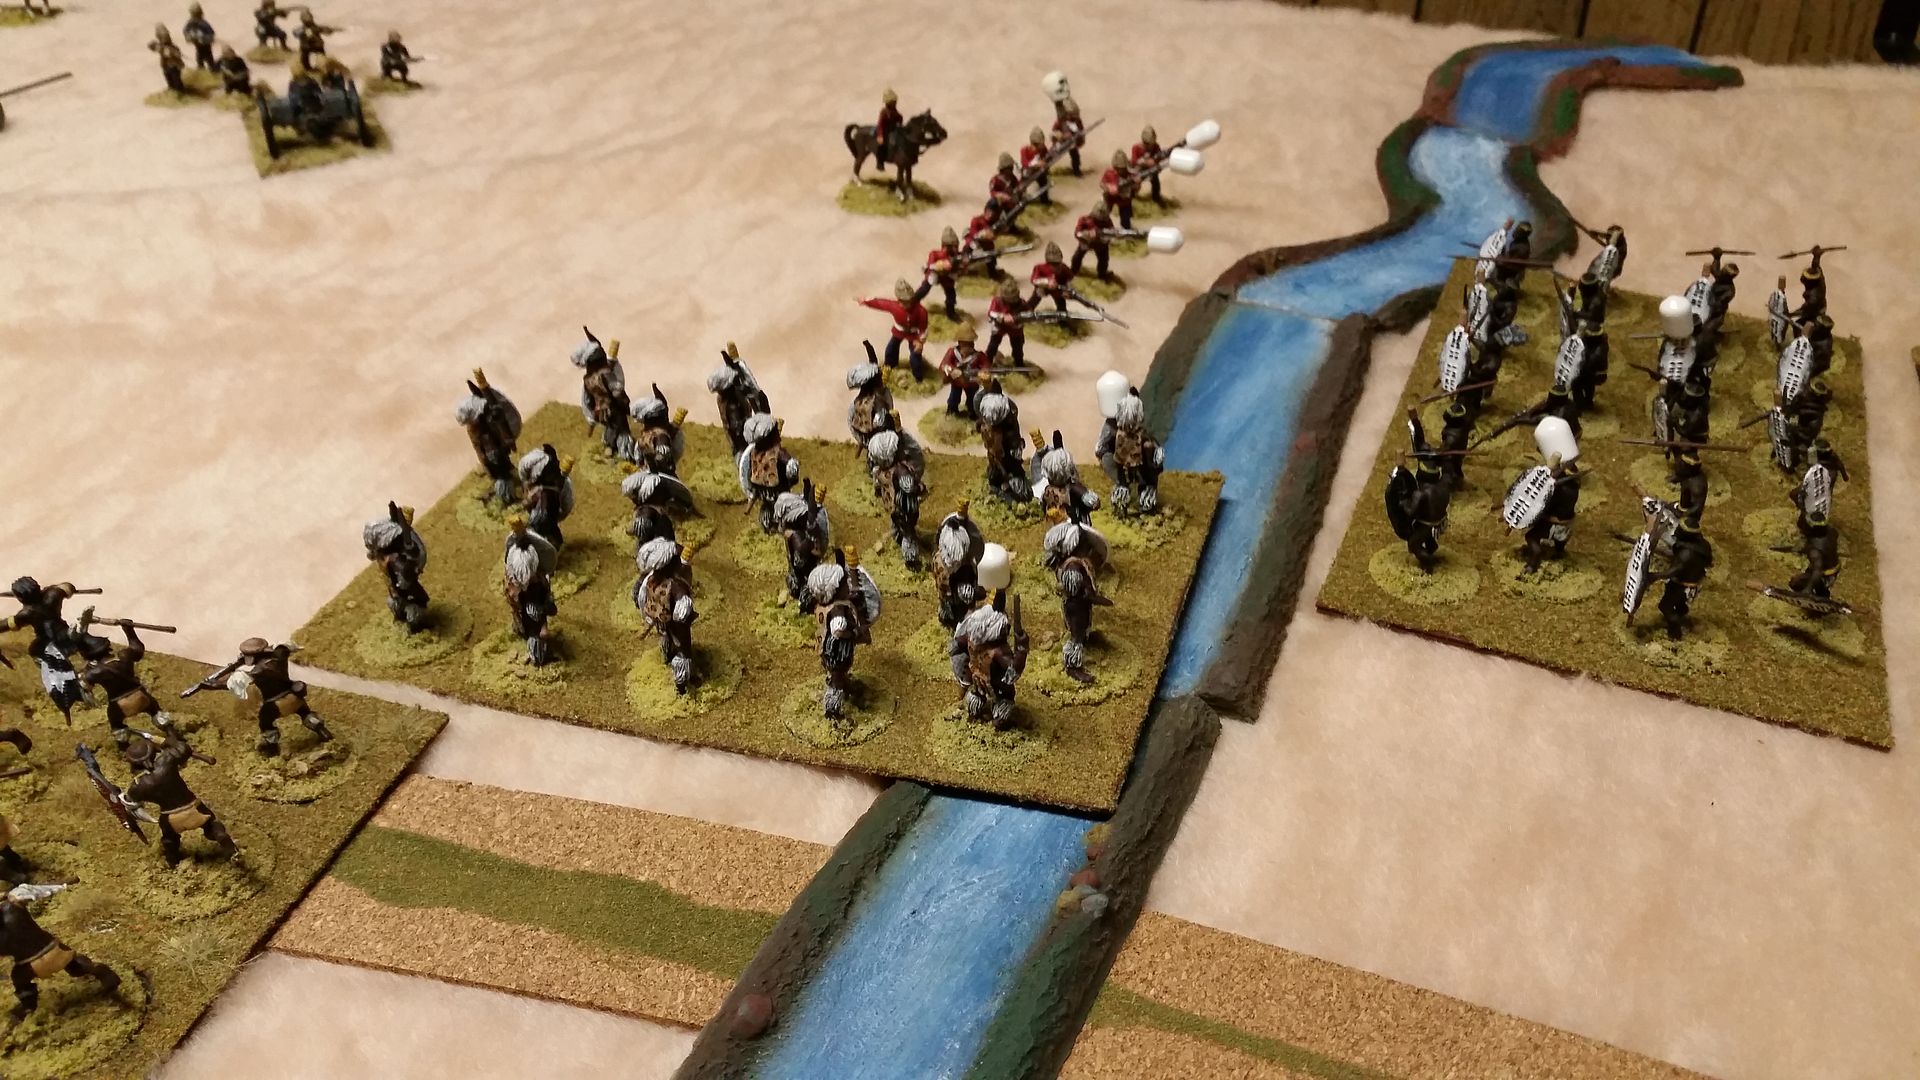
| The center company is quickly overrun at the ford and breaks for the rear |
 |
| Carbineers soon suffer the same fate opening up the left flank |
 |
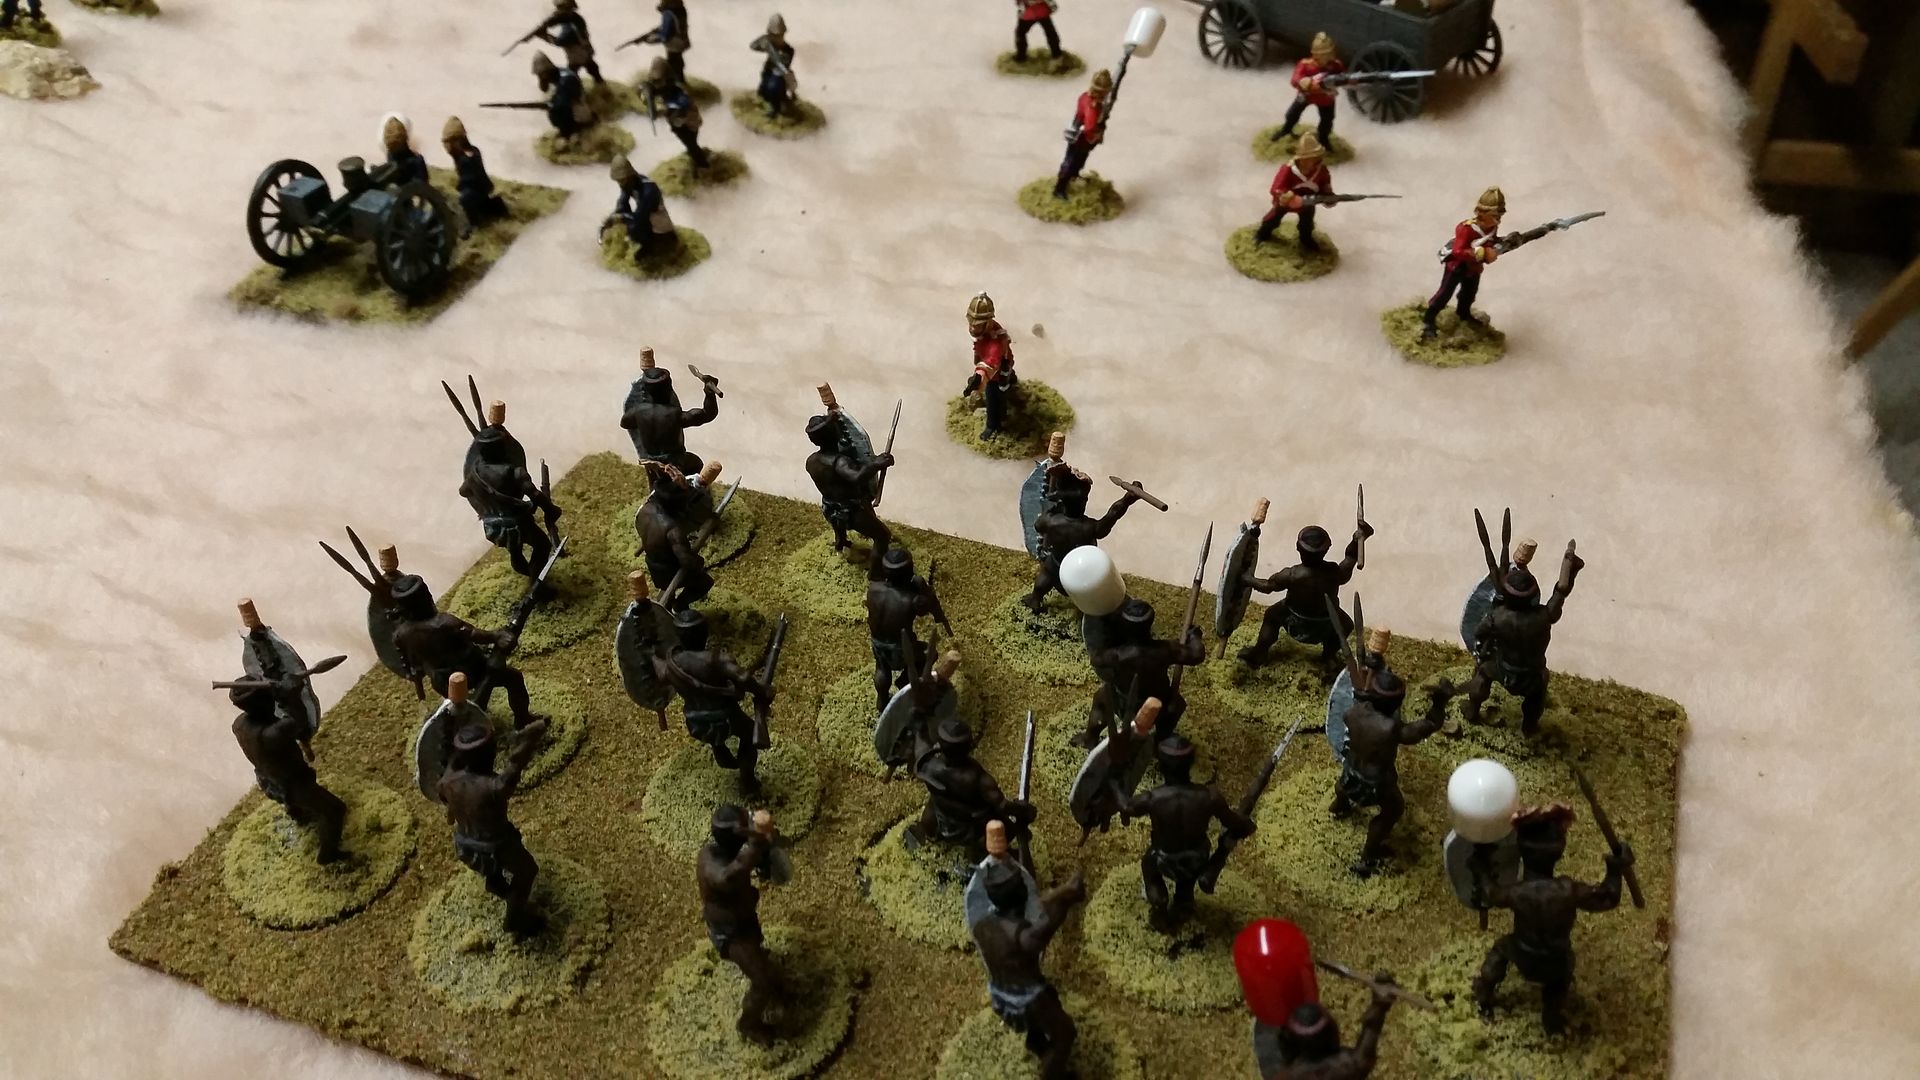
| Left and Center appear to be open |
 |
| The right is now threatened as well |
 |
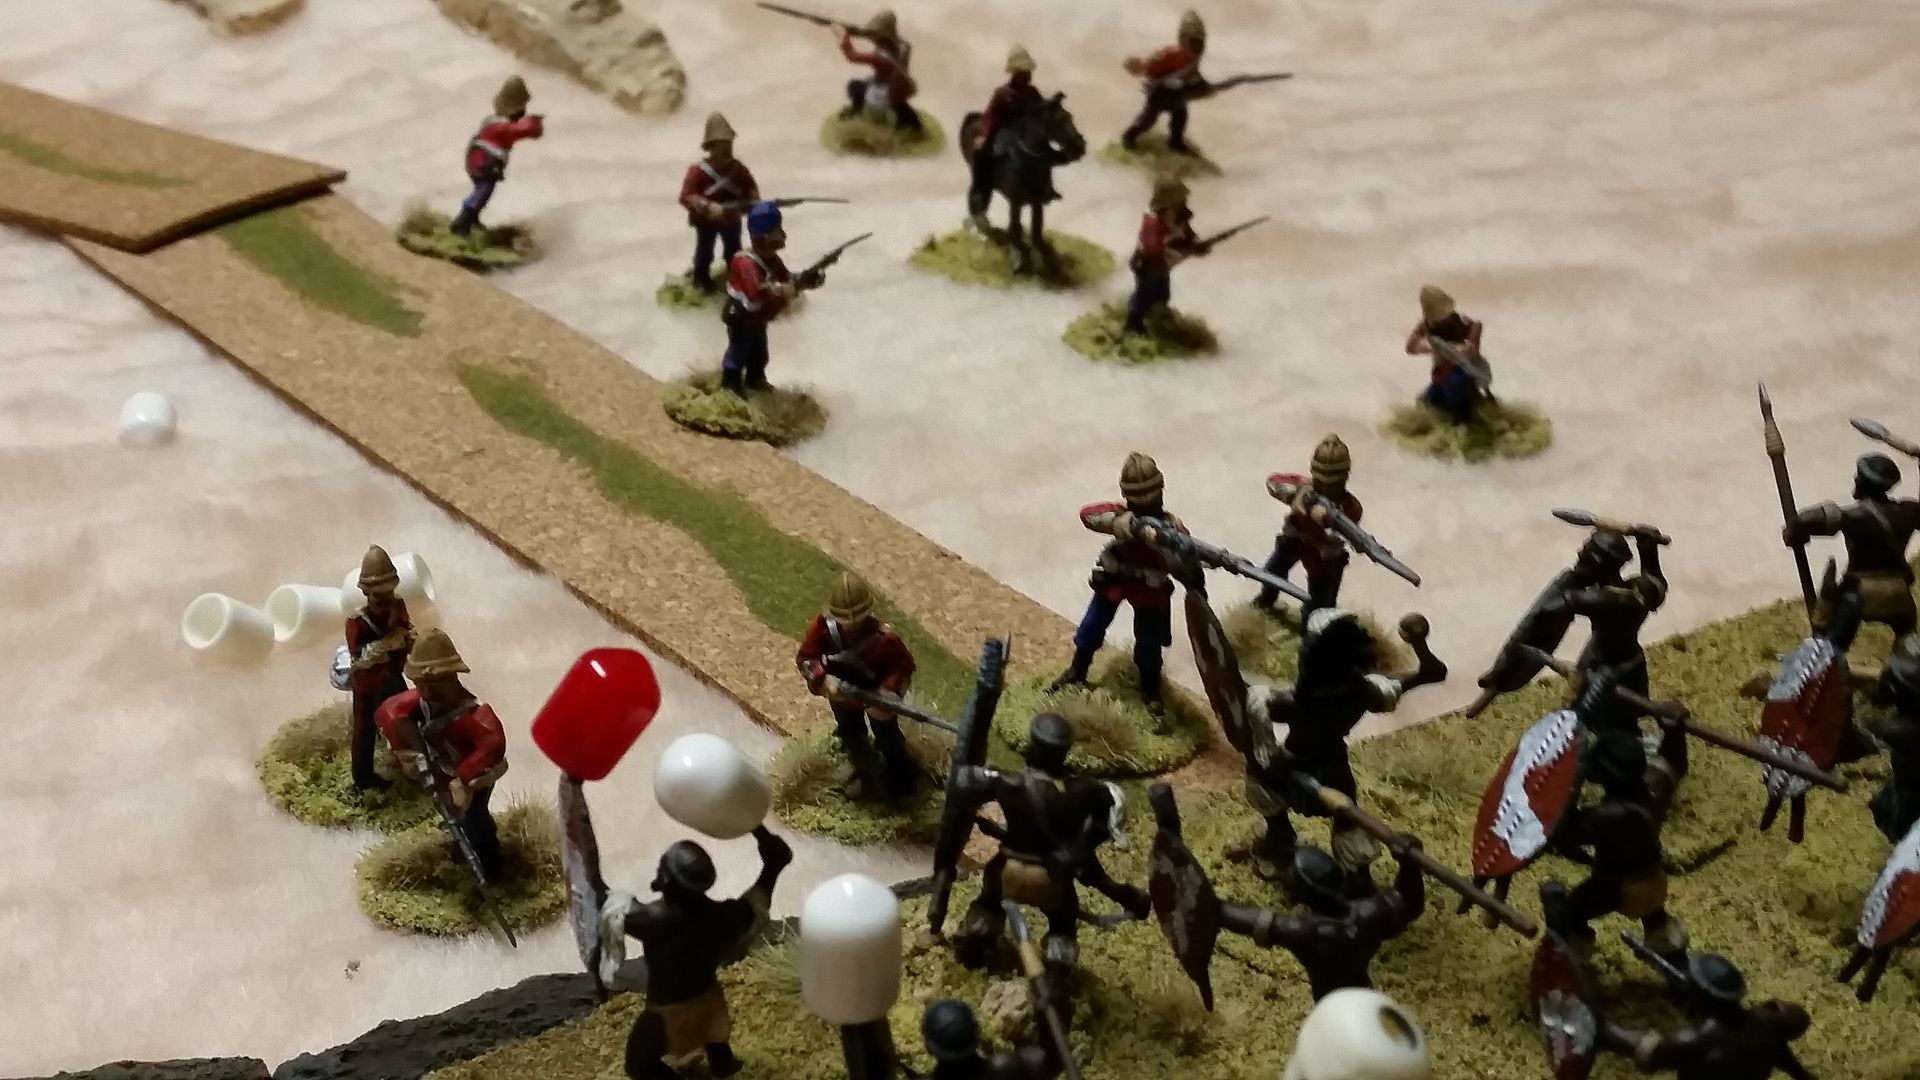
| As reinforcements mobilize they are quickly engaged |
 |
| Despite being pressed the British right holds firm thanks to Stubborn and Steady |
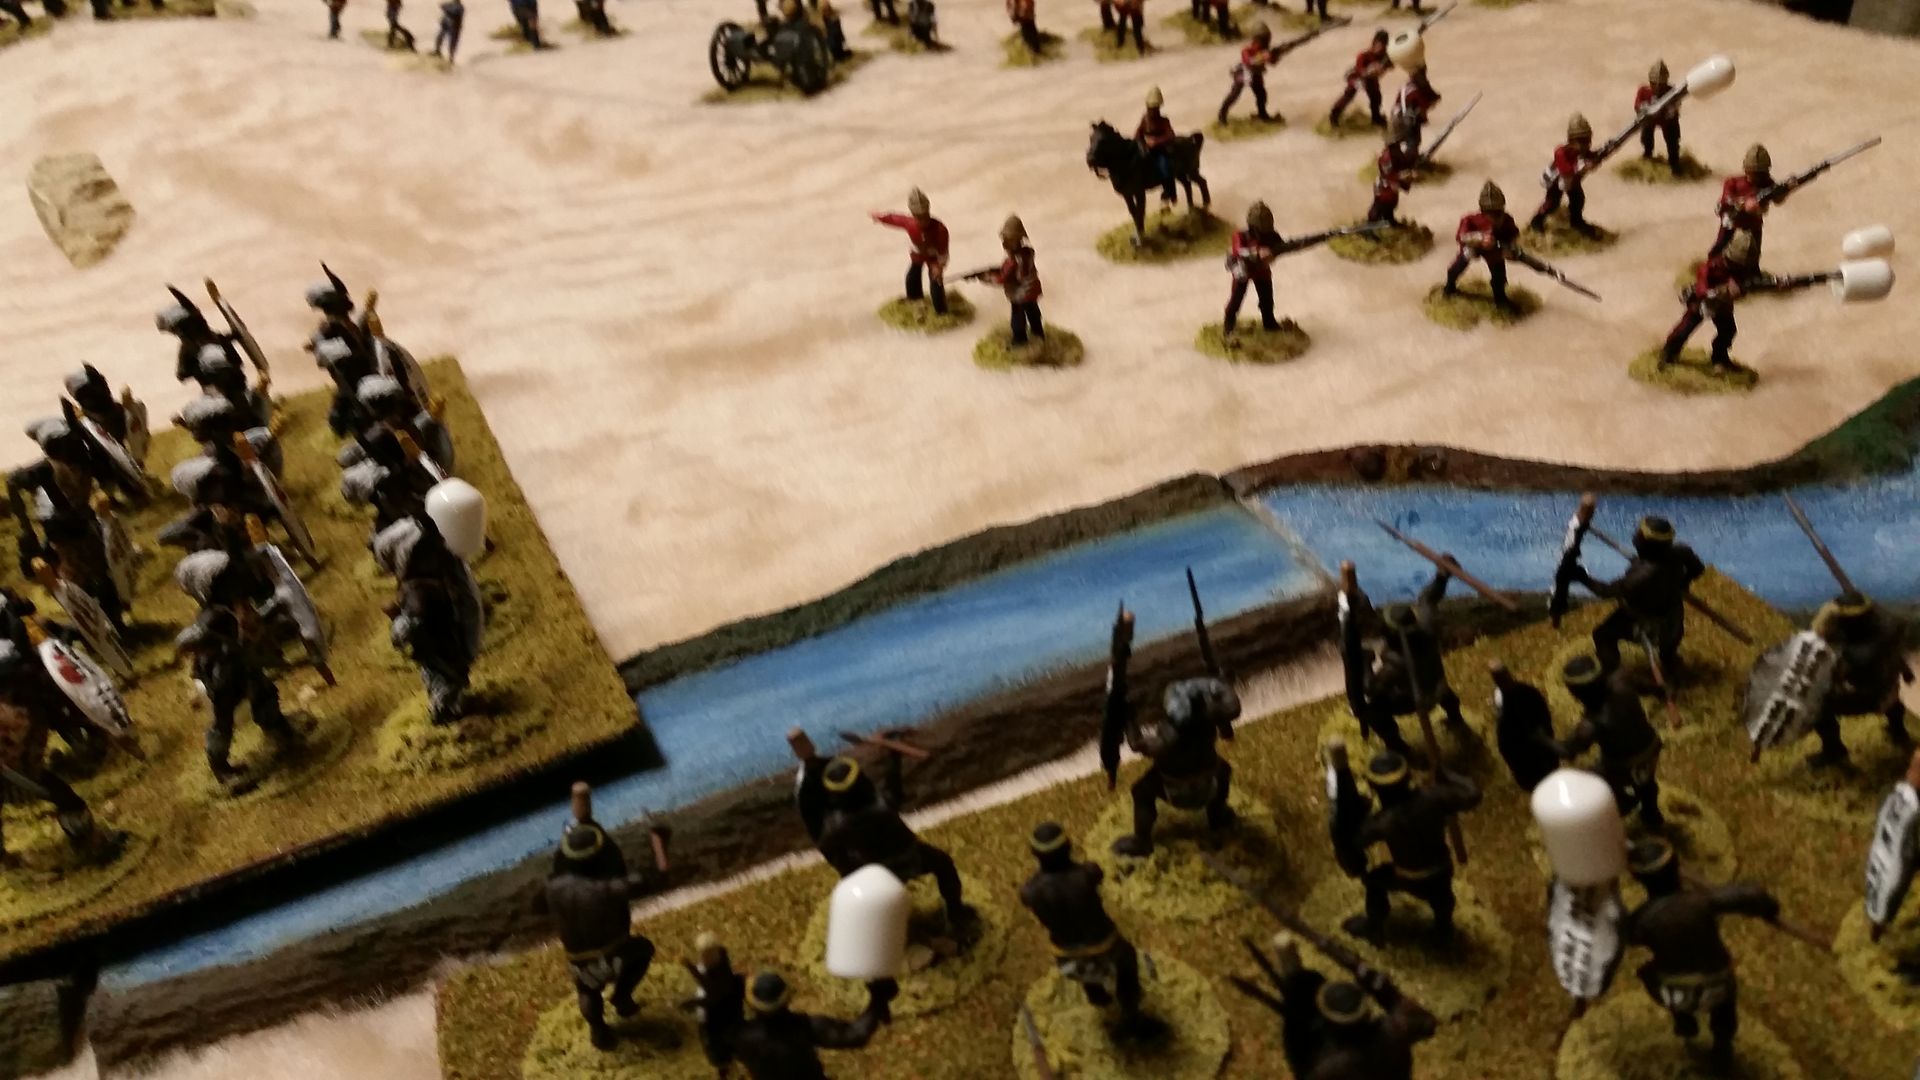 |
| They cannot hold forever and soon break for the rear |
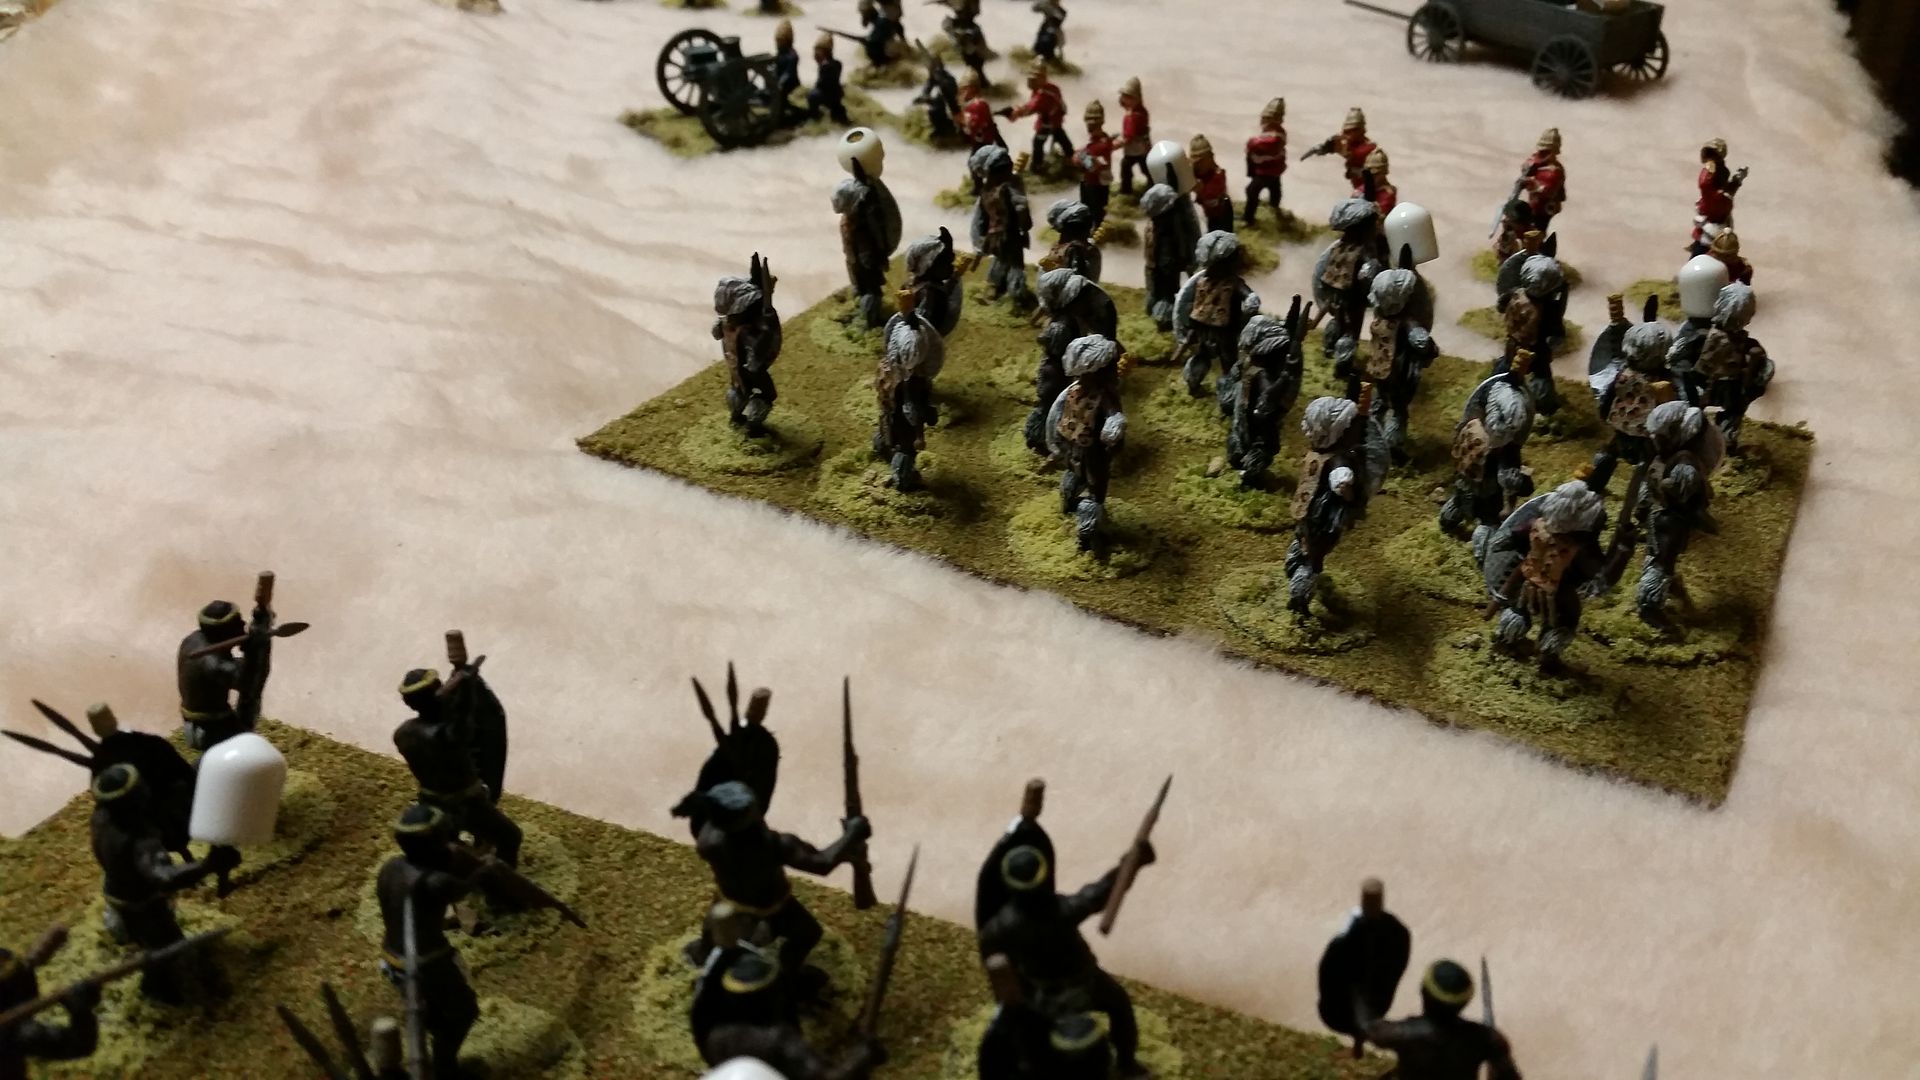 |
| A second line is formed and stalled the Zulu onslaught on the right |
 |
| Rockets and Gatling gun lend firepower to the defense |
 |
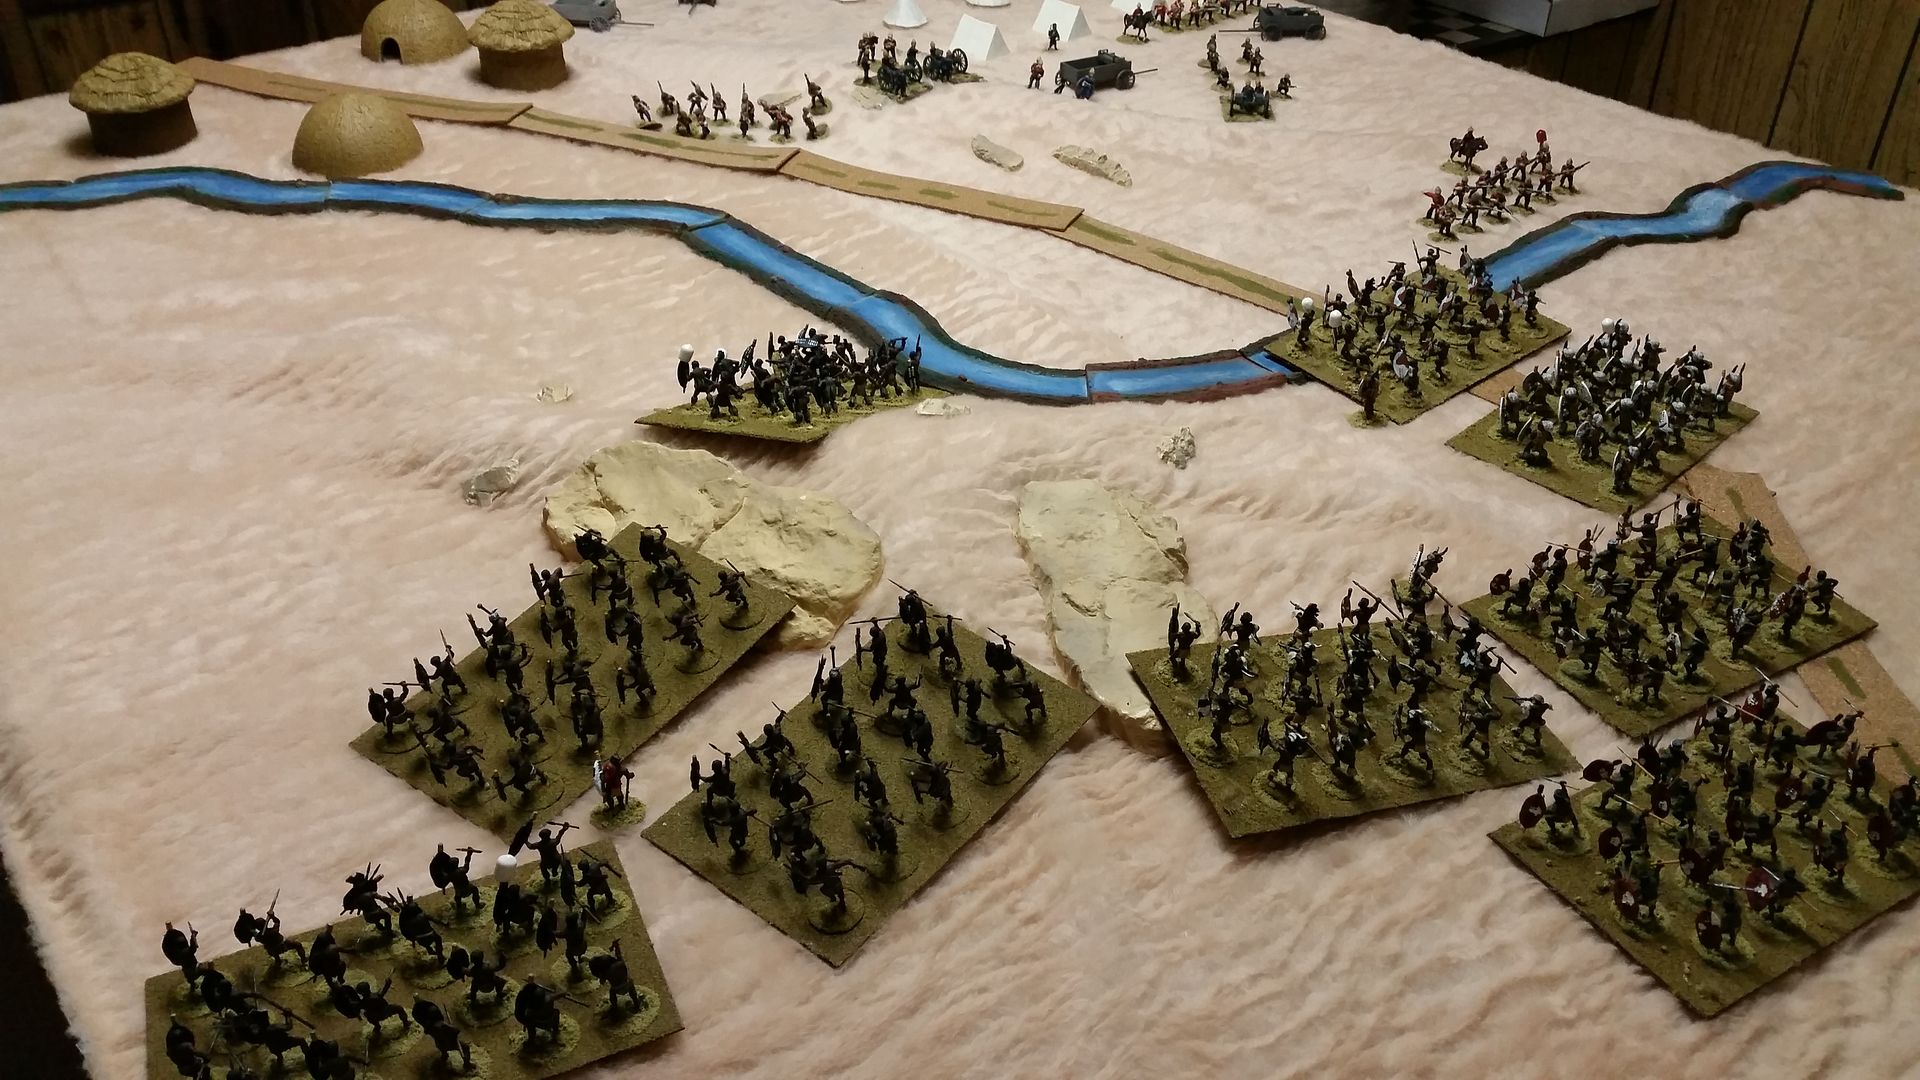
| The Zulu left is slowed down by the river and heavy Arty fire |
 |
| Finally the Zulu right horn breaks the 2nd red line |
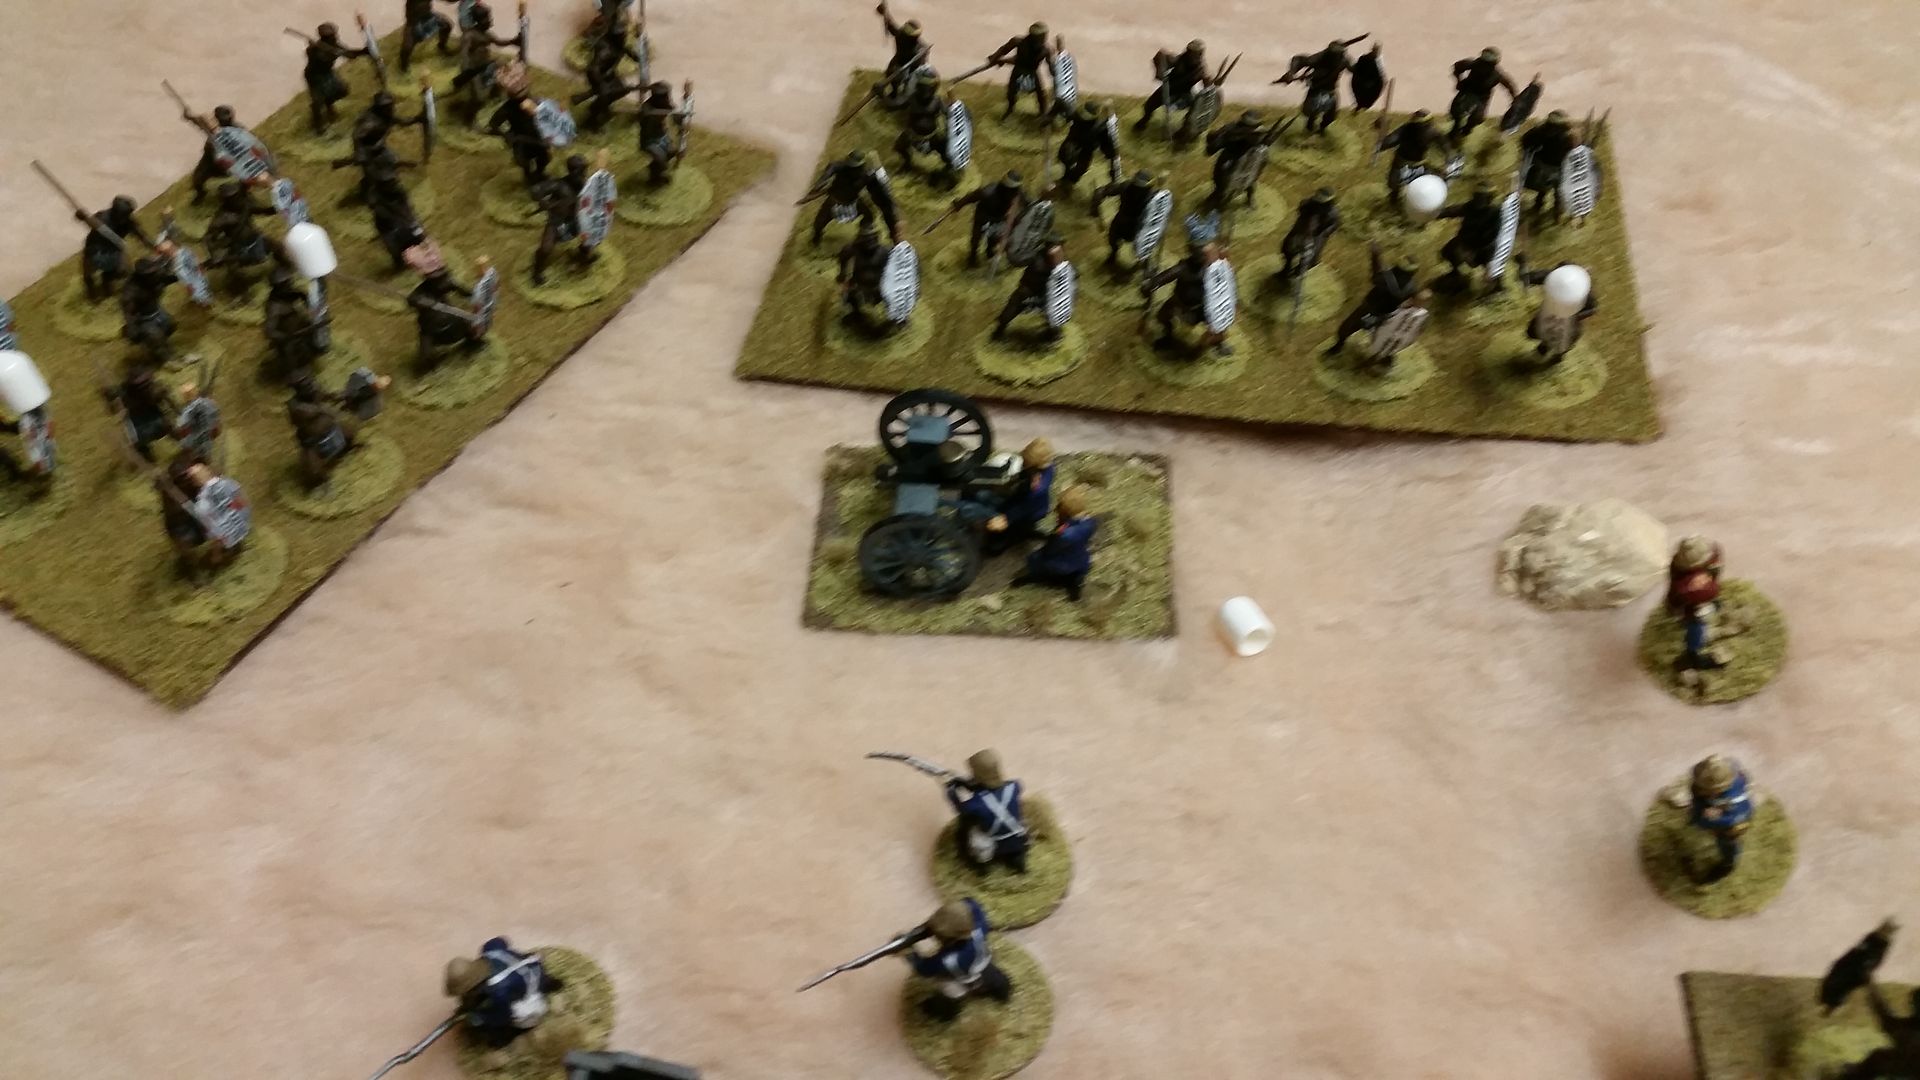 |
| Despite delivery crushing fire power the Gatling is over run as well |
 |
| The Zulu have paid dearly, but are now pouring through the British lines |
The Zulu paid a heavy cost, but they successfully recaptured the Kraal drove the British back surrounding the few survivors be the end of turn 12.
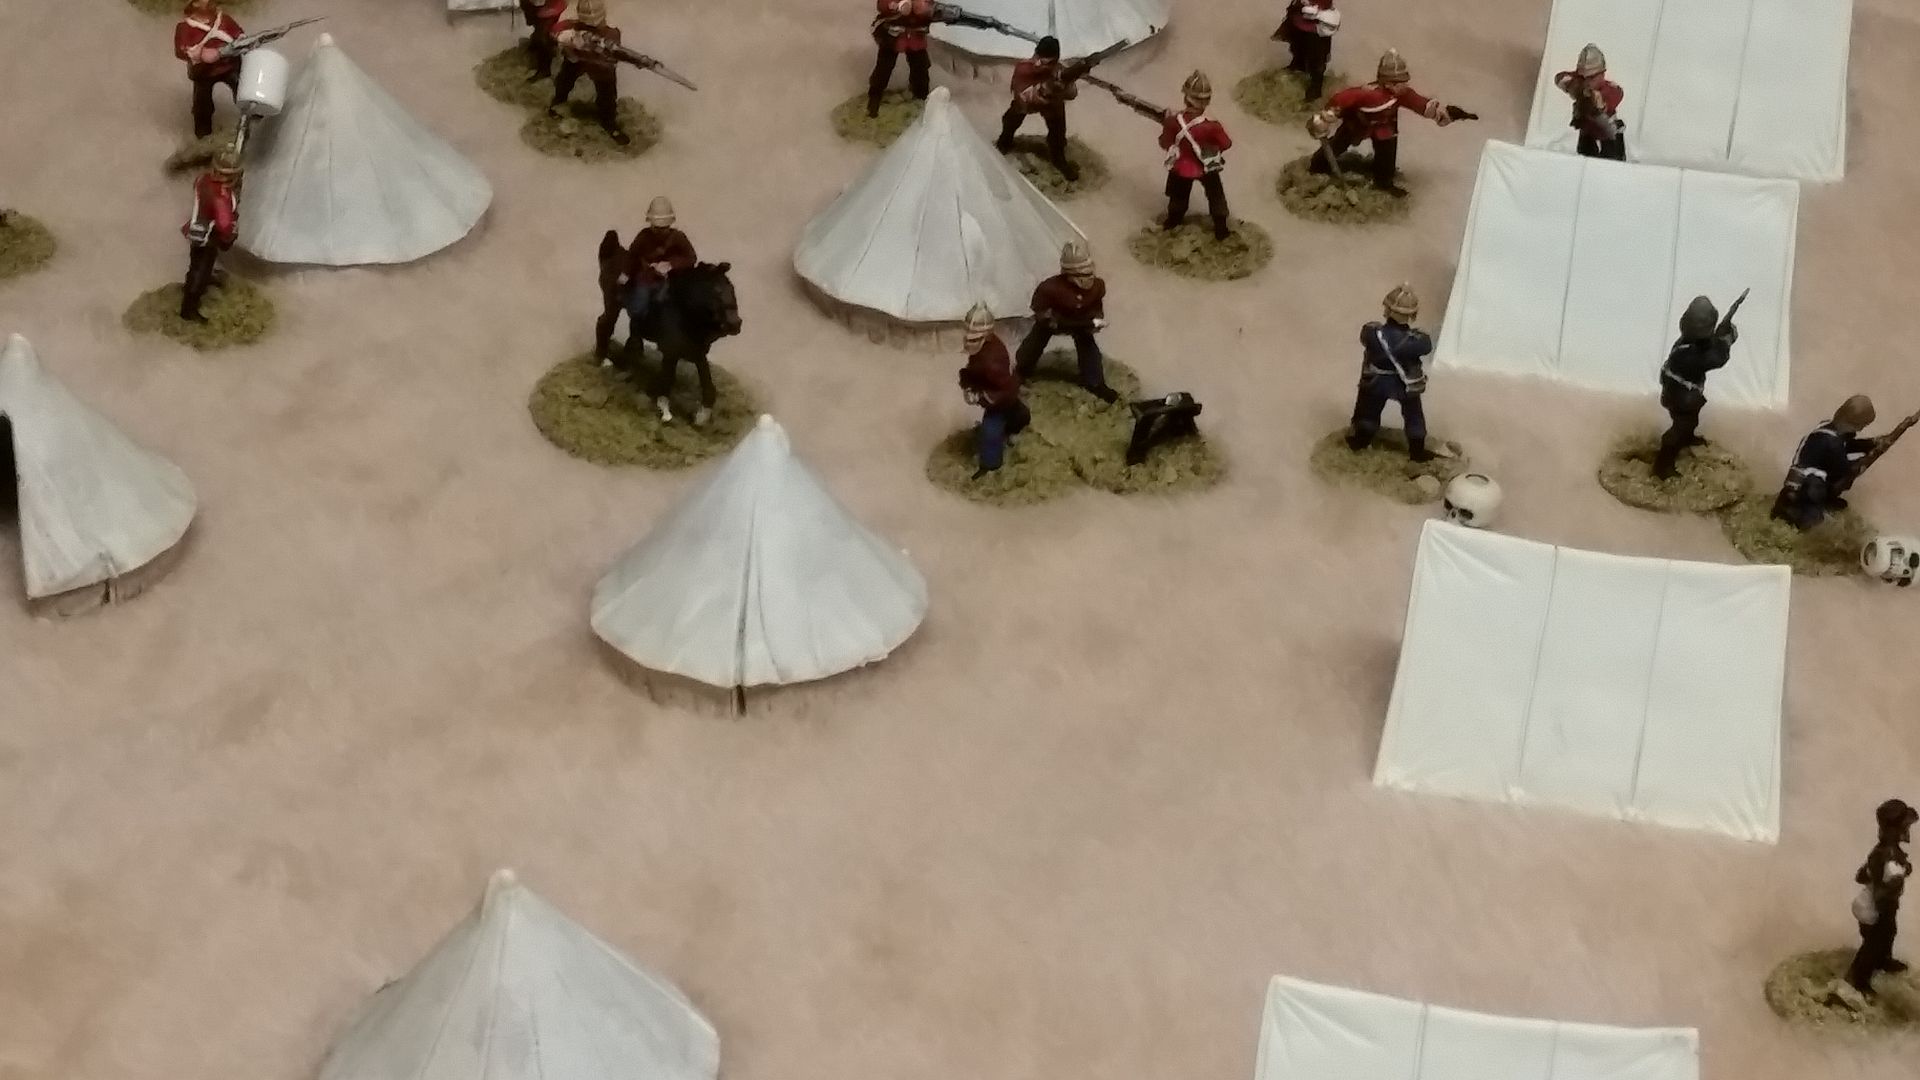 |
| Redcoats in full retreat |
The plan is to make a few tweaks and re-run this scenario next Wednesday of our gaming group.
The hope is Brian can make it next week so he can finally join us in person to see the horde of Zulu he painted in action.
If the shooting is awry even for one turn the Zulu numbers always seem to tell in these AZW Black Powder games. Great game - hoping to do another AZW game myself this week.
ReplyDeleteAnglo-Zulu War is a new period for us, so we really enjoy learning the history as well as the gaming.
DeleteUnlike other conflicts where there is a clear good guy/bad guy that is not really the case for us as Americans.
One could definitely argue that the British are the evil empire here and it certainly is not one of their proudest moments, but the Soldiers in the field we just doing their job. The Zulu were not the savages that Anglo history portrays and in reality were just defending their homeland against an oppressor.
Makes for some good war gaming were I personally take no issue playing either side.